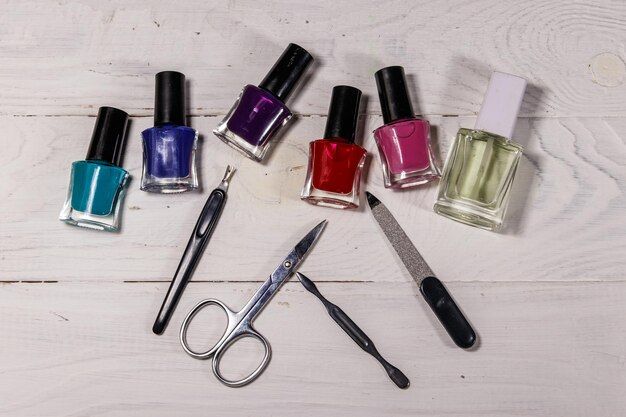
Essential Nail Tools For Perfect Diy Manicures At Home
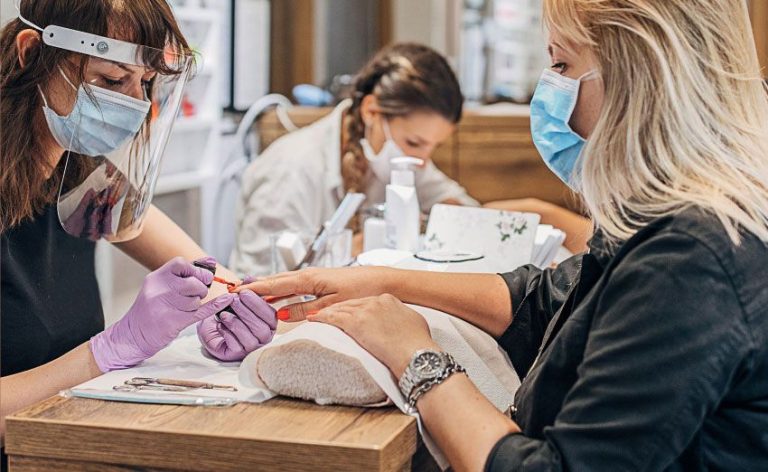
With salon visits limited due to the pandemic, DIY manicures and pedicures at home have become increasingly popular. Doing your own nails at home allows you to relax and pamper yourself on your own schedule and budget. A basic manicure involves shaping and buffing nails, pushing back cuticles, applying a base coat, painting on nail polish layers, and finishing with a top coat. For an at-home pedicure, you’ll need to soak your feet first before scrubbing, buffing, trimming nails, removing calluses, and polishing. With the right supplies and some practice, you can give yourself a salon-quality manicure or pedicure from the comfort of your home.
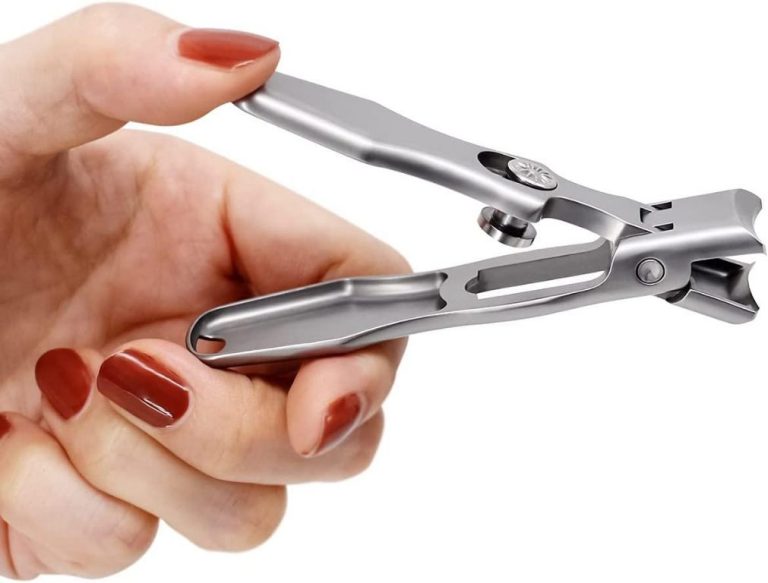
Nail Clippers
Nail clippers are an essential tool for any DIY manicure. There are a few main types of nail clippers to consider:
- Straight edge – These have a flat, straight blade and are best for trimming most areas of the nail.
- Curved edge – The blade is curved inward and works well for rounding off corners.
- Toenail – A wider jaw opening allows you to trim thicker toenails.
- Fingernail – Smaller size for precise fingernail trimming.
Look for nail clippers with the following features:
- Sturdy, sharp stainless steel or carbide blades that will last.
- Spring-loaded handle for ease of use.
- Ergonomic grip and handles for control.
- Smooth action and cutting power.
- Built-in nail cleaner, file, or catch.
The Seki Edge Stainless Steel Fingernail Clipper is a top choice with its comfort-grip handle and hand-sharpened blades.
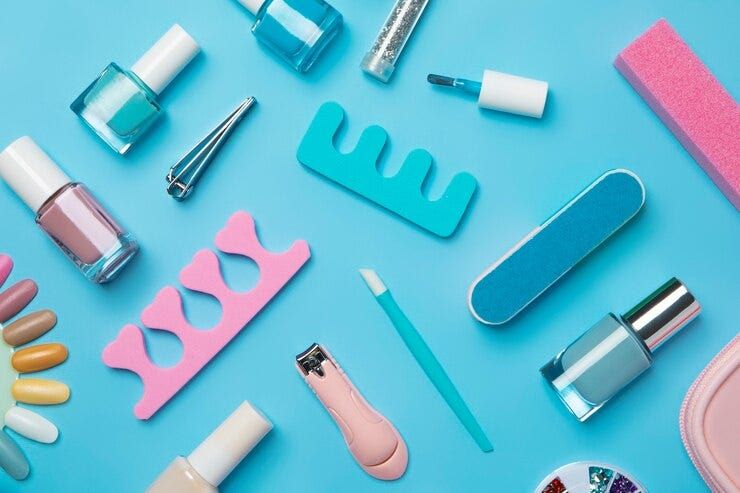
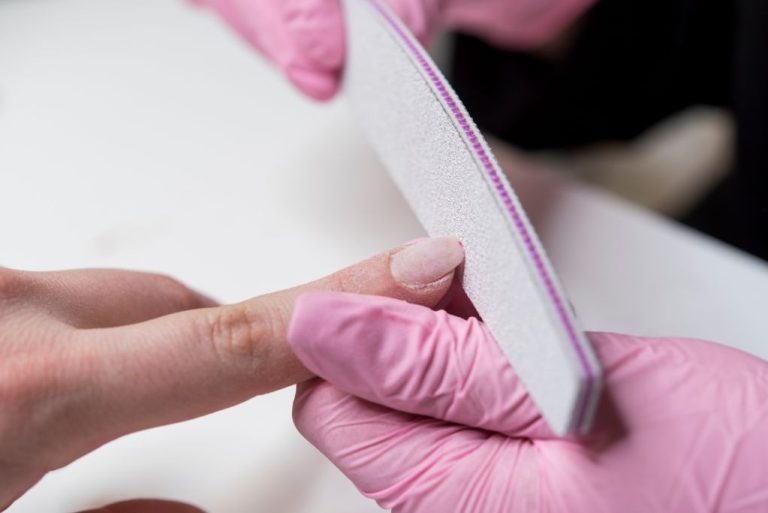
Nail Files and Buffers
Nail files are essential tools for shaping and smoothing nails. The grit grade of a nail file refers to the abrasiveness and determines how coarse or fine it is. Using the proper grit nail file is crucial to avoid damage to natural nails. For natural nails, a finer grit around 240 is recommended as coarser files can cause splits and cracks in the nail plate 1.
There are different types of nail files such as:
- Glass files – These have a fine grit made of microscopic glass particles fused to the file. Glass files provide a smooth finish.
- Emery boards – The classic disposable paper nail files coated with emery grit on one or both sides.
- Metal nail files – Reusable nail files made of metal and available in different grits.
Using a buffer after filing gives nails a polished, shiny look. Buffers are made of soft cotton, foam, or microfiber and do not have an abrasive side. Gentle buffing stimulates circulation in the nail bed for stronger, healthier nails 2.
Cuticle Tools
Proper cuticle care is crucial for maintaining healthy nails and preventing hangnails and infections. Here are some of the key cuticle tools to include in a DIY manicure kit:
Cuticle clippers – These are small, sharp clippers designed specifically for trimming cuticles. Look for ones with fine tips to allow for detailed, precision cutting. Quality cuticle clippers like the Harperton Nipper Cuticle Remover have sharp, angled stainless steel blades.
Cuticle pushers/removers – Unlike cuticle clippers, these tools gently push back and remove excess cuticle tissue without cutting. Cuticle pushers like the Sally Hansen Cuticle Pusher & Remover have a flat, slanted metal or wooden end for safely removing cuticles.
Cuticle oil – Massaging oil into the nail and cuticle area hydrates the skin and prevents hangnails. Look for cuticle oils containing moisturizing ingredients like jojoba, vitamin E, and essential oils. The Bliss Lemon + Sage Cuticle Oil rejuvenates dry, damaged cuticles.
Proper cuticle care provides protection against infection and allows the nails to grow healthily, which is why keeping the right cuticle tools on hand is a key part of DIY manicure success. As experts from the Hand and Wrist Institute explain: “Cuticles create a barrier for your growing nails, preventing these vulnerable new areas from becoming exposed to dirt, debris, and bacteria while they grow.”
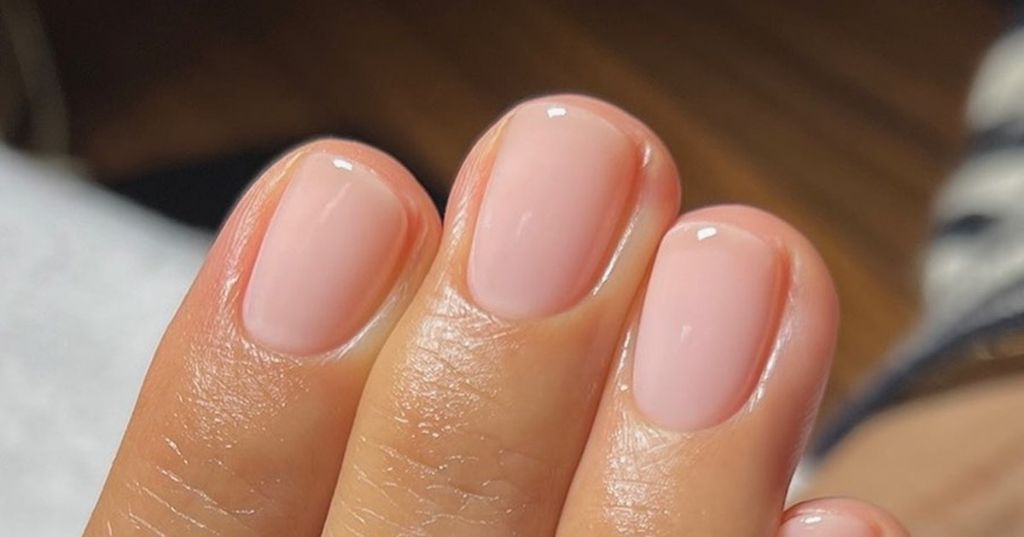
Base and Top Coats
Base coats are an essential first step when doing your nails at home. Apply base coat before painting nails to help the color last. Using a base coat helps prevent staining of the natural nail and also helps nail polish adhere to the nail better. According to OPI, some key benefits of using a base coat include protecting nails from discoloration, allowing polish to go on smoother, preventing chipping and peeling, and helping polish last longer.
Once your color is painted on, you’ll want to finish off your manicure with a top coat. Quick dry top coats are ideal for at-home manicures when you’re short on time. Brands like Seche Vite and Sally Hansen Insta Dri offer top coats that dry polished nails in minutes. Using a fast drying top coat helps prevent smudges while also protecting the underlying nail color. Top coats add an extra glossy finish and seal in the nail polish to extend the life of your manicure.
Nail Polish Remover
Nail polish remover is an essential tool for any DIY manicure. You’ll need it to remove old nail polish and start with a clean slate. The two main types of nail polish remover are acetone and non-acetone:
Acetone removers are very effective at breaking down nail polish and removing it quickly. However, acetone can be harsh and drying to nails and skin. It should be used sparingly. Here is some key information on acetone removers:
- Works very fast to dissolve polish
- Can be drying to nails and skin
- Best for removing glitters and dark polishes
Non-acetone removers use milder solvents like ethyl acetate, isopropyl alcohol, and propylene carbonate. While they work a bit slower than acetone, they are gentler on nails. Some tips for non-acetone removers:
- More moisturizing for nails and cuticles
- May require more soaking/rubbing to remove polish
- Ideal for frequent manicures or sensitive skin
For either type, you’ll need something to apply the remover. Cotton balls or pads work well, as they allow you to soak the polish and gently rub it away. Stock up on a remover and applicators so you can quickly take off old manis and prep for fresh polishes.
Sources: https://www.sallybeauty.com/FAQ_NAILS_023.html, https://www.self.com/story/to-acetone-or-not-the-healthiest-way-to-remove-nail-polish
Nail Polishes
Nail polish is essential for any DIY manicure. Popular nail polish brands include OPI, Essie, and Sally Hansen. According to Harper’s Bazaar, trendy nail polish colors for 2021 include shades of pink, blue, and brown. Ombre nails are also popular, featuring a gradient between two colors. For an ombre look, apply two nail polish colors side-by-side on the nail and use a makeup sponge to blend them together.
Other 2021 nail trends according to Oprah Daily include abstract organic shapes, retro floral designs, velvet nails, and unique French manicures. It’s best to use quality nail polishes when recreating these trendy looks at home. Having a variety of color options will allow you to experiment with different nail art and effects.
Tools for Nail Art
Nail art has become increasingly popular, allowing you to get creative and make fun designs at home. Here are some of the key tools for nail art that every DIY manicurist should have:
Striping tape allows you to create straight lines and geometric patterns. The tape comes in different widths and can be used to section off parts of the nail for different designs. According to Basic Nail Art Tools for DIY Beginners, striping tape “will give you the straightest lines that are impossible to draw freehand.”
Dotting tools, also called nail art pens, have different sized metal tips to create dots and other shapes. As described by 15 Basic Nail Art Tools Every Aspiring Nail Artists Should Have, dotting tools allow you to “make flowers, polka dots, and other intricate designs.”
Small art brushes are essential for freehand painting and detailed nail art. You’ll want a variety of brush sizes and shapes like fan, liner, and striping brushes. Brushes give you full control for creating gradients, abstract patterns, flowers, and more.
Miscellaneous Tools
In addition to your basic nail care tools, there are a few miscellaneous items that can be useful to have on hand for DIY manicures at home:
Cuticle oil is a must-have to keep cuticles hydrated and prevent hangnails. Apply it daily for the best results. The Bella Pierre Cuticle Oil Pen allows for easy and mess-free application.
Keeping hands moisturized is also key for healthy looking nails and cuticles. A good hand cream like the O’Keeffe’s Working Hands Cream can provide intense moisture when doing frequent manicures.
Nail polish corrector pens are great for quickly fixing small smudges or cleaning up the edges without having to remove all the polish. The Orly Nail Rescue Kit includes a handy corrector pen along with other nail treatments.
Conclusion
In summary, the essential tools for beautiful DIY manicures at home include nail clippers, nail files and buffers, cuticle tools, base and top coats, nail polish remover, nail polishes, tools for nail art, and other handy items like nail brushes and bowls for soaking. With a selection of quality tools, you can achieve a professional-looking manicure without leaving your house.
To get the best results for your at-home manicures, start by shaping and filing nails to ensure an even base. Don’t forget to tend to your cuticles with cuticle softener, remover and pushers. Prep nails with a base coat before applying a couple coats of your chosen nail polish. Finish with a top coat for added shine and protection. Allow adequate drying time between steps. Use acetone-free nail polish remover to gently take off old polish and avoid damage. Maintain tools by cleaning and storing properly after use. With practice and the right essentials, you’ll be able to give yourself beautiful, long-lasting manicures at home.