Express Yourself: Fun & Funky Nail Art Ideas For The Creative Beginner
Nail art has exploded in popularity in recent years as a fun, creative way for people to express themselves. Though painting intricate designs on fingernails has been practiced for centuries, modern nail art has taken the trend to exciting new heights. With the advent of nail art pens, stamps, decals, and more, today’s nail art allows for self-expression and exploring identity through the fingertips.
Nail art has become a means for personal storytelling, with each design choice carrying meaning for the wearer. As this article discusses, nail art allows for creativity, communication, and confidence. Though the canvas is small, even beginners can achieve fun, colorful looks to show off their personality.
This guide will explore the world of funky, fashionable nail art specifically for the creative novice. With some key supplies and easy techniques, anyone can start embellishing their nails with unique flair.
Essential Supplies for Beginners
Before you can start creating fun nail art designs, you’ll need to stock up on some basic supplies. Here are the essentials every beginner should have:
-
Base and top coat – Using a base coat helps the polish adhere to your nails, while a top coat seals in your design and adds a glossy finish. Always use both!
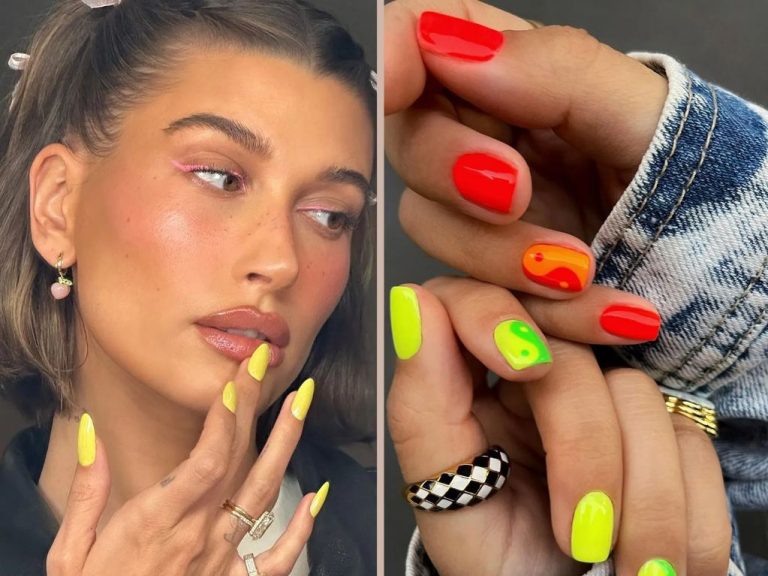
-
Variety of nail polish colors – Build up a diverse collection of shades like neutrals, brights, pastels, metallics, and glitters. This gives you lots of options for creativity.
-
Dotting tools – These tools with different sized tips allow you to make perfect dots and other shapes. Start with a basic dotting tool kit.
-
Striping tape – Use striping or masking tape to create straight lines, geometric patterns, and color blocking effects.
-
Nail art brushes – Small detail brushes let you paint on delicate designs. A few basic brush sizes are essential.
-
Stickers and rhinestones – Pre-made decals like stars, hearts, and bows or sparkling rhinestones are an easy way to embellish your manicure.
With this starter kit of supplies, you’ll have everything you need to begin creating cute nail art designs right away!
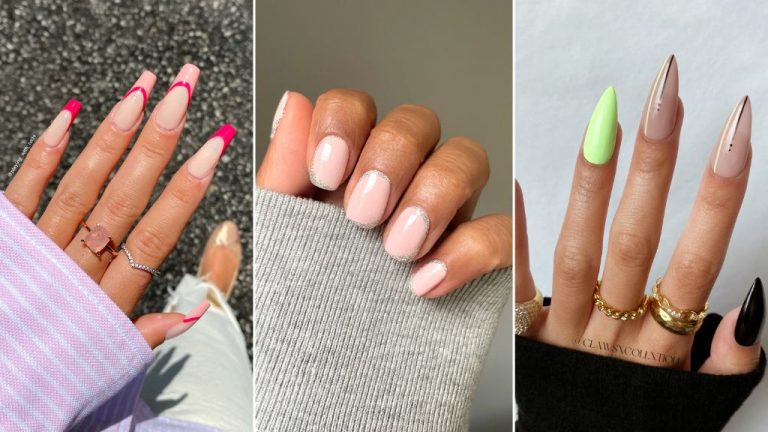
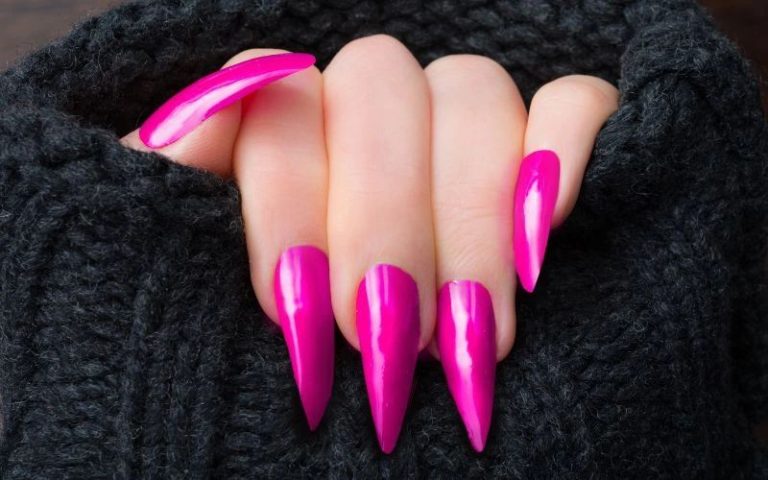
Easy Single Color Nail Art
Solid color manicures are a simple yet classic nail art technique that looks great on short or long nails. For a flawless single color mani: prep nails by gently buffing and apply a base coat first. Then do 2-3 thin coats of your chosen nail polish color, allowing each coat to dry thoroughly before the next application. Top it off with a clear top coat for shine and chip resistance.
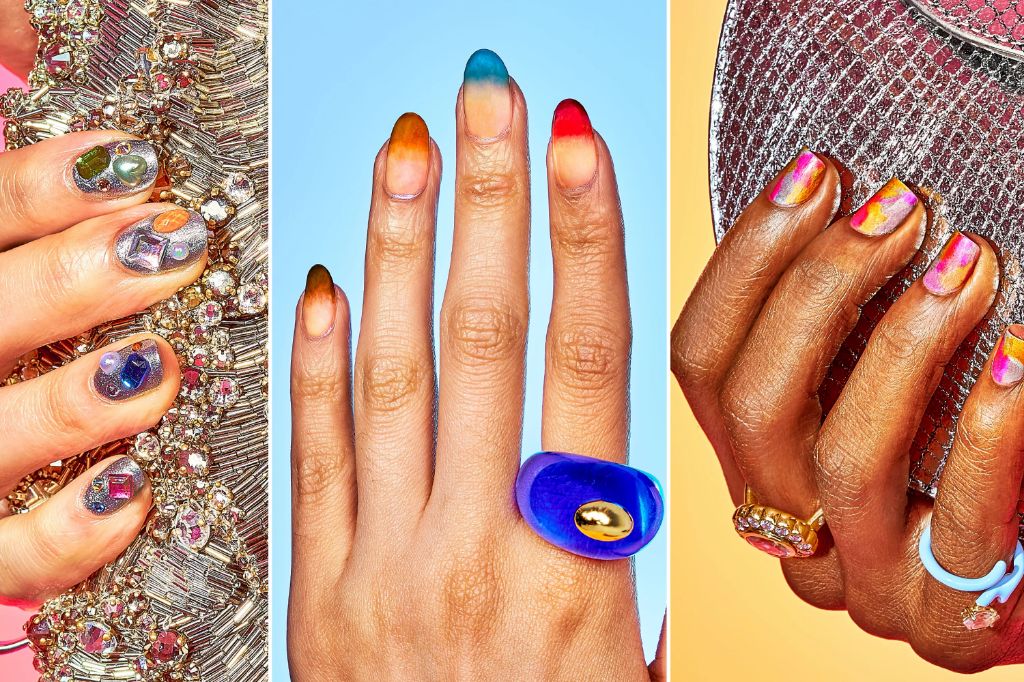
Ombre fade nails create a gorgeous graduated effect. According to this tutorial, start by painting nails in a light polish shade. Then use makeup sponges to dab on darker polish shades, starting closer to the nail tip and overlapping upwards. Finish with a top coat once dry.
Color blocking utilizes sharply contrasting nail polish colors to create graphic, modern designs. First paint on your base color, then use striping tape to mask off straight lines and apply the second color. Quickly remove the tape after painting for ultra-crisp edges. Try alternating colors on each nail for a fun color-blocked manicure.
Add some sparkle by accenting one or two nails with metallic, glitter, or shimmery polishes. Apply glitter polish over a coat of clear to help it adhere. These glam extras effortlessly jazz up a basic manicure.
Fun with Nail Stickers and Decals
Add some flair and pop culture to your nails with fun nail stickers and decals! There are so many different nail sticker designs available, allowing you to represent your interests or just have a good time with your manicure.
Look for nail stickers featuring your favorite TV shows, movies, books, music artists or other pop culture icons. You can find decals with superheroes, cartoon characters, video game themes and more. Put your fandom on display!
Floral and nature motifs are also popular for nail stickers and decals. Botanical designs like leaves, flowers, succulents, butterflies and more allow you to bring the beauty of nature to your nails. Play around mixing different floral patterns for an eclectic look.
Abstract art and geometric shapes provide edgy options for nail decals. Try circles, lines, triangles and squiggly shapes in bold colors and patterns. Go for an optical illusion look or just have fun seeing what combinations you can come up with using simple geometric nail stickers.
The great thing about nail decals is how easy they are to apply. Just peel off the sticker, place it on your nail where desired and gently smooth down. The designs will last on your nails just like a polish would. So go crazy and use nail stickers to express your unique style!
Get Creative with Dotting Tools
Dotting tools open up a whole new world of nail art possibilities. These tools allow you to easily make perfect dots, lines, and geometric patterns. With some practice, you can create intricate floral and nature designs. Dotting tools are a must-have for any beginner nail art kit.
Some of the most popular dotting tool designs include:
- Polka dots – Start with single color designs and graduate to multi-colored polka dots. Keep dots uniform in size or experiment with different sizes.
- Lines and geometric patterns – Use dotting tools to make straight lines or connect dots in triangles, squares, diamonds, and more. Get creative with chevron, zigzag, and other line designs.
- Flowers and leaves – Dotting tools allow you to easily make flower petals, leaves, and floral motifs. Layer different sized dots to create depth and dimension.
It just takes some practice to get the hang of handling the dotting tool. Start on paper before moving to your nails. Apply a bit of pressure and twist the tool as you lift it away for perfect round dots. You can connect dots to make lines or patterns. Don’t be afraid to experiment and find inspiration from sources like https://www.pinterest.com/destlov/nail-art-dotting-tool/. With a dotting tool, your creativity is limitless!
Stripe It Up
Stripes are a fun and easy way to add a graphic pop of color to your nails. You can create straight, diagonal, wavy, and chevron striped designs just using nail polish and tape. Color blocking with stripes in different widths and directions is also eye-catching.
Start with a base coat on all nails. Paint 1-2 coats of your base color and let dry fully. Then take strips of painter’s tape and apply them horizontally, vertically, or diagonally to create stripe patterns. Apply 1-2 coats of your accent stripe color, letting it dry in between coats. Slowly peel off the tape to reveal crisp stripes.
For chevron or zigzag patterns, cut the tape into triangles before applying. For wavy stripes, gently pull along the edges of the tape while the polish is still wet to create a curved shape.
You can also play with mixing glitter polishes and solid colors for shimmering stripes. The options are endless for coming up with stripe combinations that suit your personal style!
Freehand Nail Art Brush Techniques
If you want to get creative and unleash your inner artist, trying freehand nail art using brushes is a fun way to make unique designs. With some practice, you can paint simple flowers, leaves, hearts, stars, and other shapes directly onto your nails. The trick is to use a steady hand and light strokes. Here are some freehand techniques for beginners to try:
Simple Flowers and Leaves
Painting basic floral designs is an easy way to start freehand nail art. Use a small brush and paint a flower petal shape, connecting several together in a circular pattern. Add a dot in the middle for the center. For leaves, paint a teardrop or oval shape, pulling the brush slightly to taper one end. Add in stems and play with different colors for a fun fresh flower look.
Hearts, Stars, and Shapes
Practice painting basic shapes like hearts, stars, triangles, squiggly lines, and more. You can fill in the entire nail or use shapes to accent. For hearts, paint two curved lines connecting in a point. For stars, start with an upside down Y shape and build from there. Use tape around the edges for a cleaner look. Take your time and don’t worry about perfection. The fun is in creating simple yet cute designs.
Freehand Ombre Gradient
Ombre gradients are a pretty trend that creates a color fade effect on your nails. Instead of using makeup sponges, try freehanding with a nail art brush. Apply polish starting at the bottom of your nail and brush upward in light, blended strokes. Slowly shift colors as you near the tip. Work in thin coats and layer as needed to deepen the gradient. Add glitter or rhinestones as accents if desired. With some practice, you’ll be able to create stunning ombre nails.
Unleash your creativity with freehand nail art! Don’t be intimidated to try using brushes. Start simple and have fun practicing flowers, hearts, and more. The beauty is in the imperfections. You can create gorgeous nail designs tailored just for you.
Embellish with Rhinestones
Rhinestones can add a fun pop of sparkle to any nail design. For beginners, start with accent nails by adding rhinestones to just one or two nails. First paint your base color, then use a small dotting tool or toothpick to pick up gems and place them on the nail where desired. Try framing the cuticle with a row of small stones or placing a few larger stones in the center of the nail for impact.
Geometric patterns like triangles, lines, and chevrons are easy ways to arrange rhinestones. Use tape to create straight lines and guide your placement. For chevrons, start with two rows of stones at the base, then add rows with fewer stones as you move up toward the tip of the nail.
Rhinestones can also help create floral and nature motifs. Place small clusters of stones to form flower petals, leaves, and stems. Outline larger petals first, then fill in. For realism, opt for teardrop, oval, and round stones in various sizes. Add dots in the flower center to finish the look. Let your creativity bloom!
Cute Accent Nail Ideas
Accent nails add a fun pop of color or design to just one or two nails. They are perfect for beginners since the majority of the nails remain a solid color. Accent nails are low commitment but high impact!
Some cute and easy accent nail ideas for beginners include:
- Colorful geometric shapes like triangles, circles, or squiggly lines on an accent nail. Keep the rest of the nails a neutral background.
- Tiny bows or flowers painted on an accent nail. Metallic bows and flowers really pop.
- Metallic or glitter tips on one or two nails, with the rest being a solid color. This is an easy way to dip your toes into glitter nail art. Check out this pinterest board for accent nail inspiration.
The options are endless when it comes to accent nails. You can keep accessorizing one or two nails with different designs as your skills progress. Accent nails add just the right amount of personality!
Express Your Creativity with Fun Nail Art
As we’ve seen, there are so many fun and creative ways to express yourself through nail art as a beginner. From simple single color designs to intricate freehand brushwork, the possibilities are endless. Nail stickers, rhinestones, dotting tools, and more allow you to add flair and personality to your nails.
Hopefully this guide has inspired you to let your creativity shine through your nail art. Don’t be afraid to experiment with colors, shapes, textures, quotes, and designs that speak to you. The more you practice, the more comfortable you’ll get with bringing your wildest nail ideas to life.
For even more nail inspiration and tips, check out online video tutorials and nail art blogs like <a href=”https://www.nailsmag.com/”>NAILS Magazine</a>. Get creative with your nails and show off your unique style wherever you go!