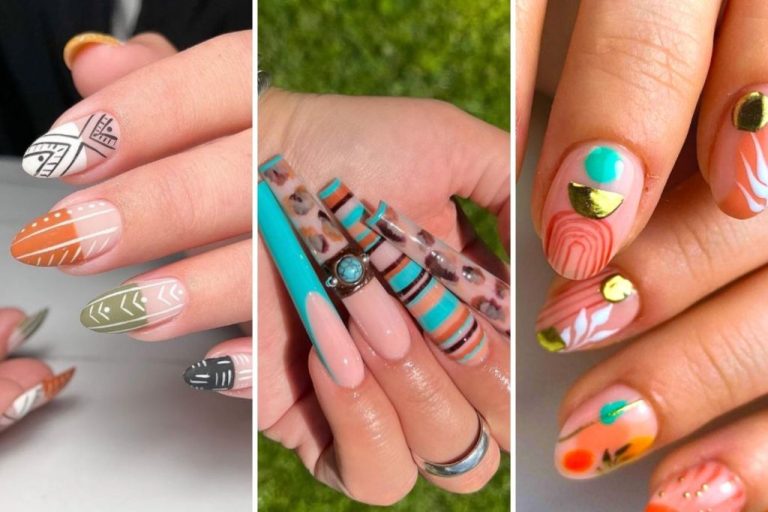
Nail Art Made Easy: 5 Beginner-Friendly Designs You Can Master At Home
Nail art has exploded in popularity in recent years as a fun and creative hobby that’s accessible for beginners. With the rise of nail art tutorials and designs on social media, more people are discovering how satisfying it can be to express themselves through painting and decorating their nails. According to Statista, the worldwide nail market is projected to grow to $14.31 billion by 2028, indicating the rising consumer interest in nail products and designs (Source). The nail art community has become a creative outlet for people of all ages and backgrounds. It’s an affordable DIY activity that allows complete beginners to get creative and make beautiful designs at home.
Needed Supplies
Here are some of the basic nail art supplies you’ll need to get started:
- Base coat – Helps the polish adhere to your nails and prevents staining (https://www.leminimacaron.com/collections/nail-art)
- Nail polish – You’ll want a variety of colors for different designs
- Top coat – Goes over the color to seal in your design and add shine
- Nail art brushes – For detail work like dots and stripes (https://salonsuitespb.com/nail-art-tools/)
- Dotting tool – Allows you to make uniform dots of various sizes
- Striping tape – Lets you create straight lines and geometric designs
- Glitter – Comes in various shapes and sizes to add sparkle
- Nail decals – Premade designs like florals that you can stick on
Start with these basics and build your collection over time. Having the right tools will make nail art easy for beginners!
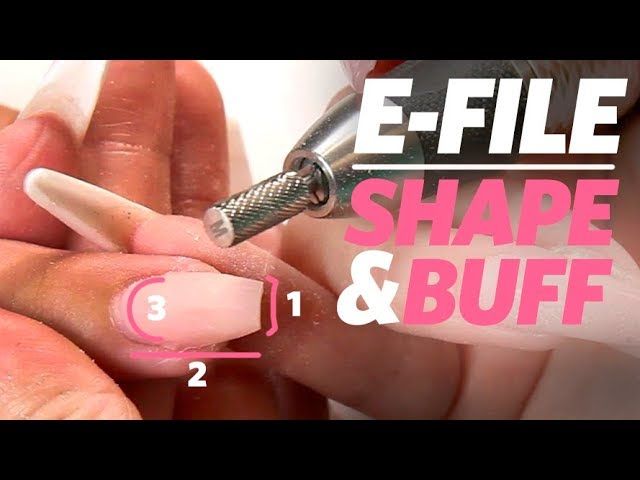
Prepping Nails
Properly prepping your nails is crucial for creating clean, long-lasting nail art. Before painting designs, you’ll want to start with a blank canvas by removing any existing nail polish or artificial enhancements. Use an acetone-based remover to take off old polish. Then, trim and file nails into the desired shape using nail clippers and an emery board, following the natural curve of your nails. Avoid filing too thin or shaping nails aggressively. Next, buff the nails lightly to smooth the surface. This helps the nail art adhere better. Apply a nail dehydrator or alcohol wipe to remove oils for max adherence. Finish prepping with a base coat to further protect the nails. Allow each step to fully dry before moving to the next.
Sources:
https://www.igelbeauty.com/blogs/igel-academy/nail-prep-starter-guide-what-you-need-to-know
https://us.manucurist.com/blogs/journal/how-to-prep-your-nails-like-a-pro
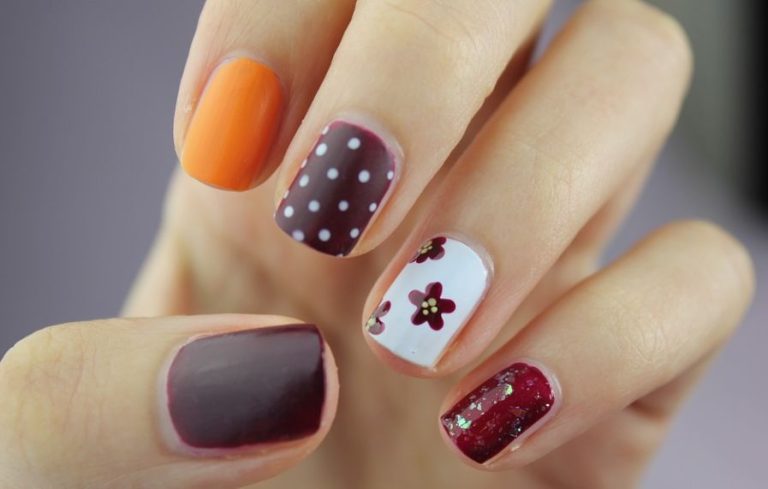
Polka Dots
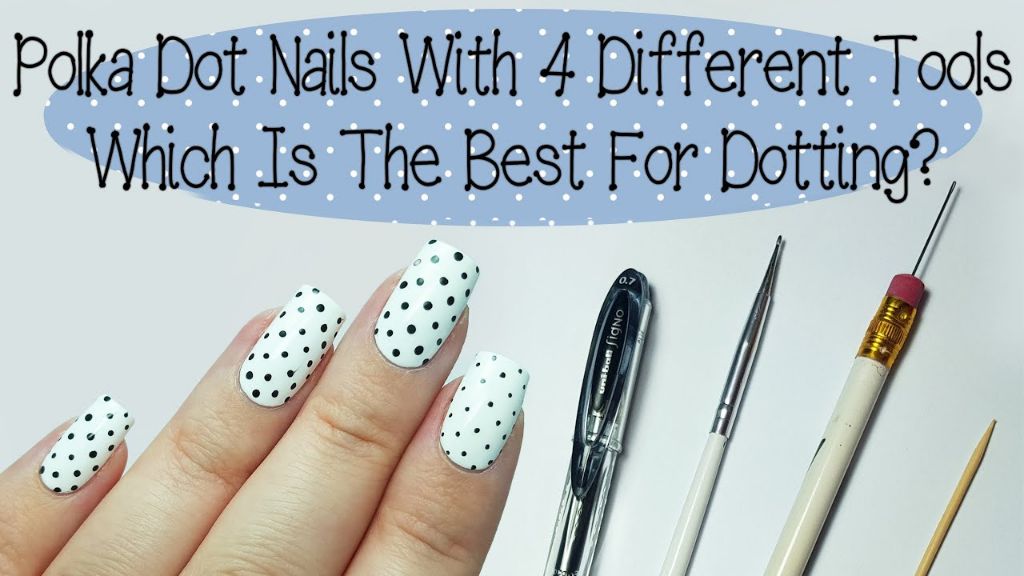
Polka dots are a fun and easy nail art design for beginners. Here’s a step-by-step on how to create different sized dots with a dotting tool:
1. Start with a base coat on your nails. Let it dry completely.
2. Paint your nails in the base color of your choice. Let it dry.
3. Dip the smaller end of the dotting tool into the polish you want for your dots. Gently dab it onto your nail to create small dots.
4. Repeat, varying the placement of dots on each nail.
5. Dip the larger end of the dotting tool into a different color. Make slightly larger dots, alternating between nails.
6. Continue making dots in different sizes and colors until you’re happy with the design.
7. Finish with a top coat to seal in the design.
It’s that easy to create basic polka dots! Get creative with color combinations. For inspiration, see: https://www.instructables.com/DIY-Polka-Dot-Nails/
Striping Tape Designs
Using striping tape is an easy way to create fun geometric patterns or stripes on your nails. Striping tape comes in different widths and can be found in most beauty supply stores. Here’s how to create some simple striping tape designs:
Start by cleaning and prepping your nails. Paint your base color and let it dry completely. Cut pieces of striping tape to the sizes you need. Place them on your nails in vertical, horizontal or diagonal patterns. Paint over the tape with a contrasting color. Let it dry slightly so the polish sets, then carefully peel up the striping tape. This will reveal perfect stripes or geometric shapes.[https://www.youtube.com/watch?v=VbZv5dCGGcw]
You can get creative with striping tape too. Try chevron, zigzag or crisscross patterns. Use the base color to paint in negative spaces between tape lines. The options are endless for striping tape nail art designs!
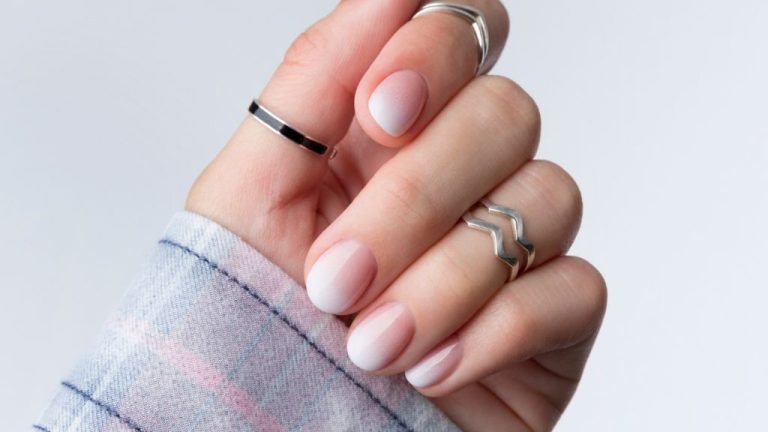
Ombre Nails
Ombre nails are a gorgeous way to fade colors from dark to light. This gives a beautiful gradient effect that looks professional but is easy enough for beginners to do at home.
To create ombre nails, start by painting the base color on all nails. Make sure to use long, even strokes from the cuticle to the tip of the nail. Once the base color is dry, choose a lighter shade for the ombre effect. Apply the lighter polish starting about halfway down the nail and brushing gently towards the tip. The key is to use very thin coats and blend the two colors together. You can repeat this using a sponge applicator for an even smoother gradient.
Allow each coat to dry completely before moving on. Finish with a glossy clear topcoat to seal in the design. An ombre manicure is an elegant look that’s surprisingly simple! Just take your time and don’t overbrush as you blend the two shades.
Marble Nails
Marble nails create a fun, artistic look by blending different colored nail polishes together. To achieve this swirled effect at home, you’ll need a few supplies:
- A base coat
- 2-3 nail polish colors of your choice
- A makeup sponge
- A plastic Ziploc bag or cellophane
- Top coat
Start by applying a base coat to protect your nails. Paint your nails with your lightest nail polish color and let it dry completely. Dip a makeup sponge into another polish color and dab it onto the plastic bag or cellophane. Then use the sponge to dab the polish over your nails, creating a marbled effect. Continue layering colors with the sponge. Once you’re happy with the design, seal it with a top coat to smooth and protect the marble pattern.
The key is to work quickly and randomly so the colors blend together into an organic marbled look. Try alternating between lighter and darker shades for extra dimension. Get creative with different color combinations like jewel tones, metallics, or bright shades!
Glitter Tips
Glitter tips are an easy way to jazz up a basic manicure. All you need is a sheer base color, glitter polish, and some tape. Here’s how to get the look:
Start by painting your nails in a neutral sheer color like pale pink or nude. Let it dry completely. Next, place a piece of tape diagonally across the tip of each nail, leaving just the nail tip exposed. Take your glitter polish and paint over the exposed tips. Let it dry and then carefully peel off the tape. You’ll be left with a clean line of glitter just on the tips.
For even more pop, use multi-colored glitter so there’s lots of shimmer and sparkle. The neutral base means the glitter really stands out. And the diagonal tape line creates a modern, edgy look.
Glitter tips are great for beginners because there’s minimal clean up required. The tape does all the work for you. Just paint inside the lines and let the glitter shine!
Stamping
Nail stamping is a fun way to add intricate designs to your nails using a stamping kit. Here are some tips for getting started with stamping:
Choose a stamping polish specifically formulated to transfer well onto the stamper. Regular nail polish tends to be too thick. Apply polish evenly over the entire design on the stamping plate.
Make sure to use a stamper primer or sticky base coat on the stamper head first so the design will transfer properly. Then, firmly press the stamper straight down onto the design on the plate. Lift directly up in one motion.
Quickly transfer the image onto your nail by rolling the stamper in one direction. Apply firm pressure to get a clean impression. Work fast before the polish dries on the stamper.
Top coat over stamped designs to seal and protect them. Clean the plate and stamper head thoroughly after each use.
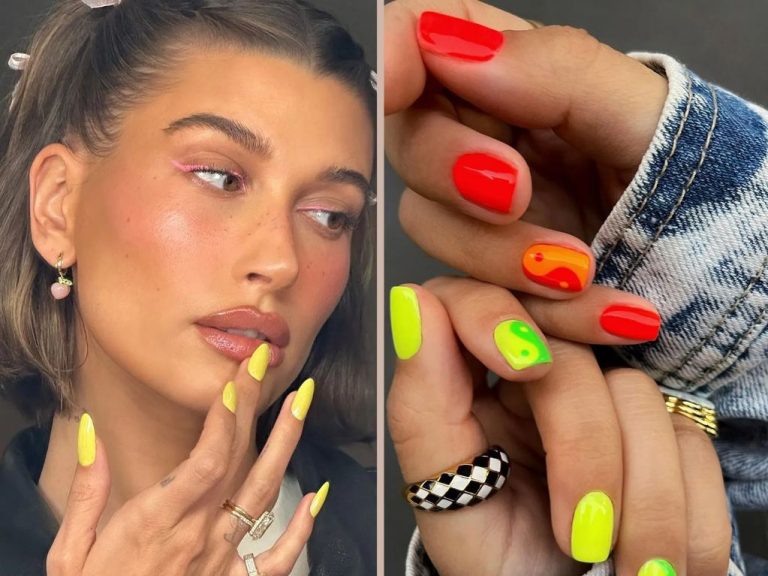
Conclusion
To summarize, some of the simplest nail art designs for beginners include polka dots, striping tape accents, ombre nails, marble nails, and glitter tips. With just a few basic supplies and techniques, you can easily create fun, artistic manicures at home. The key is to start simple, practice often, and don’t be afraid to get creative and experiment with different color combinations and patterns. Polish your skills with easy repeating designs like polka dots and striping tape first. Then work your way up to gradient ombre nails, swirling marbled effects, and dazzling glitter tips. The possibilities are endless when you unleash your imagination and artistic side. With a little dedication and these beginner-friendly ideas, you’ll be a nail art pro in no time!