Beyond Polish: Top Nail Accessories To Complement Your Look
Nail accessories have become an incredibly popular way to complement an overall look and express one’s style. From rhinestones and jewels to nail art tools and stickers, there are countless options for accessorizing fingernails. The nail accessory trend has steadily grown over the past decade, with specialty nail salons and nail artists helping drive demand. According to Grand View Research, the global nail care market was valued at $19.1 billion in 2021 with an expected 5.2% CAGR through 2030.
In this article, we’ll recommend some of the top nail accessories to consider to take your manicure to the next level. Whether you’re looking to add some sparkle, try out 3D designs, or experiment with nail art, we’ve got you covered. Read on for our top picks that will have your nails turning heads.
Rhinestones
Rhinestones are a popular nail accessory that can add sparkle and glamour to any manicure. They come in a wide variety of sizes and shapes to suit any nail art design. Rhinestones are made from materials like crystal, glass, acrylic, and plastic in different cuts such as round, square, oval and more intricate shapes.
When choosing rhinestones for nails, opt for high quality crystals like Swarovski or Serinity which have maximum sparkle and shine. The most common and versatile sizes for nails are SS5 (1.5mm), SS7 (2mm) and SS9 (3mm).
Larger rhinestones work well as stand-alone focal points, especially on accent nails. Smaller sizes are great for clustered designs and intricate patterns. For nail art that requires precision, choose flat-backed rhinestones which have adhesive already applied.
To ensure rhinestones adhere properly, prep nails by gently buffing and cleaning with alcohol. Use a wax pencil or tape to map out any designs before applying rhinestones with tweezers. Finish by sealing the entire nail with a layer of clear top coat for security and extra gloss.
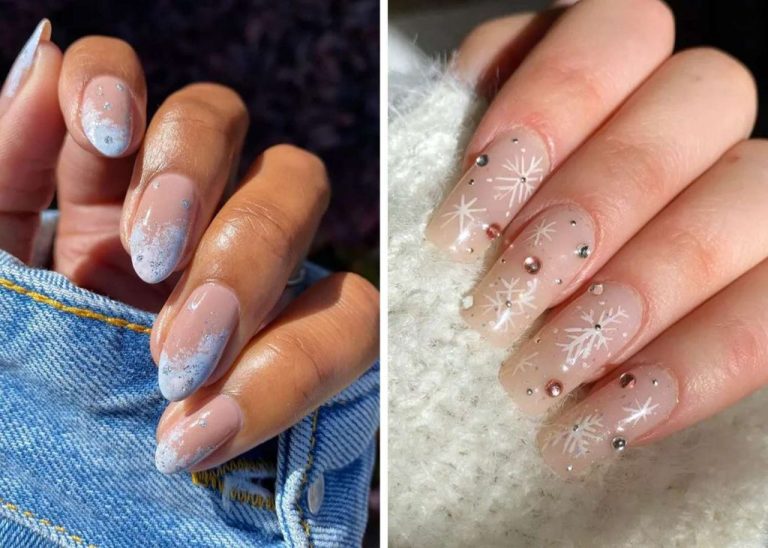
Jewels
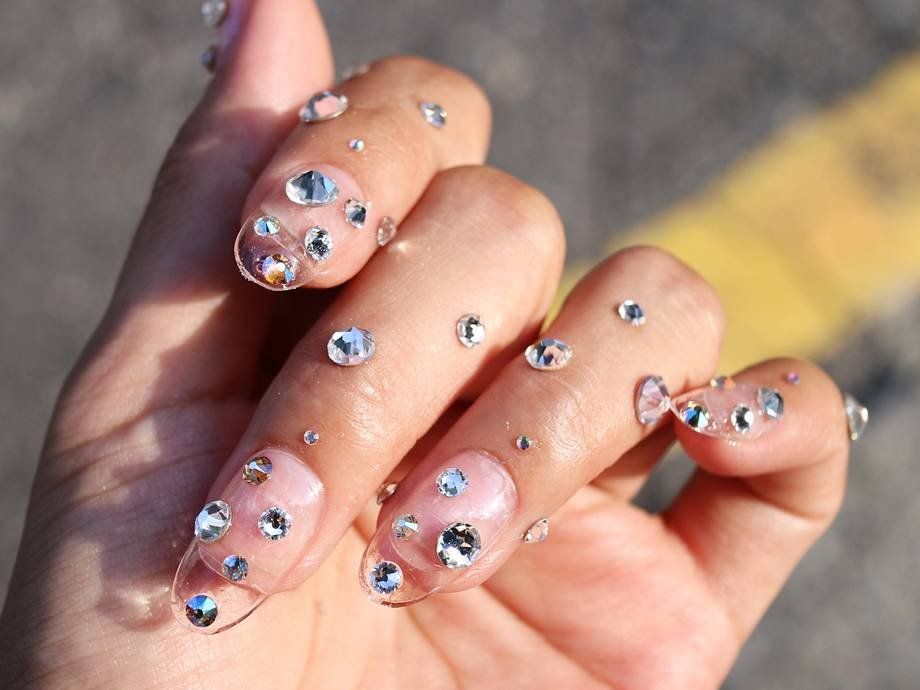
Jewels offer a more luxurious alternative to rhinestones for nail art. While rhinestones are imitation gemstones made of glass or acrylic, jewels utilize real gemstones like diamonds, rubies, emeralds and sapphires. The sparkle and brilliance of real jewels is hard to replicate. Popular shapes for nail jewels include round, oval, emerald, princess, baguette and trillion cuts.
When using jewels for nails, opt for smaller sized stones between 1-2mm for the best fit on a nail surface. Anything larger may be too bulky. Make sure to only apply jewels on completely dry polish. Using a glue formulated specifically for nail jewels will provide the strongest adhesion. Apply a small amount of glue directly to the nail where you want the jewel to go, then pick up the jewel with a gem tool and press gently against the nail for 30 seconds to secure it.
Take care not to apply too much glue, which can show through larger jewels. The glue should be barely noticeable underneath the jewel. Use a sealant top coat like gel or acrylic over the jewels to further lock them in place. Be gentle with your nails and avoid lots of hand washing to prevent jewels from popping off prematurely.
Nail Charms
Nail charms are small decorative accessories that can be attached to fingernails to add interest and personality to a manicure. Some popular nail charm styles include:
- Hearts – Available in a variety of colors and sizes, from dainty to statement.
- Stars – Add sparkle with mini rhinestone stars or colorful enameled charms.
- Emojis – Fun and playful options like unicorns, crowns, lips, etc.
- Shapes – Circles, squares, triangles, bows, and more in metal, acrylic, or glass.
When using multiple charms on one nail, balance the design by keeping them proportionate in size and evenly spaced. On shorter nails, opt for petite charms sized 2-4mm. Larger nails can accommodate bigger charms 5-8mm.
Strategically place charms near the base of the nail so they don’t tip or fall off. Using a strong nail adhesive like super glue will help keep charms secured. Allow each charm to dry before moving on to the next.(Source)
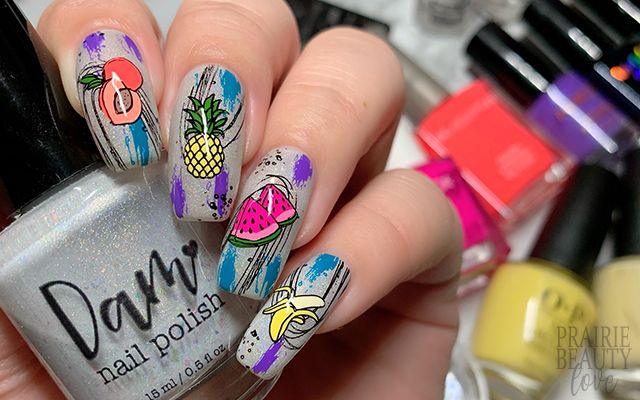
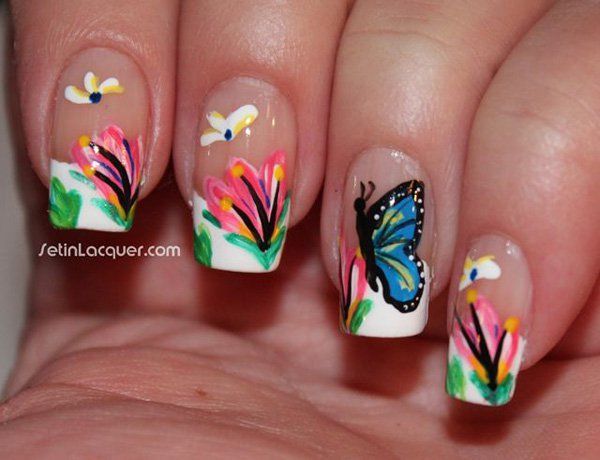
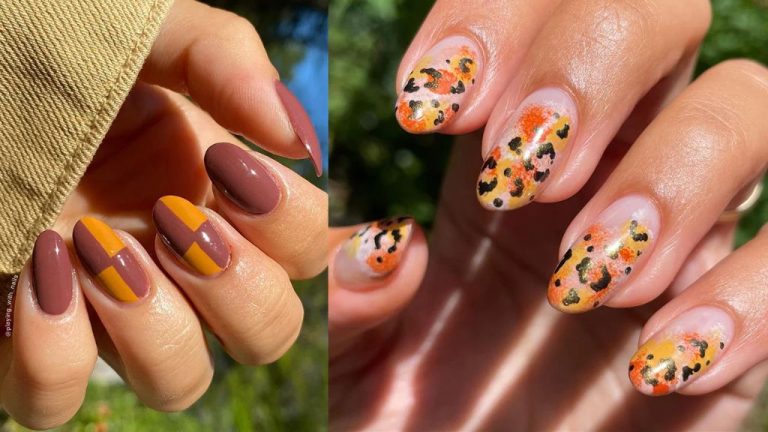
3D Nail Art
3D nail art has become an extremely popular trend in recent years. Gel polish and acrylic allow nail technicians to sculpt intricate designs and apply them directly onto the nail surface. With innovations in nail forms and sculpting tools, the possibilities for 3D nail art are endless.
Some of the most popular 3D nail art designs include bows, flowers, fruits, animals, and abstract shapes. Sculpted bows made of acrylic or gel give a playful pop to any manicure. Delicate flowers like roses, orchids, and cherry blossoms are sculpted petal by petal for a romantic and feminine look. Fruits like strawberries and watermelon slices have a juicy and summery aesthetic. Sculpted animals like butterflies and turtles add personality. Geometric shapes and abstract blobs create an edgy, space-age feel.
To apply 3D details properly, make sure the base color is completely dry before sculpting on top. Use a detail brush and wet monomer to sculpt and define the shapes. Working quickly before it dries will allow you to refine the design smoothly. Cure each element before moving onto the next. Finish by sealing the entire nail surface with gel top coat to lock in the design.
With a steady hand and some practice, 3D nail art can elevate your style to new heights. The designs are eye-catching and will get you countless compliments!
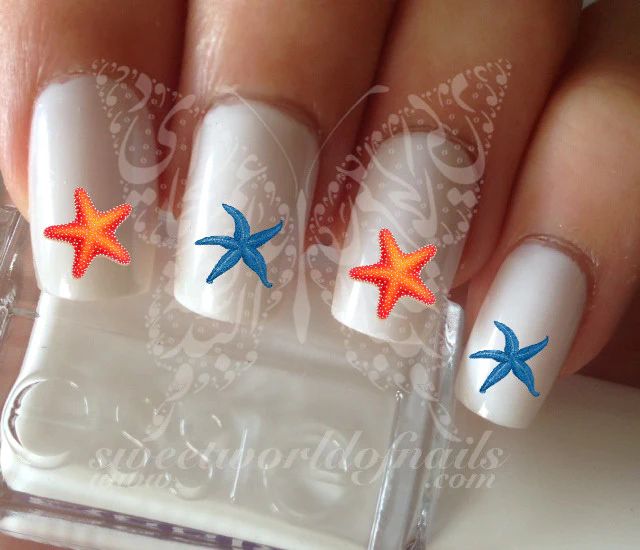
Nail Tattoos
Temporary nail tattoos are a fun and trendy way to accessorize your nails without the permanence of real tattoos. There are many different designs to choose from including flowers, mandalas, graphic prints, and more. Before applying nail tattoos, make sure to prep your nails by filing and buffing to create a smooth surface. It’s also helpful to apply a basecoat so the tattoos adhere better and last longer.
When applying nail tattoos, be sure to carefully place them and smooth down the edges so they don’t peel up. Using a top coat helps seal the tattoos onto the nail. As your nail grows out, you can simply file off the end of the tattoo or replace it with a new one. While temporary, nail tattoos can last up to two weeks if properly applied and maintained.
Some tips for making nail tattoos last include:
- Avoid harsh scrubbing or picking that can cause chipping
- Use gloves for household chores that are tough on nails
- Apply cuticle oil daily to keep nails hydrated
- Get regular manicures to tidy cuticles and shape nails
Nail tattoos allow you to experiment with fun designs without a permanent commitment. Approach them like accessories that you can change out whenever you want a new look!
Nail Stickers
Nail stickers have become a popular nail accessory for their ease of application and ability to instantly transform your manicure. They come in a wide variety of fun patterns, shapes, and designs like florals, animals, abstract art, and more. You can find stickers in different materials like vinyl, gel, or latex. Gel stickers will last over 2 weeks on the nails.
When applying nail stickers, start with clean, dry nails filed into your desired shape. Use a nail file to gently buff the surface of the nails so stickers adhere better. Carefully peel stickers from the backing and apply gently to avoid wrinkles or bubbles. Use a tool like an orange stick to smooth the stickers down, pressing out any air pockets. Wrap stickers around the tip of the nail for the most long-lasting application.
For longer wear, use a top coat like Insta-Dri by Sally Hansen [1] to seal in stickers. Avoid picking at or peeling up stickers, as this can cause them to lift or peel prematurely. With proper application and care, nail stickers can last 1-2 weeks on natural nails and even longer on acrylic or gel manicures.
Nail Stamping
Nail stamping is a technique that is growing in popularity for its ability to create intricate, custom designs on nails quickly and easily. The nail stamping process involves using a metal plate that has designs etched into it, scraping polish over the plate, and then transferring the design onto your nail using a stamper. Compared to stickers or hand painting, stamping allows you to create one-of-a-kind nail art with more precision and less effort.
To get started with nail stamping, you will need a few supplies: a stamping plate, a scraper, a stamper, and nail polish specifically formulated for stamping. We recommend starter kits like those offered by Maniology which include multiple plates and tools to help you experiment with different designs. Their Big Blinger kit offers versatile images like florals, geometrics, and boho chic motifs to elevate any manicure.
For flawless stamped nail art, use a non-smearing nail polish formula with a smooth, even consistency like Maniology’s Smudge Free nails polishes. Load your scraper evenly with polish, scrape the excess off, then gently roll the stamper over the plate in one direction. Carefully press the stamper straight down onto your nail to transfer the image. With practice, you’ll be able to create stunning works of nail art using stamping!
Nail Glitter
Glitter nail polish adds sparkle and dazzle to any manicure. There are several glitter options to choose from including loose glitter, bottled glitter polish, dip powders with glitter, gel polishes, and more. When working with glitter polishes, it’s important to avoid excess glitter shedding and have neat, contained application.
Loose nail glitters allow for creative techniques like ombre glitter gradients. However, they can be messier and require sealing with a top coat to minimize shedding. Some top sellers are China Glaze Hologlam and Artisan Nail Glitter Sparkle Glitter (https://www.amazon.com/Best-Sellers-Nail-Art-Glitters/zgbs/beauty/17269955011).
Bottled glitter polishes make application easier with maximal sparkle impact. Applying 2-3 thin coats helps build coverage while minimizing texture. Top sellers are Essie Set In Stones and OPI Glitter Nail Lacquer (https://dailycharme.com/collections/nail-art-glitters). Using a sticky base coat underneath glitter polish helps it adhere to the nail.
Glitter dip powders fuse glitter with color for a shimmering, long-lasting manicure. Lightly buffing between coats smoothes texture. Finish with a glossy top coat to lock in glitter. Popular options are Revel Chunky Glitter Dip and Kiara Sky Dip Nails (https://www.jpost.com/advisor/beauty/10-best-selling-glitter-nail-polishes-771694).
For a mess-free application, prep the skin around nails with a barrier like petroleum jelly or liquid latex. Use a makeup sponge or eyeshadow applicator to pat on glitter. Work over a paper towel to catch fallout. Sealing glitter with a fast-drying top coat minimizes shedding.
Conclusion
We’ve covered a variety of nail accessories that can help take your manicure to the next level. Rhinestones and jewels add some sparkle and glam. Nail charms allow you to accessorize further with fun shapes and designs. 3D nail art takes your mani into another dimension, while nail tattoos and stickers provide an easy way to switch up your look. Nail stamping, glitter, and more open up a world of creative options.
There are endless possibilities when it comes to nail accessories, so don’t be afraid to get creative and express your personal style. We’d love to hear your own tips and favorite products for accessorizing your manicure. Share your ideas and inspiration to help others step up their nail game.
At the end of the day, nail accessories are a fun way to showcase your personality through your fingertips. They allow you to get creative and change up your look whenever the mood strikes. So explore new styles, have fun with different accents and embellishments, and enjoy putting together a signature look that’s uniquely you!