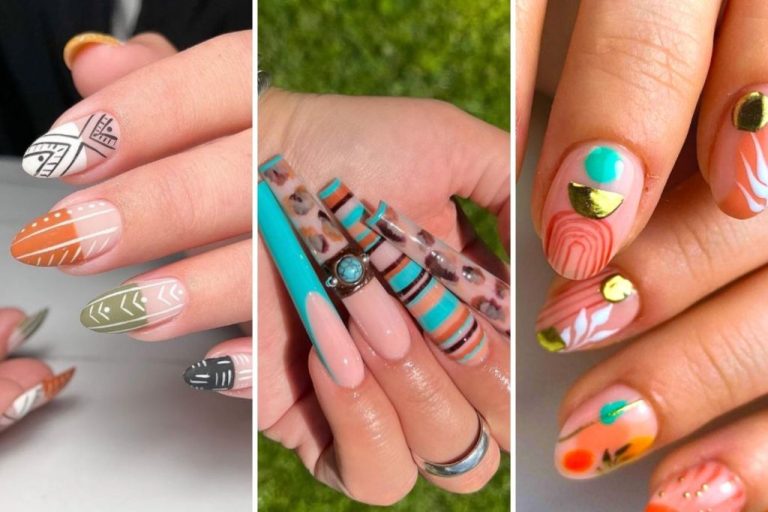
Ombre Magic: Achieve The Gradual Color Trend With Easy Nail Art Tutorials
Ombre nails, also known as ombré nails, refer to a popular nail art trend that creates a gradual faded effect on the nails by blending two or more polishes from light to dark. The ombre technique has been around for years in hair coloring, but has more recently made its way onto nails and become a mainstream look.
The gradient color effect of ombre nails creates a unique, eye-catching style. According to experts, part of the appeal lies in the blended effect that looks professionally done, even though ombre nails can often be easily achieved at home.
There are various techniques used to create the signature ombre fade on nails, including using makeup sponges, brushes, and dotting tools. The look can be tailored from subtle to dramatic ombre shades.
Supplies Needed
To achieve the ombre nail look, you’ll need the following supplies:
Base and top coat – Apply a base coat first to protect the nails, then finish with a glossy top coat to seal in the design. A quick-dry top coat like Seche Vive works well.
Nail polish colors – Choose two or more polish shades that complement each other. The colors will blend together to create the ombre effect. Go for similar tones, like different shades of pink, for a subtle look. Or try bolder color combos like black and yellow.
Makeup sponges – Use wedge-shaped cosmetic sponges to create an airbrushed ombre finish. Cut a sponge to fit the nail shape.
Dotting tools – These tools with different sized round tips are perfect for making polka dots and gradients. Get a set like this one for endless design options.
Striping brush – A thin, pointed brush allows you to hand-paint crisp lines and details. An angled brush gives you the most control.
Sponge Technique
The sponge technique is one of the easiest ways to achieve the ombre look. For this method, you’ll want to select 2-3 nail polish colors that complement each other nicely. The colors should transition well from light to dark.
Start by painting a base coat of your lightest color on all nails and allowing to dry fully. Then take a makeup sponge and dab a small amount of your next color onto the tip area, leaving some of the base showing near the cuticles. Build up the color intensity gradually as you move down the nail by applying more pressure with the sponge.
Finally, finish with your darkest shade using the same dabbing technique to concentrate the most color at the very tips of your nails. The key is to work slowly and blend the colors into one another seamlessly for a natural ombre gradient.
Brushing Technique
The brushing technique is great for achieving a gradual ombre fade with nail polish. Here are the steps:
First, paint a base color on all nails and let it dry completely. A neutral color like white, beige or pale pink works well.
Next, use a striping brush or thin nail art brush to paint on your ombre colors. Dip the brush in the darkest shade you want to use and paint strokes starting at the cuticle and working downward. Apply the most pressure at the cuticle to deposit more pigment and lighten up as you brush towards the tip.
Transition to slightly lighter colors as you work towards the tip of the nail. Keep overlapping the strokes and use the natural brushstrokes to blend the colors together. The key is to apply the darker colors first and build up to lighter shades.
Finish with a clear top coat to smooth and blend the ombre effect. Let it dry then add another layer of top coat for a perfect gradiant nail look!
Dotting Technique
The dotting technique is a fun way to create an ombre fade using different sized dots of nail polish. To achieve this look:
- Paint a base color on all nails first. A lighter color works best for this.
- Use a dotting tool and select a darker polish color. Place larger dots of this color near the cuticle area.
- Choose a slightly lighter shade and make smaller dots, gradually working towards the nail tip.
- Continue using lighter polish colors and smaller dots as you dot towards the tip of the nail.
- The end result will be a fade effect from dark to light.
Dotting tools allow you to easily make uniform dots of different sizes. You can find these tools at beauty supply stores or online. When doing the dotting technique, work carefully and slowly build the ombre pattern. Take your time and don’t rush through it. The patience will pay off with a professional looking ombre manicure!
Gradient Tips
To create a seamless ombre gradient, it’s important to follow some key techniques. As explained on Colourful Saz, start by painting a base color on all nails first. This provides the foundation. Next, use a makeup sponge to lightly dab the lighter color onto the tips of the nails. The sponge helps diffuse the color for a soft look. Finally, very gently blend the lighter color into the base color using the sponge. You want the transition between the colors to be subtle and gradual. Avoid any harsh lines. The key is taking your time and blending well. With practice, you can achieve a flawless ombre gradient effect.
Marble Effect
The marble effect is a fun and eye-catching way to achieve an ombre manicure. Follow these steps:
First, paint a base color onto all nails. A light nude or pink works well. Allow to fully dry.
Next, drop various colors of nail polish such as black, white, blue, and purple into a cup of room temperature water. The polish will spread out and create a marbled effect on the surface of the water.
Then, dip each nail into the water and lightly swirl it around. This will transfer the marble effect onto the nail.
Finally, allow to dry fully and seal with a high shine top coat. https://www.pinterest.com/pin/265079128057781489/
The marble ombre nails create a stylish, one-of-a-kind manicure!
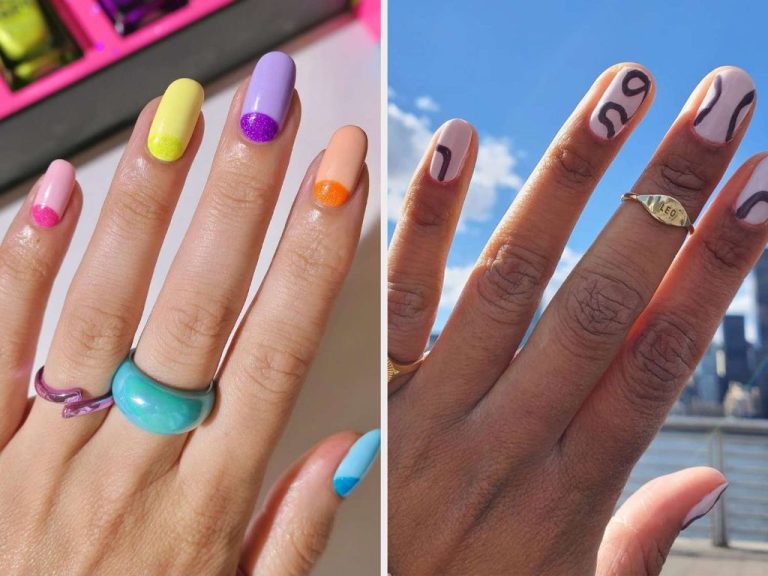
Two-Tone Ombre
The two-tone ombre look is a classic and chic nail design. To achieve it, start by painting the first half of each nail with your base color. Use neat, straight strokes and allow to dry completely. Next, paint the other half of each nail with your second ombre color. Again allow to dry.[https://www.pinterest.com/pin/two-tone-ombre-nails-in-2022–650348002451448527/]
Once both colors are dry, use a makeup sponge to softly blend the center line where the two colors meet. Apply light pressure and smooth strokes to marry the colors together into a seamless ombre gradient. Make sure not to over-blend, as you want to maintain definition on both halves. Finish with a top coat for a salon-perfect two-tone ombre manicure!
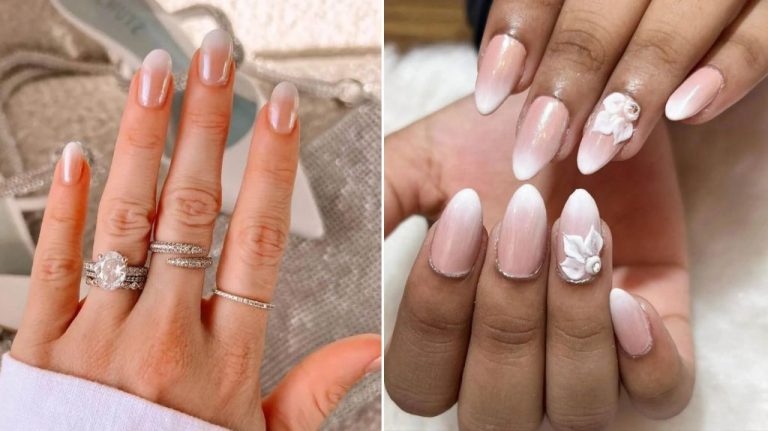
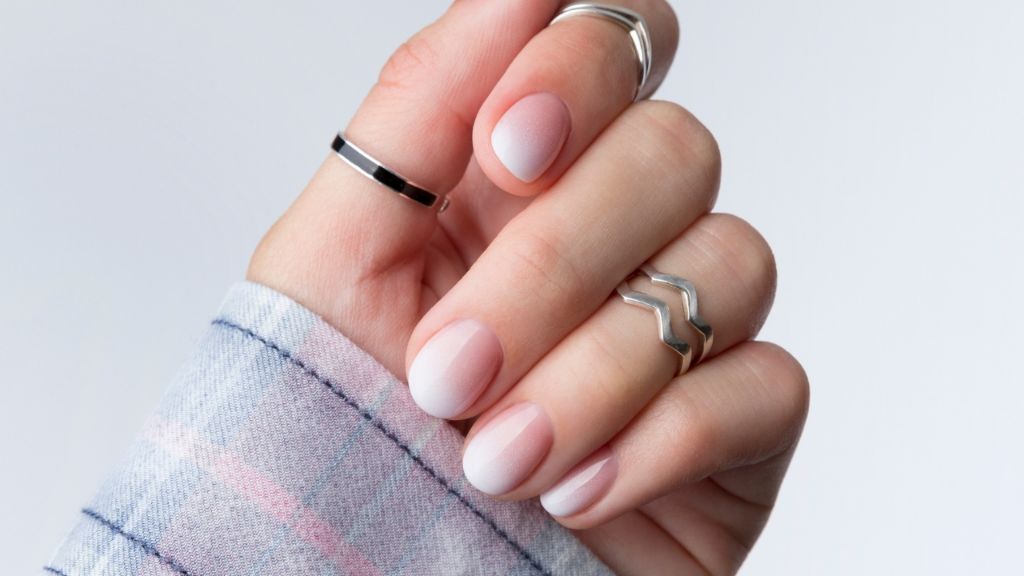
Ombre French Manicure
The ombre french manicure combines the timeless elegance of a French manicure with the modern ombre trend for a stylish nail look. To achieve this:
Paint a nude, pink, or other pale base color on all nails first. Make sure to apply two coats to ensure even coverage. Allow the base color to dry completely.
Next, use a makeup sponge to apply white nail polish just on the tips of the nails. Start closer to the base of the nail and lightly dab the sponge straight down towards the free edge to create a faded effect.
The makeup sponge helps create that soft ombre gradient and blurred line, transforming a standard French manicure into a modern ombre French manicure. Avoid painting a harsh straight French tip by feathering the sponge off the nails.
Finish with a clear top coat to seal in the design.
Maintenance Tips
To make your ombre manicure last longer between fills, be sure to focus on nail health and avoiding chips or cracks. Here are some tips:
Use a quality base coat and top coat to help prolong the wear of your ombre nails. The base coat fills in any ridges on the nail and prevents staining, while the top coat creates a smooth, shiny seal to prevent chipping and peeling 1.
Avoid chipping by wearing gloves when doing heavy cleaning or other tasks that are tough on nails. The gloves form a protective barrier so your nails don’t get banged up 2.
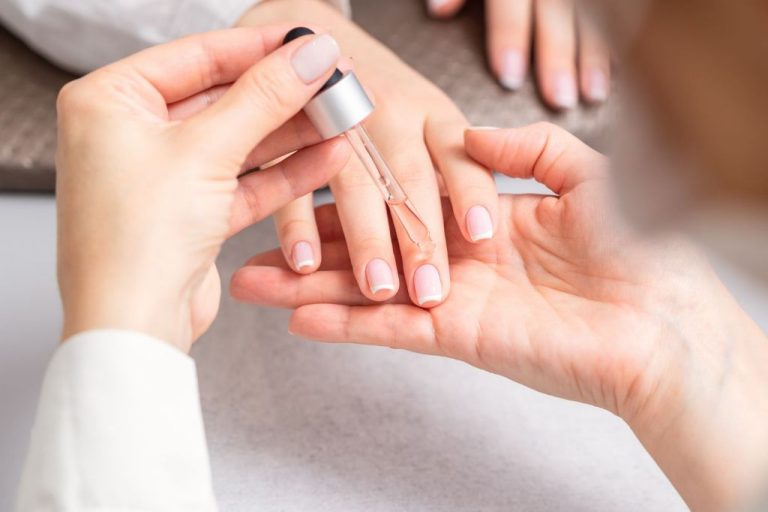
Apply cuticle oil daily to keep the nails and surrounding skin hydrated. Jojoba, vitamin E, and other nourishing oils will help prevent cracking or peeling for a flawless ombre look.