Recreate A Celebrity Mani At Home With Easy Tutorials: Diy Challenge!
Recreate Showstopping Celebrity Manicures at Home
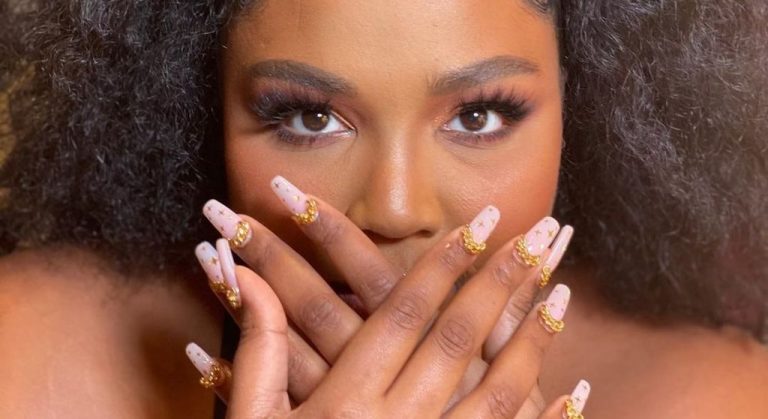
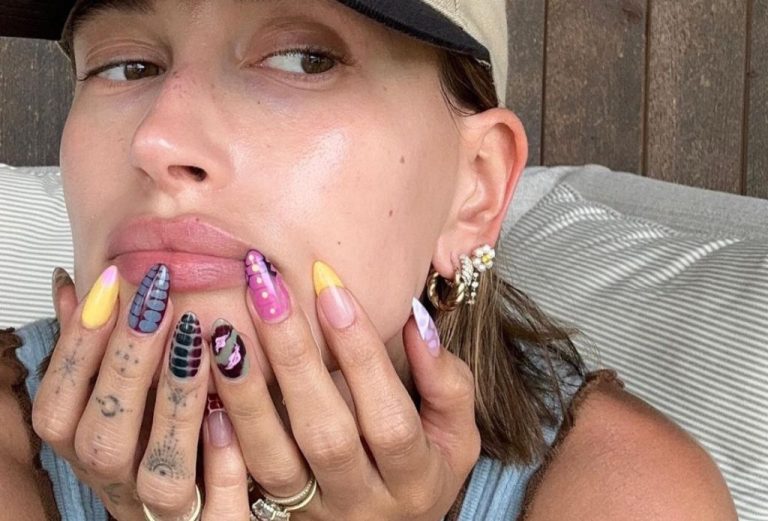
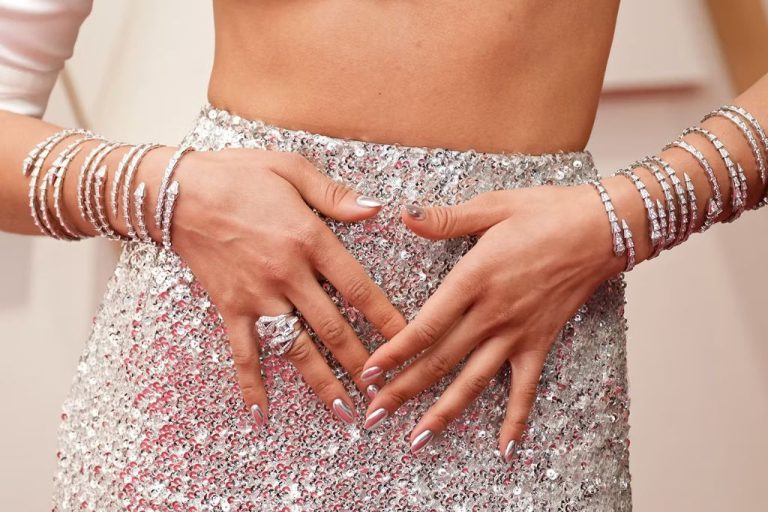
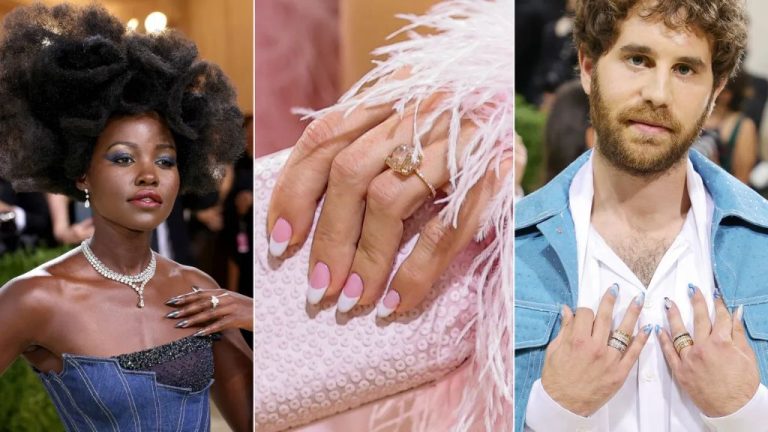
Celebrity manicures have become all the rage, with over 56% of women citing celebrities as their top inspiration for nail art trends according to a NewBeauty survey. While recreating these glamorous nails at home can seem daunting, it doesn’t have to be. In this DIY tutorial roundup, you’ll learn easy techniques for achieving some of the most popular celebrity manicures, from classic French tips to artsy marble and chrome effects.
Follow along as we break down step-by-step methods for recreating 5 celebrity-approved nail looks. You’ll get tips on supplies needed, nail prepping, executing intricate designs, and removal. With a bit of practice, you can give yourself salon-worthy nails from the comfort of home.
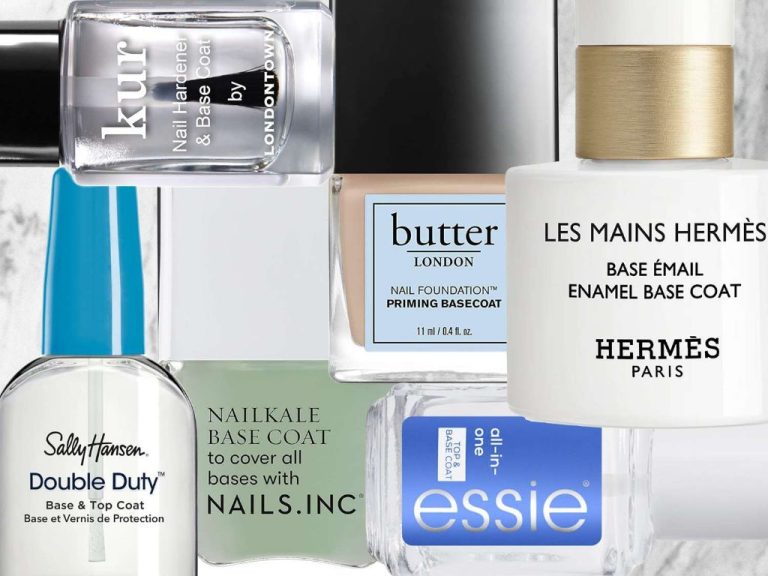
Needed Supplies
Recreating a celebrity-worthy manicure at home requires having the right supplies on hand. Here are the basic items you’ll need:
-
Base coat – A good base coat is essential for protecting your nails. Look for one that smooths ridges and prevents staining. OPI Natural Nail Base Coat is a top choice.
-
Top coat – This seals your manicure and makes it last. Seche Vite Dry Fast Top Coat dries quickly to a hard, glossy finish.
-
Nail polish colors – Pick glitter, shimmer, creme, and metallic polishes in your choice of shades. OPI and Essie make excellent long-lasting nail lacquers.
-
Nail file – Look for a high grit file to shape nails. Try a glass file which prevents splitting.
-
Cuticle remover – Sally Hansen Instant Cuticle Remover softens and loosens cuticles for easy pushing back.
-
Cuticle pusher – A metal one works best to neatly push back cuticles after applying remover.
-
Nail clippers – Trim nails straight across before filing the shape.
Invest in quality professional products for a salon-worthy manicure that lasts. With the right supplies, you’ll be ready to recreate stunning nail looks at home.
Prep Your Nails
Prepping your nails is one of the most important steps to achieving a perfect, long-lasting manicure. Start by filing each nail to your desired shape and length using a nail file. Gently file in one direction starting from the outside corner down towards the center of the nail. This helps prevent cracking or peeling. Use light, even strokes and avoid sawing back and forth aggressively.
Next, buff the surface of each nail with a nail buffer or buffing block. Apply light pressure in one direction – don’t scrub too hard. This smooths any ridges and prepares the nail plate for polish application. Buffing promotes adhesion and prevents chips.
Finish up with cuticle clean up. Gently push back cuticles with a metal cuticle pusher. Avoid cutting cuticles, as this can lead to hangnails and infection. Use cuticle remover or a softener to safely dissolve and wipe away any excess or stubborn cuticle tissue. Rinse and dry nails thoroughly.
Taking the proper time to shape, buff and clean nails will allow for the perfect polish application. Be patient and focus on creating an even, smooth surface across all nails. Correct prep prevents polish chips and peeling while allowing the color to glide on flawlessly.
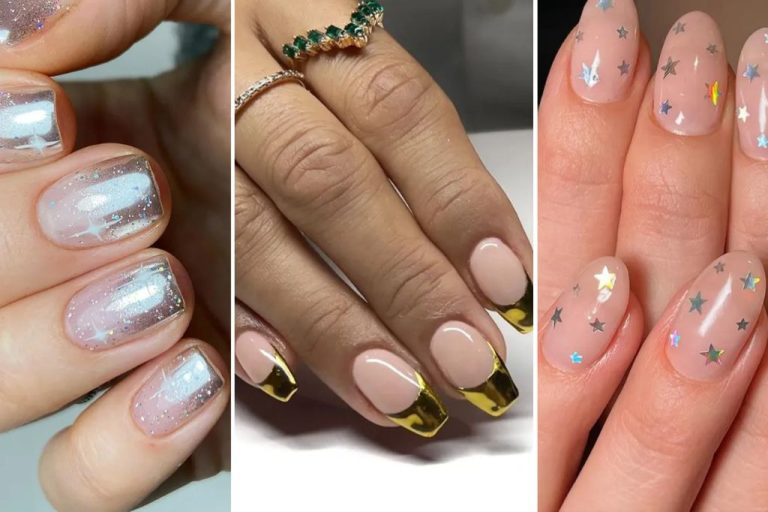
Recreate Celebrity French Manicure
The classic french manicure is a timeless and elegant look that never goes out of style. Many celebrities from Jennifer Lopez to Kim Kardashian have been spotted rocking a fresh french mani. The good news is you can easily recreate this salon-quality manicure at home with the right polishes and technique.
For a flawless french tip, opt for a sheer, pale pink or beige polish for the basecoat color. Stay away from whites, which can look harsh. For the french tips, choose a slightly brighter white polish. Color Street and OPI are great options. Make sure you have a quality nail file, buffer, cuticle remover, base coat, and top coat on hand too.
Start by filing and shaping your nails evenly. Push back and trim your cuticles if needed. Then apply your base coat and let it dry. Using a french tip guide or striping tape, paint on your base color avoiding the nail tips. Apply two thin coats and let dry completely between coats. Next, paint the white polish on the tips starting very close to the base and pulling downward. Finish with a slick topcoat to seal and add shine. Don’t forget to cap the tips! With practice, you’ll be able to freehand your tips for a pro-level mani.

Marble Nail Art
Marble nail art is a fun and stylish DIY nail design that has become popular on social media. The technique involves dropping nail polishes into water to create a marbleized pattern, then transferring the design onto your nails. Marble manicures look amazing, but can seem daunting for beginners to recreate at home.
To achieve the marble look, you’ll need a few simple supplies: clear nail polish, base coat, different colored nail polishes, a bowl of room temperature water, and a toothpick or dotting tool. Start by applying a base coat to protect your nails. Then, drop a few drops of different colored polish into the water and use a toothpick to swirl and marbleize the polish. Working one nail at a time, dip your nail into the water and let the polish adhere to your nail. Finally, top it off with a layer of clear polish to seal in the design.
A few tips for getting perfect marble nails: Use room temperature water, work quickly before the polish spreads out too much, and don’t move your fingers after dipping them in the water. The trickiest part can be transferring the design from the water to your nails smoothly. If you mess up, just wipe off the polish from that nail and redo it. With some practice, you’ll be able to get creative and make mesmerizing marble designs!
Metallic Chrome Nails
Chrome nails are one of the biggest nail art trends and for good reason – the mirror-like, high-shine chrome finish looks super glamorous and eye-catching. While chrome nails used to only be achievable at the salon with specialty products, it’s possible to recreate this look at home with items you likely already have (or can easily pick up).
To achieve chrome nails, you’ll need a chrome or holographic nail powder, top coat, nail polish remover, cotton pads, base coat, and nail polish in the color of your choice. Make sure to start with clean, dry nails. Apply base coat first, then paint on your nail polish color. Once dry, gently buff the nails to create a smooth surface for the powder to adhere to. Brush chrome powder onto the nail using a makeup brush. Seal it with a fast-drying top coat like Seche Vite (Bustle). The top coat helps the powder stick and creates that ultra-shiny finish.
A few tips for gorgeous chrome nails: Apply powder in a patting motion and avoid wiping as this can create streaks. Work quickly before the top coat dries and seal with another layer of top coat for maximum shine. Prep nails with a dehydrator first for better powder adhesion. Store unused powder in an airtight container to keep it fresh. Consider using a peel-off base coat for easy removal. With the right products and techniques, you can easily achieve striking chrome nails at home!
Negative Space Nail Art
Negative space nail art is a big trend right now in the world of nail designs. The concept involves using negative space (gaps) on the nails to create cool designs and optical illusions.
Here’s how to achieve the negative space nail art look:
- Start with a base coat on all nails. Let dry.
- Paint your nails with a neutral or light nude polish. Let dry completely.
- Use a nail art brush and black polish to paint angular lines, shapes, or squiggles onto several nails, leaving gaps of negative space.
- On the other nails, paint half-moon shapes or simple stripes with the black polish.
- Finish with a fast-drying top coat like Seche Vite to seal in the design.
Tips for awesome negative space nail art:
- Use a striping brush for clean lines.
- Try different color combos like white/black, nude/blue, etc.
- Add sparkles or glitter to really make it pop.
- Play around with different shapes and angles.
- Look up inspo pics online for unique ideas.
The wonderful thing about negative space designs is they look so artistic yet are surprisingly easy for anyone to do at home. Give this trendy nail art look a try for your next DIY manicure!
Source: https://www.allure.com/gallery/negative-space-nail-art-how-to
Gel Manicure Removal
Removing gel polish properly at home is important to avoid damaging your natural nails. Improper removal techniques like peeling or picking can thin and weaken nails.
For safe gel removal, you’ll need 100% pure acetone, foil, cotton balls, cuticle oil, and a nail file. Never try to just peel off the gel polish as that can tear layers off the nail plate.
Follow these safe, step-by-step instructions to remove gel manicure at home:
- File the top layer of the gel polish with a nail file until you reach the natural nail. Don’t file too much or you may thin the nails.
- Soak a cotton ball in pure acetone and place it on top of each nail. Wrap the finger in foil to hold it in place.
- Let the acetone work for 10-15 minutes. Check and replace the cotton balls as needed until the gel polish comes off easily.
- Gently push off the gel with an orange wood stick. Avoid scraping roughly.
- Use a nail file to gently buff away any remaining gel or shine.
- Apply cuticle oil to condition the nails and cuticles.
Be patient during the acetone process and do not peel or pick at the gel polish. With the right steps, you can safely remove gel manicures at home.[1]
Caring for Your Nails After Gel Removal
After removing a gel manicure, it’s important to properly care for your nails to reduce dryness and damage. Gel polish can leave nails feeling brittle and thin. Proper moisture is key for restoring strength and health to your nails post-gel removal.
Make sure to generously apply a hydrating nail oil or cream daily. Look for formulas containing jojoba oil, vitamin E, and shea butter to deeply nourish nails and cuticles. Gloves can help seal in moisture overnight. Try Sally Hansen Cuticle Rehab or OPI Nail & Cuticle Oil.
Exfoliating the nail surface 1-2 times per week will remove dead skin and smooth ridges. Make a scrub with equal parts sugar and olive oil for a homemade option. Don’t forget your cuticles! Apply cuticle oil 2-3 times per day to replenish moisture around the nails and prevent peeling.
Limit exposure to water when possible in the days after gel removal. Wear gloves for household chores and apply a thick hand cream after washing. Avoid picking or peeling the nails as they recover. With proper TLC, your nails will be back to their healthy, beautiful best!
Conclusion
In this article, we covered several fun celebrity-inspired nail art tutorials you can recreate at home, including a chic French manicure, mesmerizing marble nails, edgy chrome nails, and creative negative space designs.
With some practice and the right supplies, you can give yourself gorgeous, salon-worthy nails without spending a fortune. The key is taking your time and not getting discouraged if your first attempts don’t turn out perfectly.
Be sure to properly prep and care for your nails. Start simple and work your way up to more advanced looks. And don’t forget to finish with a good top coat for shine and protection.
We hope these DIY nail tutorials have inspired you to unleash your inner celebrity nail artist. Show us your creations by sharing on social media and tagging us! We’d love to see your beautiful nails.