Diy Nail Hacks Every Nail Enthusiast Should Know
Nail care is a booming industry, with the global nail salon market size estimated at $45.44 billion in 2021 and expected to grow 7.4% annually to reach $69.79 billion by 2027 (https://gitnux.org/nail-salon-industry-statistics/). With more people than ever before interested in nail art and nail care, DIY nail techniques at home are becoming increasingly popular. This allows nail enthusiasts to experiment with new looks and save money on professional manicures.
This article will explore useful DIY nail hacks that every nail lover should know. From quick tricks for broken nails to at-home manicure tips and techniques, these nail hacks will elevate your at-home nail game. With the right tools and techniques, you can give yourself a salon-quality manicure without leaving your home. Read on to learn pro secrets that every nail enthusiast needs in their arsenal.
Cleaning Under Nails
Keeping the area under your nails clean is an important part of nail hygiene. Dirt, debris, and bacteria can build up under the nails if not properly cleaned. Here are some tips for effectively cleaning under your nails:
Use a toothpick, orange stick, or rubber cuticle pusher to gently scrape and remove debris from underneath the nails. According to nailboo.com, soaking nails in equal parts apple cider vinegar and water for 20 minutes can help loosen debris for easier cleaning[1]. When using tools to clean under nails, be very gentle and do not scrape too harshly to avoid damaging the nail bed.
You can also use a soft-bristled nail brush and mild soap to scrub the nail plates, sides of nails, and under nail area when washing your hands. Rinse thoroughly. Healthline recommends always cleaning underneath nails before applying nail polish[2].
Clean under nails daily, or whenever you wash your hands, to prevent buildup. Keep nails trimmed to reduce spots for dirt to accumulate.
Being diligent about under nail hygiene can help prevent nail infections and keep your nails looking their best.
[1] https://nailboo.com/blogs/news/how-to-clean-under-nails
[2] https://www.healthline.com/health/how-to-clean-under-nails
Fixing Broken Nails
One of the most frustrating things that can happen to your nails is when they break. Luckily, there are some easy DIY fixes you can try at home before running to the salon for help. Here are a few handy nail hacks for repairing a broken nail:
Use a tea bag. This is one of the quickest and easiest ways to fix a broken nail in a pinch. Simply cut a small piece of tea bag that will cover the broken area. Apply nail glue to the underside and press it onto the nail, smoothing it out so it lays flat. The tea bag patch will help strengthen the nail until it can grow out (Source: https://www.bebeautiful.in/all-things-makeup/nails/4-super-simple-hacks-to-fix-broken-nails).
Use nail glue. For a quick DIY fix, simply apply a small dab of nail glue over the broken area and smooth it out with a toothpick. This will seal the break and prevent snagging. Allow to fully dry. You may need to reapply every few days as it grows out.
Try silk or fiberglass wraps. These provide a more reinforced, longer lasting repair. Gently file the nail to rough up the surface, then apply a thin layer of nail glue. Press the wrap onto the nail over the broken area. Apply more glue over top and allow to fully dry before smoothing and shaping the nail.
At-Home Manicures
Here are some tips for giving yourself a professional-looking manicure at home:
- Start by filing your nails to your desired shape using a nail file. Make sure they are completely dry before filing. File in one direction to prevent breaking (Source: https://www.oprah.com/omagazine/get-a-perfect-at-home-manicure-in-7-easy-steps/all)
- Soak your nails in a bowl of warm water mixed with a few drops of olive oil for 5-10 minutes to soften your cuticles.
- Gently push back your cuticles with an orangewood stick, never metal. This prevents hangnails and overgrowth. (Source: https://www.allure.com/story/at-home-manicure-tips)
- Trim any excess cuticles with nippers or cuticle scissors if needed.
- Wash your hands thoroughly with soap and water and pat dry.
- Apply a base coat to protect your nails, let it dry.
- Apply 2-3 thin coats of your desired nail polish color, allowing drying time between coats.
- Finish with a clear top coat for shine and chip resistance.
Follow these simple at-home manicure steps for beautiful, salon-worthy nails.
Cuticle Care
Proper cuticle care is essential for healthy, beautiful nails. Cuticles act as a protective barrier against bacteria and other contaminants, so it’s important not to damage them when pushing them back (source). Use a cuticle pusher or orange stick to gently push back the cuticles after softening them in warm water. Avoid aggressively cutting or tearing the cuticles, as this can lead to infections.
It’s also vital to keep cuticles well-moisturized to prevent painful cracking or hangnails. Massage a nourishing cuticle oil or cream into the nails and cuticles at least once per day. Many dermatologists recommend petroleum jelly as an affordable moisturizing option (source). Look for moisturizers containing ingredients like vitamin E, shea butter, and jojoba oil. Proper cuticle care requires a gentle approach focused on hydration.
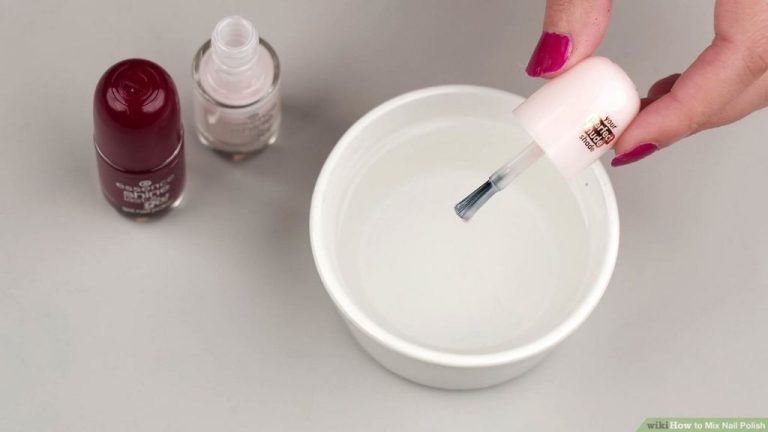
Quick-Dry Drops
One of the easiest DIY nail hacks for drying nail polish fast is to make your own quick-dry drops using just a few simple ingredients you likely already have at home. The key ingredient is rubbing alcohol, which helps evaporate the water and solvents in nail polish, allowing it to set and harden faster. Here’s how to make homemade nail drying drops in just a few minutes:
Materials Needed:
- Rubbing alcohol
- Small glass jar or bottle
- Dropper
- Essential oils (optional)
Instructions:
- Fill the jar about halfway with rubbing alcohol.
- Add a few drops of essential oils for fragrance if desired – lavender, citrus, and mint oils work well.
- Insert dropper and shake jar to mix.
- To use, simply place 1-2 drops on each nail after polish application and allow to dry. The alcohol helps speed up drying time.
- Store leftover solution in the jar for future manicures.
The rubbing alcohol in DIY quick-dry drops can cut nail polish drying time nearly in half. Keep a bottle on hand for quick manicures anytime. For best results, be sure to cap the polish tightly before applying drops to prevent the alcohol from drying out the remaining polish.
Sources:
https://www.vogue.in/beauty/content/how-to-dry-nail-polish-fast-application-tips
Nail Strengtheners
Weak, brittle nails can easily break and tear. Using homemade nail strengtheners can help improve nail health and prevent breakage. Some effective ingredients to use in DIY nail strengtheners include:
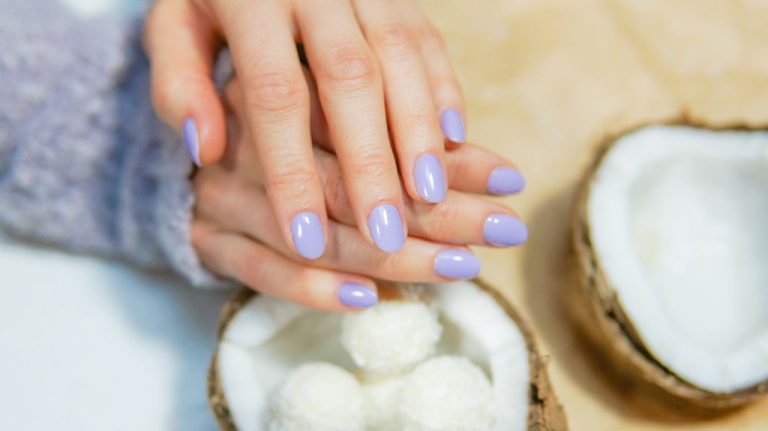
Coconut oil – Rich in fatty acids, coconut oil helps condition nails and cuticles. Mix equal parts coconut oil and vitamin E oil and massage into nails and cuticles daily.
Olive oil – Contains antioxidants that strengthen nails. Soak nails in warm olive oil for 10 minutes, then massage oil into nails.
Gelatin – Contains collagen which promotes nail growth. Mix 1 teaspoon of gelatin powder with 2 teaspoons of water and apply to nails. Let dry then rinse.
Lemon juice – The vitamin C brightens nails and assists growth. Dip fingers in lemon juice for 5 minutes daily.
Homemade recipes like coconut oil mixed with vitamin E or olive oil soaks are easy, affordable options to improve brittle nails and stimulate growth.
Press-On Nails
Press-on nails provide a quick and easy way to get a perfect manicure at home. However, making sure they fit properly and last more than a day can take some practice. Here are some tips and tricks for applying press-ons successfully:
To get the right size, measure your nail beds and purchase press-ons according to the sizing chart. File the edges of your natural nails so they are smooth. Soak the press-ons in warm water for a few minutes before applying to make them more pliable (1).
Thoroughly clean nails with soap and water or acetone to remove any oil. Lightly buff the surface of your nails so the press-ons adhere better. Apply a thin layer of super glue or nail adhesive, avoiding cuticles. Press each artificial nail firmly for about 10 seconds (1).
To help them last, avoid water exposure for 24 hours after application. Apply a clear topcoat to the edges of each nail to seal it. Reapply glue underneath if any start to lift. With proper prep and care, press-ons can last up to two weeks.
With the right techniques, press-on nails can provide a quick, easy, and affordable at-home manicure option. Follow these application and wear tips and your press-ons will look fabulous (1).
(1) https://www.merakilane.com/manicure-monday-10-genius-press-on-nail-tips-and-hacks/
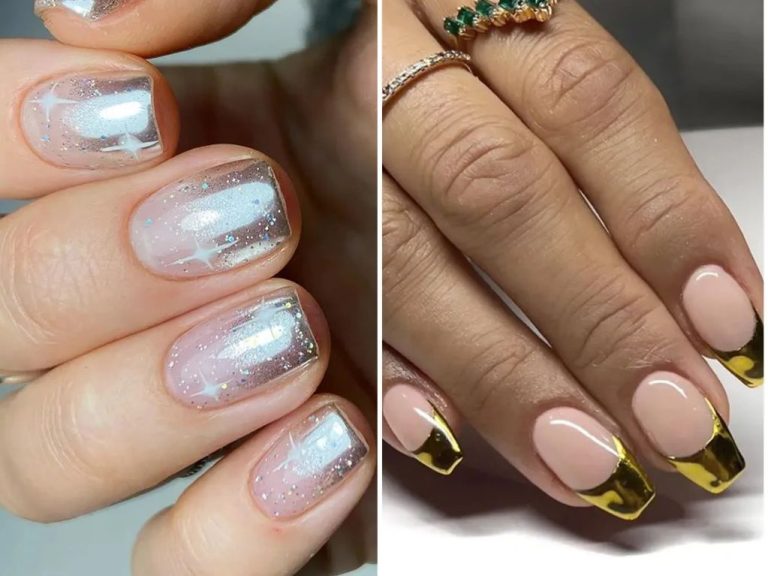
Nail Art
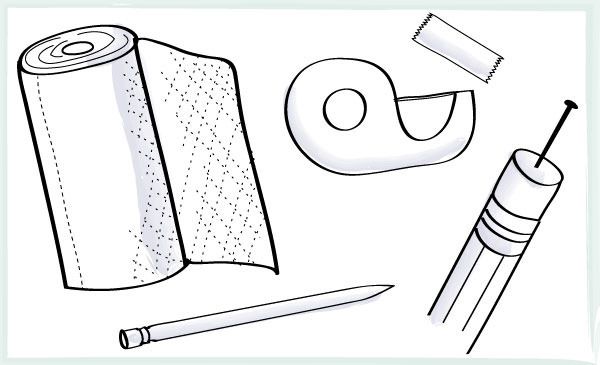
Nail art is a fun way to spice up your manicure and show off your creativity, even for nail novices. Many gorgeous nail art designs can be achieved with simple techniques and household items you already have at home. Here are some easy nail art tutorials to try using things like tape, bobby pins, toothpicks, and more:
Stripe Nail Art: Paint your nails a base color first. Then take small strips of tape and place them horizontally across each nail to create stripes. Paint a contrasting color over the tape. Once dry, gently remove the tape to reveal clean stripe lines.
Polka Dot Nails: For this simple design, dip the tip of a bobby pin in nail polish and gently press onto each nail to create dots. Use different size bobby pins for larger and smaller dots.
Geometric Nail Art: Start with a base color on all nails. Then use a toothpick and contrasting polish to draw triangles, squares, or other shapes on accent nails. Let dry thoroughly between coats.
Ombre Nails: Apply your chosen nail colors in a gradient, light at the base to dark at the tip, using makeup sponges for blending. This creates a stylish ombre effect.
With just a few basic tools and your creativity, you can achieve chic, eye-catching nail designs at home. Nail art is easier than you think!(Source)
Conclusion
To recap, DIY nail hacks can allow you to take nail care into your own hands, saving time and money. This article covered cleaning under nails, fixing broken nails, at-home manicures, cuticle care, quick-dry drops, nail strengtheners, press-on nails, and nail art.
Now that you know these simple DIY nail hacks, you can experiment with taking nail care into your own hands. Start with basic techniques like cleaning under nails and cuticle care before trying more advanced nail art and press-on designs. With practice, you’ll be able to achieve beautiful, salon-worthy nails from the comfort of your own home.
For more DIY beauty tips and tricks, be sure to bookmark this site and check back regularly. With these nail hacks in your back pocket, you can have stunning nails any day of the week!