Unlock Salon-Quality Nails At Home: Expert Tips For Diy Mani-Pedis
At-Home Nails are on the Rise
The COVID-19 pandemic dramatically increased interest in do-it-yourself beauty treatments, with nail care being one of the most popular categories. According to market research, searches for “DIY manicure” increased by over 300% in 2020 compared to the previous year.
With salon visits being limited, people looked for ways to pamper themselves at home. The good news is that with the right techniques and products, you can give yourself a salon-quality mani-pedi without leaving your house.
In this guide, we’ll share pro tips on how to prep your tools, perfect your polish application, care for cuticles, and more. Read on to learn the secrets of creating stunning nails right from your living room.
Supplies to Have On-Hand
Having the proper supplies is essential for achieving salon-quality results at home. Here are some of the key items to have:
Base coat – Applying a base coat helps the polish adhere to the nail and prevents staining. Experts recommend using a ridge-filling base coat to smooth uneven surfaces (source).
Top coat – A good top coat like a fast-drying or gel-like formula seals in color and provides a glossy, chip-resistant finish. Using a top coat is a must for long-lasting manicures and pedicures.
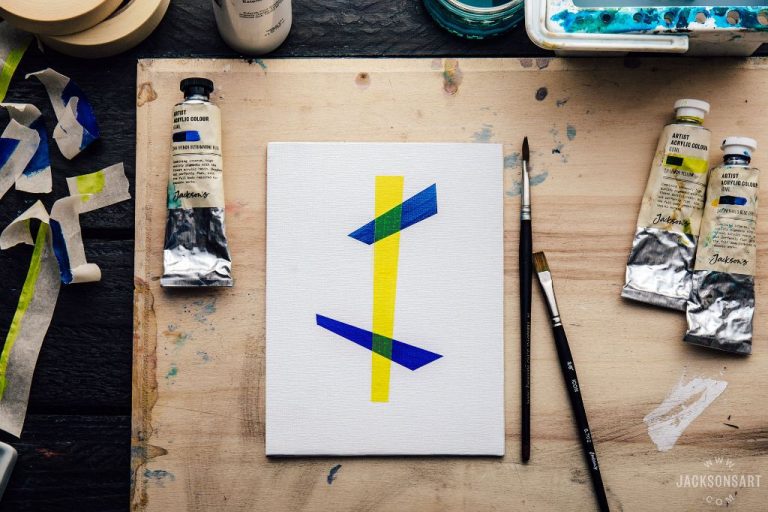
Nail polish colors – Have a range of nail polish colors on hand for variety. Go for popular shades like reds, pinks, neutrals, and seasonal trend colors. Mini bottles or sample sizes allow you to try more colors.
Cuticle oil – Massaging cuticle oil into the nails and cuticles keeps them hydrated and healthy-looking. Look for formulas with vitamins and moisturizing oils.
Nail files and buffers – Files shape nails and buff away ridges or imperfections. Have both coarse and fine grit nail files plus a buffer for smoothing.
Cotton balls – Use cotton balls to wipe away excess oil or polish. Choose lint-free for best results.
Sanitation is Key
Proper sanitation and disinfection is crucial when doing your own manicures and pedicures at home. Improperly sanitized tools and unclean conditions can lead to infections or the spread of fungus and bacteria.
Be sure to thoroughly wash your hands and scrub under the nails before starting any nail care. According to Salons Direct, hands should be washed for a full 20 seconds with soap and water.
Disinfect all nail tools before and after each use. An EPA-registered disinfectant or a 70% isopropyl alcohol solution work well for disinfecting metal nail tools. According to IGEL Beauty, tools should be fully submerged in disinfectant for 10 minutes for full disinfection.
Use a clean towel or disposable wipes for each manicure or pedicure session. Avoid reusing towels between clients or sessions, as they can harbor bacteria.
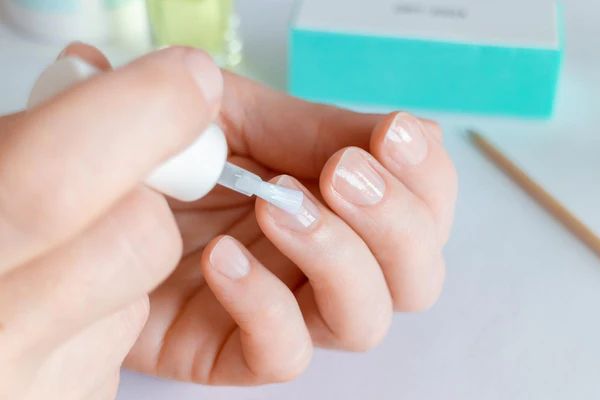
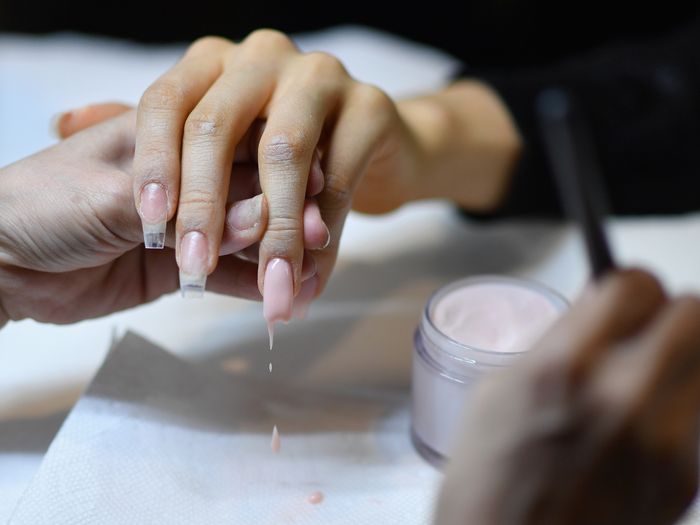
Perfect the Base Coat
A smooth, even base coat creates the foundation for a flawless manicure that lasts. According to Wikihow, allow ample drying time between base coat and polish layers to help prevent bubbling and smudging. They recommend waiting 5-10 minutes between coats for the best results.
When applying the base coat, use long and even strokes starting from the base of the nail. Work from one side of the nail to the other gently to create an even layer, using the edge rather than the tip of the brush. Avoid quick strokes or overworking one area. Let the coat dry fully before moving on. This helps prevent unevenness or bubbling from occurring.
The number of base coat layers depends on your nail needs. For extra protection and a smooth canvas for polish, Wikihow suggests doing 2 thin base coat layers instead of 1 thick layer. This ensures complete coverage. Just remember to let each layer dry fully first.
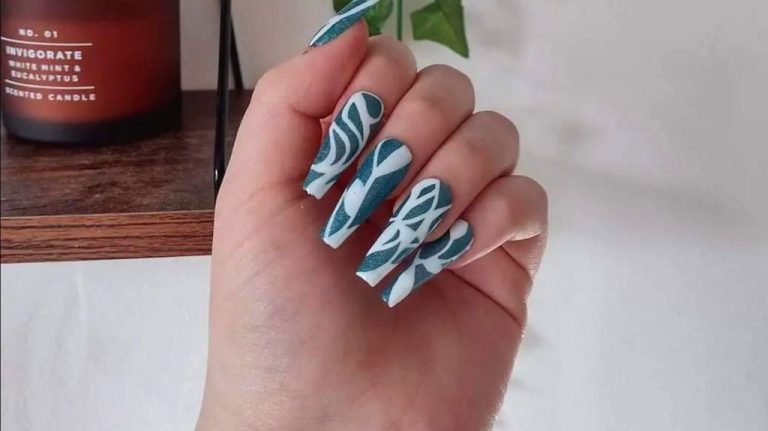
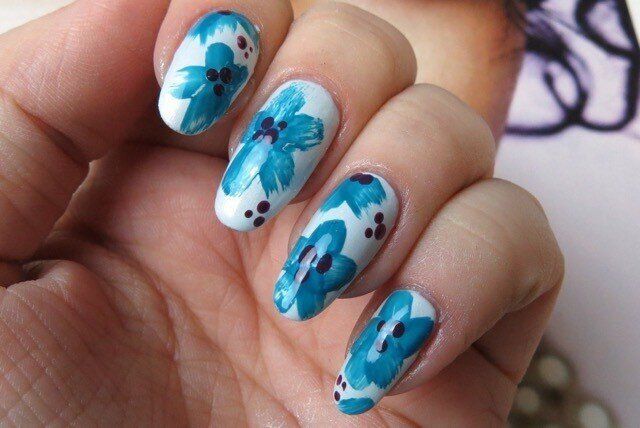
Applying Color
One of the most important techniques for a flawless at-home manicure is mastering a smooth, even application of nail polish. According to experts at Manucurist, the key is using thin coats and allowing proper drying time between them. They recommend using only 2-3 brush strokes per layer and starting each stroke in the center of the nail before stretching it out evenly to the edges.
“Apply the polish in very thin and even layers, using about 3 brushstrokes. Start in the middle of the nail and stretch the nail polish out to the edges without going over the same area twice. Let each layer dry completely before adding the next one,” advises Manucurist (https://us.manucurist.com/blogs/journal/how-to-perfectly-apply-your-polish).
BeautyBay agrees that “less is more” when using nail polish. They recommend multiple thin layers over thicker coats for the most flawless look. Allow each layer to dry fully before adding the next. This helps prevent clumping, streaking or bubbles in the polish. A good rule of thumb from BeautyBay is to wait 5 minutes between coats of regular polish and 30-60 seconds for gel polish (https://www.beautybay.com/edited/tips-for-using-gel-polish/).
Finally, use a small brush dipped in remover to gently tidy up the edges and cuticles after each layer. This helps create a neat, professional-looking manicure.
Seal the Deal
Applying a good top coat is key for getting salon-quality nails at home. A top coat creates a protective layer over your polish to seal everything in. This helps prevent chips and cracks so your manicure lasts longer. Top coats also give an ultra-glossy finish, enhancing the shine of your nail color.
Choose a fast-drying top coat for the smoothest results. Slow-drying top coats can lead to smudges as the polish underneath remains soft. Quick dry top coats like Seche Vite (https://us.manucurist.com/blogs/journal/why-do-i-need-a-top-coat) dry to the touch in minutes. This prevents smearing or ruining your fresh manicure.
Apply top coat generously over each coated nail and let dry fully. The hardened layer will lock in your color and design. Your mani will stay pristine longer with a protective top coat.
Shaping Tips
Proper nail shaping starts with filing your nails into the desired shape. When filing nails at home, it’s important to use gentle, even strokes in one direction across the nail. Avoid sawing back and forth as this can cause nails to split and peel. Focus filing pressure on the sides of the nail, and avoid over-filing the top of the nail plate.
For smooth edges, always file in the same direction and use a high-grit file. Finishing with a buffer creates an ultra-smooth finish. When shaping nail tips, aim for rounded corners instead of sharp points to prevent cracking and breakage. This helps nails look shapely yet still strong. For the perfect oval or almond shape, filing the sides straight then rounding the free edge creates a balanced look.
Take your time to shape each nail precisely. Rushing through filing can lead to uneven lengths or shapes. Patience and the right techniques will give you flawless, salon-worthy nails you shaped yourself.
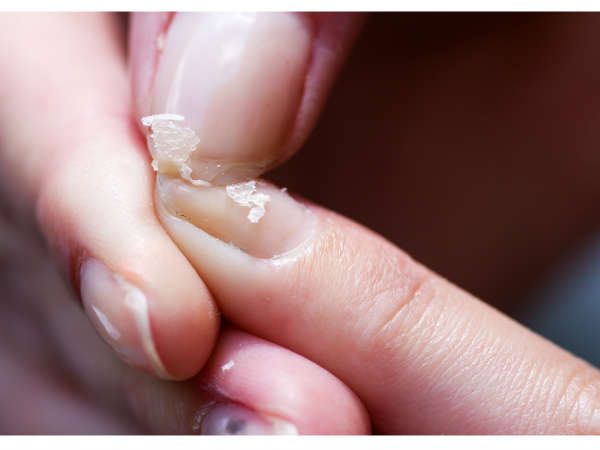
Cuticle Care
Proper cuticle care is crucial for healthy, beautiful nails. According to experts at WebMD, it’s important to keep cuticles hydrated by regularly applying petroleum jelly, cuticle oil, or moisturizing creams.[1] Massaging the products into the nail and cuticle area will soften the skin and prevent cracking or peeling. When getting a manicure, avoid having your cuticles cut or nipped, as this can damage the nail bed over time. Instead, have the manicurist gently push back the cuticles with an orangewood stick after soaking the hands in warm water. This will neatly define the nail shape without harming the cuticles. Resist the temptation to cut, tear or bite the cuticles yourself, as this can lead to infection. With regular moisture and gentle care, you’ll maintain healthy, intact cuticles and beautiful nails.
Pedicure Pointers
A proper at-home pedicure requires paying special attention to your feet to get salon-worthy results. Start by scrubbing feet with a pumice stone or foot file to slough off dead skin and calluses. Focus on rough areas like the heels and balls of the feet. Rinse and towel dry. Next, apply a rich moisturizing lotion all over feet, massaging in circular motions. This hydrates skin and makes it easier to push back cuticles. Use cuticle oil or petroleum jelly around nails. Then, trim toenails straight across to avoid ingrown nails. Lightly file nails to smooth edges. The proper pedicure prep will lead to a flawless paint application.
Final Takeaways
DIY manicures and pedicures require patience, practice, and proper products to achieve salon-quality results. However, with a few go-to supplies on hand and some fundamental techniques, dazzling nails are within reach at home.
In summary, invest in high-quality base and top coats, nail files, cuticle oil, and tools for pushing back cuticles. Sanitize everything properly to avoid infections. Apply thin, even base coat layers to prevent chips and stains. Allow polishes to dry thoroughly between coats for maximum wear. Use a steady hand and multiple thin coats for opaque, streak-free color.
Shaping and filing nails into uniform lengths and shapes takes time to master. Softening and gently pushing back cuticles prevents tears and hangnails. For pedicures, exfoliate feet, use a pumice stone, and moisturize well after to avoid cracking. With the right strategies and a dash of patience, beautiful nails are possible at home. Visit [link to products] for recommended items to build your DIY mani-pedi toolkit.