Buff And Shine: The Ultimate Guide To Achieving A Flawless Nail Polish Finish
Achieving a flawless, professional nail polish finish can seem daunting, but with the right techniques and products, it’s easier than you think. This comprehensive guide will walk you through all the steps needed to get a salon-quality manicure at home. You’ll learn how to properly prep and care for your nails, apply polish without streaks or bubbles, and finish with a glossy, durable top coat.
Putting in the extra effort is worth it. Well-groomed nails instantly pull together your look and convey polish and attention to detail. Flawless nail polish also simply feels luxurious. Follow the tips in this guide, and you’ll be able to show off a perfect manicure with confidence.
Prep Your Nails
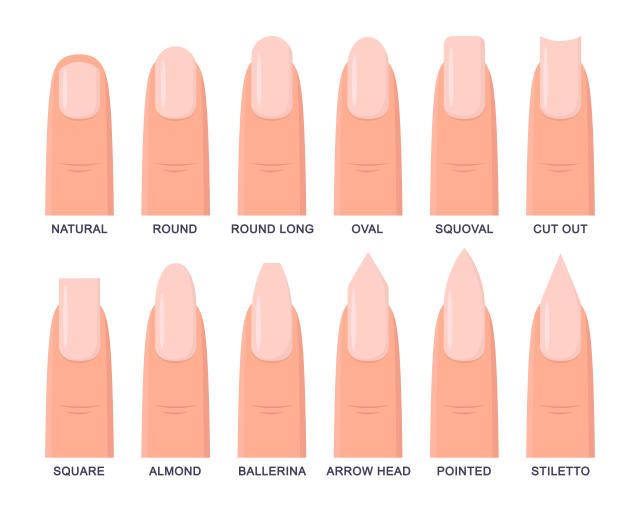
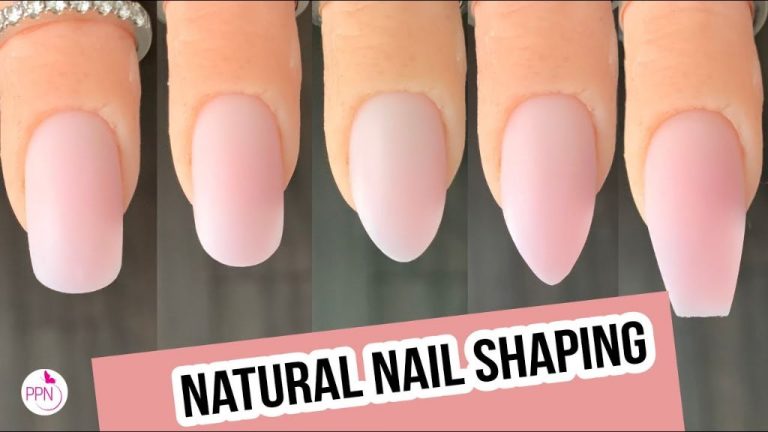
Properly preparing your nails is one of the most important steps for achieving a flawless, long-lasting manicure. Start by removing any old nail polish with a natural, acetone-free nail polish remover to get rid of any oils or residue. Next, file and shape your nails with an emery board to your desired length and shape. Be sure to file in one direction and not back and forth to prevent nails from splitting. Finish prepping by massaging a hydrating cuticle oil like vitamin E or jojoba into the nail and cuticle area. This softens cuticles, nourishes nails, and primes them for polish.
Choose the Right Polish
Choosing the right nail polish is one of the most important steps to achieving a flawless manicure. Consider these factors when selecting your polish:
Formula
The formula impacts the application, wear time, and finish of the polish. Popular formulas include:
- Regular polish – Classic lacquer formula that dries via evaporation. Requires a base and top coat for best results.
- Gel polish – Cures under a UV or LED lamp for extended wear. Requires lamp curing.
- Dip powder – Applied over adhesive resin and activator liquid. Creates a durable, acrylic-like finish.
Brush Type
Look for a brush shape and size that allows smooth, streak-free application:1
- Flat brush – Best for large areas like the tips.
- Round brush – Ideal for cuticles and precision.
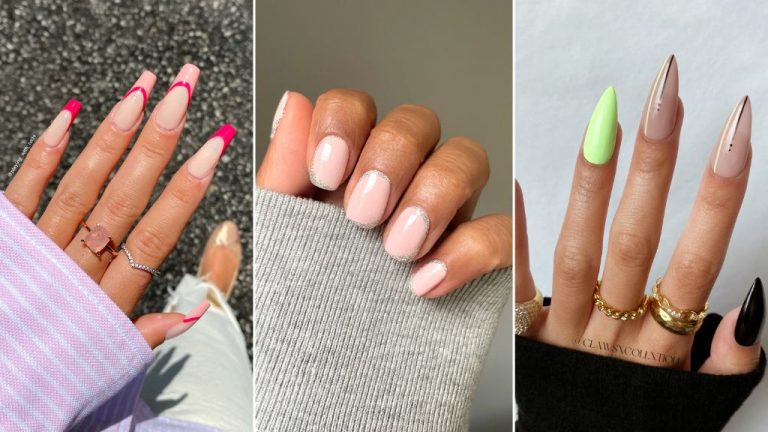
Color
Consider undertones when selecting a flattering nail polish shade. Cool tones look best in berry hues while warm complexions shine with corals and oranges.2 Neutrals like nudes, pinks and reds complement most skin tones.
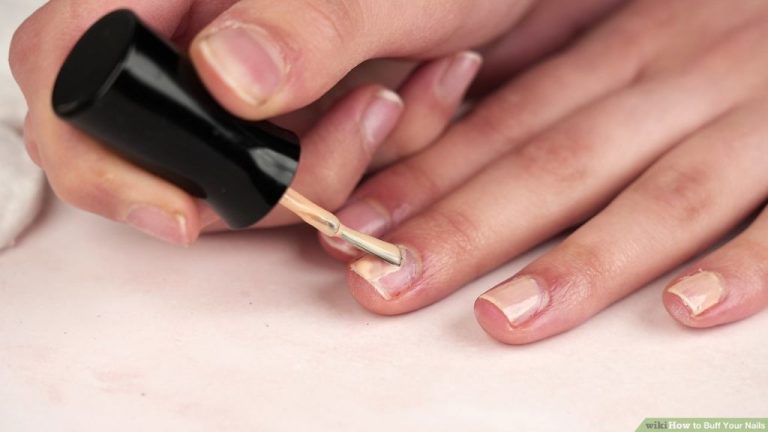
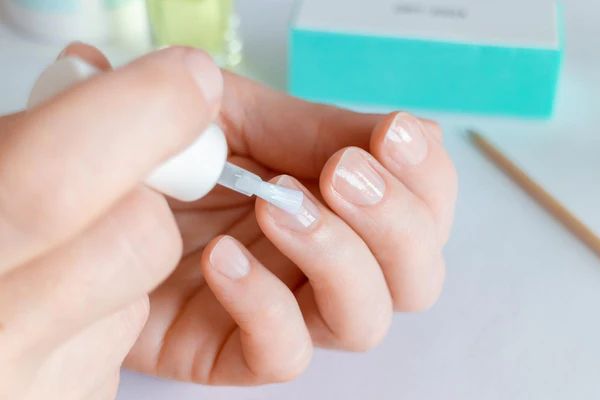
Apply Your Base Coat
The base coat is a critical first step when painting your nails. Applying a base coat helps the polish adhere to your nails, prevents staining of the natural nail, and helps extend the life of your manicure. Using a good quality base coat ensures your nail polish goes on smooth and lasts longer without chipping or peeling.
There are a few different types of base coats to choose from:
- Regular base coat – Provides basic protection and adhesion
- Sticky base coat – Extra tacky to grip polish better
- Ridge filling base coat – Smooths uneven textures
- Nourishing base coat – Contains vitamins and oils
When applying your base coat, use thin and even strokes starting in the center of the nail and sweeping outward to cover the entire nail. Apply all the way to the tip and wrap around the free edge of the nail for a professional finish. Allow your base coat to dry completely before applying colored polish. This helps prevent bubbles and smudges in the layers above. Using a good quality base coat is one of the best ways to maximize your manicure and prevent chips and peels down the road (source).
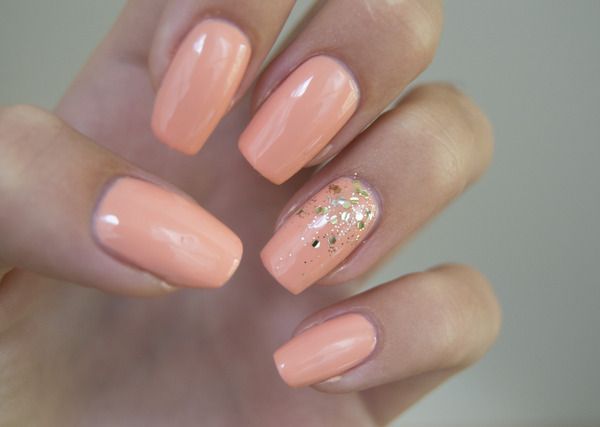
Apply Colored Polish
When applying colored polish, it’s important to use thin, even coats and allow each coat to dry completely before adding another. Most quality polishes require 2-3 coats for full opacity and shine. Apply the first coat using smooth, consistent strokes starting in the center of the nail and sweeping to one side, then repeating on the other side. Make sure to cap the free edge of the nail by running the brush off the end of the nail. Let the first coat dry completely, usually 2-3 minutes, before applying the second coat. Apply the second coat using the same technique, making sure to cover any bare spots from the first coat. Allow the second coat to dry, then apply a third and final coat if needed for full coverage. When applying multiple coats, thin even layers yield the best results. Too thick of a coat can cause streaks and pooling at the edges. Take your time and don’t rush the coats. Letting each coat dry between applications prevents dragging and smudging.
Source: https://www.wikihow.com/Apply-Nail-Polish-Neatly
Apply Top Coat
Applying a top coat is a crucial step for achieving a flawless, long-lasting manicure. A top coat creates a protective layer over your nail polish to seal in color, provide a glossy shine, and prevent chips and scratches (Manucurist). There are a few types of top coats to choose from:
Glossy Top Coat: Provides a high-shine, glassy finish. Great for maximizing the glossiness of your polish.
Matte Top Coat: Provides a muted, matte finish. Ideal if you want a more subtle, matte look.
Quick-Dry Top Coat: Formulated to speed up drying time. Prevents smudges and dries polish in minutes.
To apply top coat:
1. Wait until your colored nail polish is completely dry first. Applying top coat too soon can cause it to wrinkle or stick.
2. Use the brush to sweep one smooth, thin layer of top coat across all nails, starting with your pinky. Let the brush glide along the surface of your nail.
3. Avoid over-brushing as too thick of a layer can become gummy. One light layer is all you need.
4. Cap the tips of your nails by brushing top coat over the ends to seal in color.
5. Allow top coat to dry thoroughly before resuming activity. This seals the polish underneath.
Avoid Bubbles and Streaks
Bubbles and streaks in your nail polish can ruin an otherwise flawless manicure. Here are some of the main causes of bubbles and streaks as well as tips for prevention and fixes:
Causes
Bubbles in nail polish are often caused by trapped air or the polish reacting with oils on the nail bed, according to https://www.byrdie.com/bubbles-in-nail-polish-5271077. Factors like temperature, humidity, and polish formula can also influence bubbling.
Streaky polish is typically the result of applying coats too thickly or not allowing enough dry time between coats, according to nail experts. The viscosity of the polish and application techniques also impact streaking.
Prevention Tips
To prevent bubbles, start by applying a base coat to seal in oils, wiping nails with acetone before polishing, and removing excess polish from the brush before applying, advises https://orlybeauty.com/blogs/news/why-does-my-nail-polish-bubble. Also avoid shaking polish bottles which can cause bubbling.
To prevent streaks, use thin coats of polish and allow each coat to dry completely before adding another layer. Using a quick-dry top coat can help polish set evenly.
Fixes
If bubbles appear in wet polish, gently smooth them out with the brush before drying. Once dry, bubbles can be smoothed over with a thin layer of fresh polish.
To fix streaky polish, apply a fresh thin top coat over fully dried polish. This helps create an evenly glossy finish.
Let Polish Dry Completely
Allowing your nail polish adequate drying time is crucial for achieving a long-lasting, chip-free manicure. In general, it takes nail polish 1-2 hours to fully dry and cure on the nails (1). However, you can usually start using your hands much sooner than that.
Here are some general guidelines for nail polish drying times (2):
- Base coat: 2-10 minutes
- Color coats: 5-10 minutes between coats
- Top coat: 5-10 minutes
- Full manicure: 45 minutes to 1 hour for complete drying
There are a few tricks you can use to speed up the drying process (3):
- Use quick-dry top coats formulated to dry polish faster
- Apply thin coats and avoid flooding the cuticles
- Keep hands still and nails flat while drying
- Wave hands to circulate air and evaporate solvents
- Run hands under cool water or place in front of a fan
- Skip lotion or cuticle oil until polish is fully cured
Having patience and allowing each layer of polish to dry before moving on is vital for avoiding smudges, streaks, and premature chipping.
Buff and Shine
Buffing your nails is an important step to achieve a flawless, polished look. It should be done after your nail polish has completely dried. Buffing helps smooth out any ridges in the nail polish and removes any imperfections in the surface, like bubbles or brush strokes. It also evens out the shine across all nails.
To buff properly, use a 4-way nail buffer block. Start with the coarsest side first to level out the polish. Apply light pressure and buff in one direction, using straight back-and-forth motions. Don’t buff in a circular motion as that can damage the nails. Once smoothed, move to the less abrasive sides to refine the shine. Buff gently until you achieve an even, glossy finish across all nails [1].
Finish with a top coat for extra gloss and protection. Let the top coat dry fully. Then do a final buff with the ultra-fine side of the buffer to create a glassy, salon-perfect shine. Properly buffed nails should have a smooth appearance and feel slick to the touch.
Maintain Your Manicure
Properly maintaining your manicure is crucial for extending the life and shine of your nail polish. Here are some tips:
Use Nail Polish Remover Sparingly
When it’s time for a polish change, avoid rough removal that can damage the nails. According to experts, wrapping tips in foil soaked in remover helps gently break down polish so it slides off without tugging or scraping the nails (1). Limit remover use to polish changes to avoid over-drying the nails.
Reapply Top Coat
As your manicure grows out, reapply top coat to the exposed nail near the cuticles and tips. Top coat creates a protective layer against chips and smudges. According to L’Oréal Paris, reapply every 2-3 days for extended wear (2).
Moisturize Hands and Nails
Keep nails flexible and avoid brittle peeling by massaging cuticle oil or nourishing cream into the nails and skin. Products with jojoba oil, vitamin E and shea butter replenish moisture. Massage the moisturizer in with circular motions to stimulate healthy nail growth.
With proper maintenance between manicures, you can keep your nails looking freshly polished for weeks.
(1) https://www.byrdie.com/how-to-make-nail-polish-last-longer-4770229
(2) https://www.lorealparisusa.com/beauty-magazine/beauty-tips/beauty-trends/how-to-make-nail-polish-last-longer