Beyond The Basics: Advanced Nail Care Techniques For Salon-Level Results
Choosing the Right Nail Tools

Having the proper nail tools is essential for achieving salon-quality manicures at home. Some of the most important tools to have include:
Nail Clippers: Look for clippers designed specifically for fingernails. They should have curved blades to follow the contour of the nail. Stainless steel or composite materials will be sturdiest.
Nail Files: Invest in professional-grade files made of crystal, ceramic, or glass. These will shape nails smoothly without leaving ragged edges. Have both coarser files for shaping and finer files for smoothing.
Cuticle Nippers: Precision cuticle nippers with curved jaws allow you to neatly trim excess cuticle growth. Look for salon-quality nippers with blades that align perfectly.
Cuticle Pushers: These gently push back the cuticle around the nail without damaging the surrounding skin. Choose stainless steel or plastic pushers with smooth rounded tips.
Buffing Blocks: Multi-sided buffing blocks are essential for shining and smoothing nails before polish application. Look for fine, medium and coarse grits to suit all filing needs.
When selecting tools, prioritize salon-grade stainless steel sets for durability and performance. Some professional sets like the FRCOLOR 2pcs Manicure Pen Set include all essential nail tools.
With quality tools and practice, you can achieve stunning nails without leaving home.
Sanitation and Disinfection
Maintaining proper sanitation and disinfection procedures in a salon setting is crucial for preventing the spread of infections. All tools and equipment must be thoroughly cleaned and disinfected between each client.
According to Nail Sanitation Procedures by the South Dakota Department of Labor and Regulation, all non-porous tools such as metal nail files, pushers, and clippers should first be scrubbed clean with soap and water before being fully immersed in an EPA-registered disinfectant for the full contact time listed on the label (Source: https://dlr.sd.gov/cosmetology/resources/nail_salon_brochure.pdf).
Porous tools and supplies like nail buffers, sanding bands, cotton balls, and neck strips cannot be fully disinfected and must be discarded after each use. Work surfaces should also be wiped down and sanitized between each client with an EPA-approved disinfectant.
Some common EPA-registered disinfectants used in salons include Barbicide, Ovante, Bacoban, and MadaCide. These disinfectants contain chemicals like glutaraldehyde or accelerated hydrogen peroxide that can kill dangerous pathogens like bacteria, viruses, and fungi when used properly (Source: https://www.nailpro.com/business/article/21158504/proper-sanitation-protocols-can-make-or-break-your-salon).
Following proper sanitation protocols protects the health and safety of both technicians and clients.
Cuticle Care
Proper cuticle care is essential for clean, healthy nails. Start by soaking nails in warm water mixed with cuticle remover or oil for 5-10 minutes to soften the skin around the nails. Using cuticle nippers or scissors, carefully trim off any excess or overgrown cuticle, taking care not to cut the live skin. Avoid cutting cuticles too short, as this can lead to infections. Gently push back the cuticles with an orangewood stick or silicone cuticle pusher, never metal tools which can damage the nail bed. After soaking and trimming, apply cuticle remover cream and gently rub the cuticles with a towel to remove dead skin. Moisturize cuticles with oil or cuticle cream after pushing them back to keep them hydrated and flexible. With regular manicures, cuticle care helps nails look tidy and well-groomed (Deborah Lippmann, n.d.)
Take care not to cut cuticles too short or damage the surrounding skin, as this can cause redness, swelling, and pain. Never cut living skin as this can increase the risk of infection. Proper tools, technique, and moisturizing cream are key for safe, salon-quality cuticle care at home.
Nail Filing Techniques
Proper nail filing is essential for achieving a professional, polished manicure. The technique involves more than simply rubbing a file back and forth across the nail. There are a few key steps to follow:
First, use the proper nail file grit. Start with a coarser 100/180 grit file to shorten and shape the nails. Then use a finer 220/240 grit file to smooth the edges and create an even surface. Always file in one direction, going from the outside of the nail towards the center. Never saw back and forth as this can cause the nails to peel and split [1].
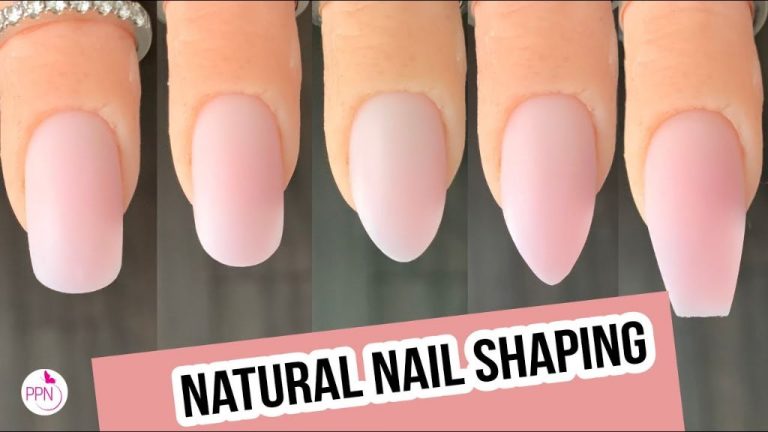
Shape the nails into the desired look – round, square, oval, squoval, or almond. Use light, even strokes and follow the natural contour of the nail. To prevent nail damage, file only in one direction and don’t over-file the edges. Shape the tips and sides evenly so they align [2].
Always finish filing by buffing in the direction of nail growth. This smoothes the nail surface and blends the edges. Buffing helps the polish adhere better and prevents chipping or peeling down the road [3].
Applying Base Coat
Applying a base coat is one of the most important steps in achieving a professional manicure. As the name suggests, base coat acts as the foundation for the rest of your nail polish. According to Esther’s Nail Center, there are several key benefits of using a base coat:
- It helps the color polish adhere better to the nail.
- It prevents staining of the nails from pigmented polishes.
- It helps extend the wear time of your manicure.
- It protects the nails from damage.
When applying your base coat, it’s important to use thin, even strokes starting from the cuticle down to the tip of the nail. According to Medusa Nails, you should apply two thin coats of base, allowing the first coat to dry completely before adding the second. Be sure to cap the free edge of the nail on each stroke to prevent chipping and peeling. Allow the base coat to dry thoroughly before moving onto polishing with color.
Taking the time to apply base coat neatly and smoothly creates the perfect canvas for your polish. This attention to detail allows the color to glide on easily and evenly for a clean, professional-looking manicure.
Polishing Methods
Achieving a smooth, professional-looking polish requires mastering techniques beyond simply painting nails. Methods like dabbing, stripping, and sponging can create stunning designs.
Dabbing involves dotting polish onto the nail using a rounded sponge or cotton swab for a textured, spotted effect. This works well for galaxy nail art. Dip the dabbing tool into different colored polishes and lightly dot onto the nail in small touches.
Stripping tape is another pro technique for perfect lines. Apply striping tape onto the nail, paint over it, then remove before the polish dries to reveal a straight stripe. Try taping off chevrons or zigzags.
Sponging blends colors together. Cut a makeup wedge into a point, dip into two colors, then dab onto the nail to mix. This creates an ombre gradient.
Other polishing methods like free-hand painting, nail stamping, and using striping brushes take practice, but create striking effects. Study tutorials to develop these advanced techniques for salon-worthy artistry.
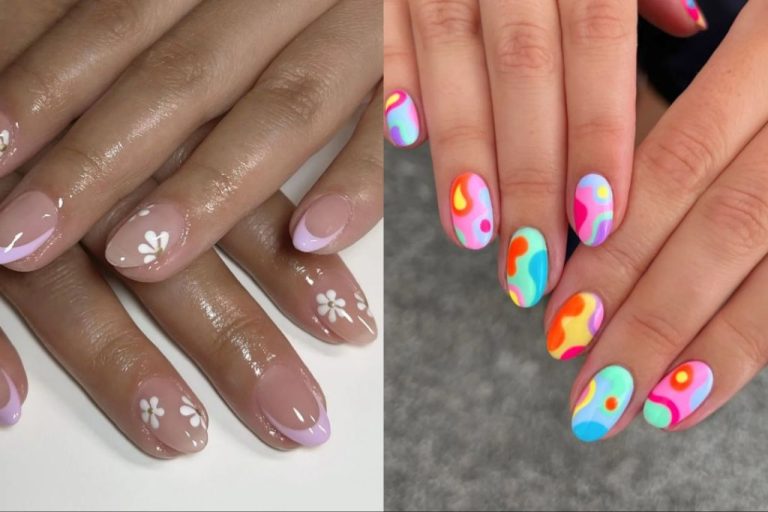
Nail Art
Nail art is a great way to elevate your manicure and add some creative flair. Here are some tips for achieving basic nail art techniques at home:
For an ombre design, start by painting the base color on all nails. Next, choose a lighter color and using makeup sponges, dab the color starting from the free edge and working upwards. Blend well for a seamless look. Finish with a top coat to smooth and seal in the design 1.
Try nail stamping for fun patterns. After applying base coat, paint nails in a solid color. Using a stamping plate and scraper, pick up the image with specialty polish. Then transfer it onto the nail by pressing firmly. Top coat to finish. For beginners, look for starter kits with all supplies 2.
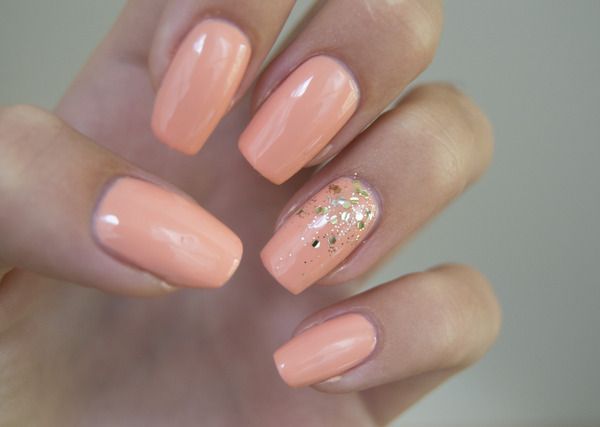
A glitter ombre or glitter gradient makes a sparkly, eye-catching look. Start by painting nails a solid hue. While still wet, pick up loose glitter with a makeup sponge and dab onto the nail, concentrating the glitter at the tip. Repeat until the desired coverage is achieved. Top coat to seal the glitter in place.
With some simple tools and techniques, you can achieve salon-worthy nail art results from the comfort of your home.
Drying and Curing
Proper drying and curing is essential for a long-lasting manicure. After polishing the nails, it’s important to let them dry thoroughly before moving on to the next step. Traditional nail polish can take 10-15 minutes to dry to the touch. To speed up drying time, use quick dry topcoats or drying sprays specifically formulated for nails, such as Seche Vite Dry Fast Top Coat (source). Moving or touching the nails before they are completely dried can cause smudging and denting.
Using a UV or LED lamp is the fastest way to completely cure nail polish. After applying your top coat, cure it under the lamp for 30-60 seconds until hardened. UV/LED lamps use ultraviolet light to initiate the polymerization process that solidifies the layers of polish. Always use top coats specifically formulated for UV/LED lamps for the best results. Compared to traditional air drying, UV/LED lamps allow you to quickly cure multiple coats of polish for a glassy, hard finish (source).
Top Coat Application
A top coat is an essential final step when painting your nails. Applying a layer of top coat helps smooth the nail surface, fills in imperfections, and gives your manicure a salon-quality shine. The key to applying top coat is using thin, even layers and allowing proper dry time between coats.
Start with clean, dry nails that have had ample time to dry after the color polish. Work one hand at a time. Brush a thin layer of top coat down the center of the nail from cuticle to tip. Then stroke the brush gently side to side, working from cuticle to free edge until you have applied a smooth, even coating over the entire nail surface. Take care not to overload the brush or apply too thick of a coat as this can cause bubbling.
Allow each layer of top coat to dry fully before applying another, usually about 2 minutes. Two thin coats are better than one thick coat. Finish with a final layer applied to the very tip of the nail to help prevent chipping and peeling.
A good top coat seals in the color polish underneath for longer wear. It helps prevent chipping, cracking, and smudging while adding strength. The smooth glossy finish resists dulling and yellowing over time. Using a high quality top coat can make your manicure shine for days.
Maintenance and Removal
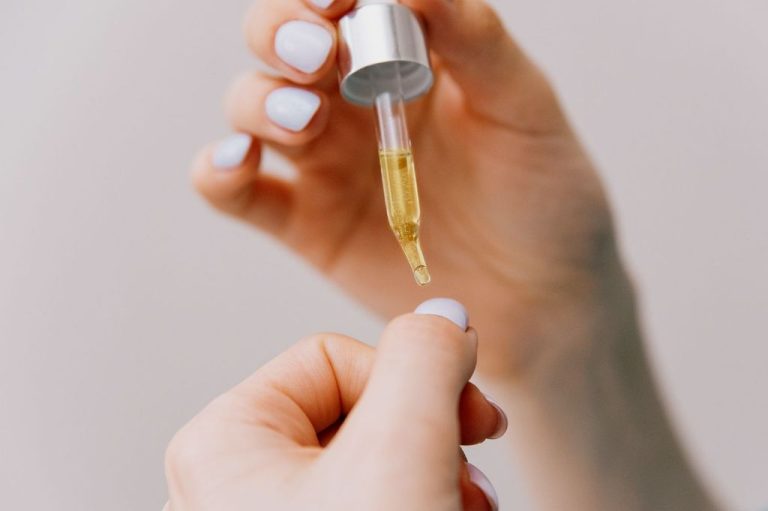
Proper nail care between salon appointments is crucial for maintaining healthy nails and cuticles. Always keep nails clean and dry, washing hands with soap and water frequently throughout the day and using a nail brush to gently scrub under and around nails. Moisturize nails and cuticles daily with olive, coconut, or jojoba oil to prevent dryness and cracking (source). File nails weekly in one direction to prevent splits or tears and use a glass file for a smoother finish (source). Apply cuticle cream or oil and gently push back cuticles with a wooden stick once a week.
When removing polish, always use a gentle remover designed for natural nails. Avoid removers with acetone, as these can cause dryness and damage. Apply remover to a cotton round and hold it against each nail for 10-15 seconds before wiping off polish. Follow up with a hydrating oil to replenish moisture. Never peel or pick at polish, as this can pull off layers of the nail. Remove polish within a week after application to prevent chipping and peeling.