Nail Art On The Go: Quick & Easy Designs For Busy Beginners
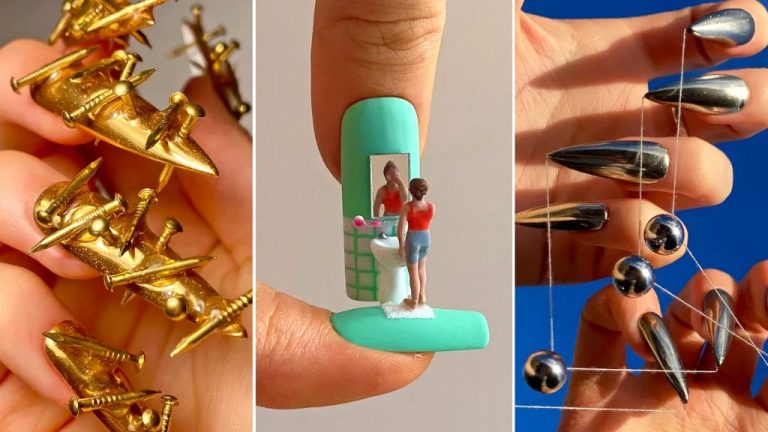
Nail art has exploded in popularity in recent years, becoming one of the hottest beauty trends. With social media platforms like Instagram and TikTok, unique and creative nail designs are being shared and going viral like never before. For beginners, the amazing nail art they see online and on the streets can seem daunting to recreate themselves. However, simple techniques allow anyone to have fun with nail art as a form of self-expression, without needing artistic talent or spending hours on complex designs.
The appeal of nail art is the ability to accessorize your fingernails like you would jewelry or clothing. Even painting your nails a single bold color can make a statement. But adding shapes, lines, glitter, or 3D embellishments takes your manicure to the next level. The great thing about nail art is that even beginners can start simple. You don’t need fancy equipment or skills. All you need is a steady hand, a few supplies, creativity, and some inspiration from social media or nail art blogs. The finished look will be eye-catching and give you a sense of accomplishment.
For those with busy lifestyles, nail art is also a fun way to take a quick break and relax. Instead of spending hours at the salon, you can do fast and easy nail art at home whenever you have a spare moment. Simple geometric shapes or color blocking techniques allow you to get creative in minutes. You’ll have stylish nails to show off without a huge time commitment. So don’t be intimidated to try out nail art as a beginner. With some practice and the right guidance, you can master quick and cute designs that express your personal flair.
Essential Nail Art Supplies for Beginners
When starting out with nail art, you don’t need a huge arsenal of supplies, just a few key items can get you going:
Base and Top Coat
A good base coat helps polish adhere to nails and prevents staining. A top coat seals in designs and provides shine.
Variety of Nail Polish Colors
Build up a selection of core polish colors like nudes, pinks, reds, whites and blacks. Metallics and glitters add flair.
Dotting Tools
These tools with different sized tips allow you to paint small dots and other shapes.
Striping Tape
Use striping tape to create clean lines and geometric patterns.
Small Detail Brush
A thin brush lets you paint on fine details and designs.
Nail Art Pens
Pens with fine tips are great for drawing designs freehand.
Start with these basics and add more supplies as you progress in your nail art journey. The key is practicing designs and seeing what you enjoy creating.
Choosing Nail Shapes and Lengths
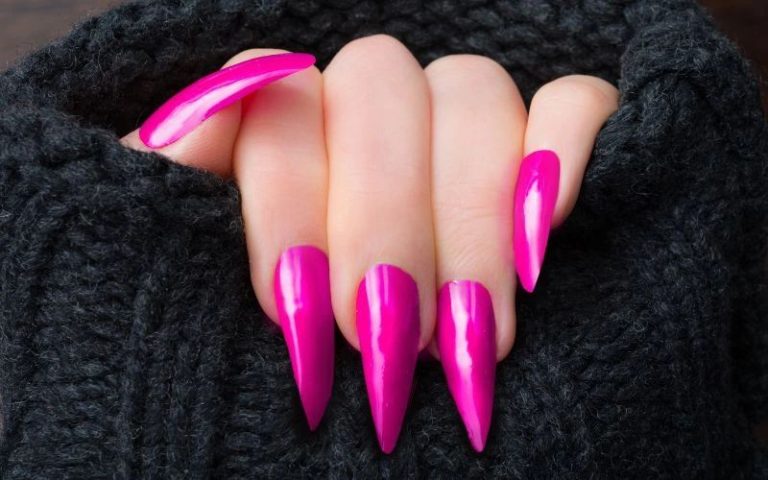
When doing nail art, it’s important to start with well-groomed nails in a shape that suits your hands. The most common nail shapes for nail art include oval, square, almond, coffin, and stiletto. Oval and square shapes work well for shorter nails, while longer coffin and stiletto shapes allow more space for designs.
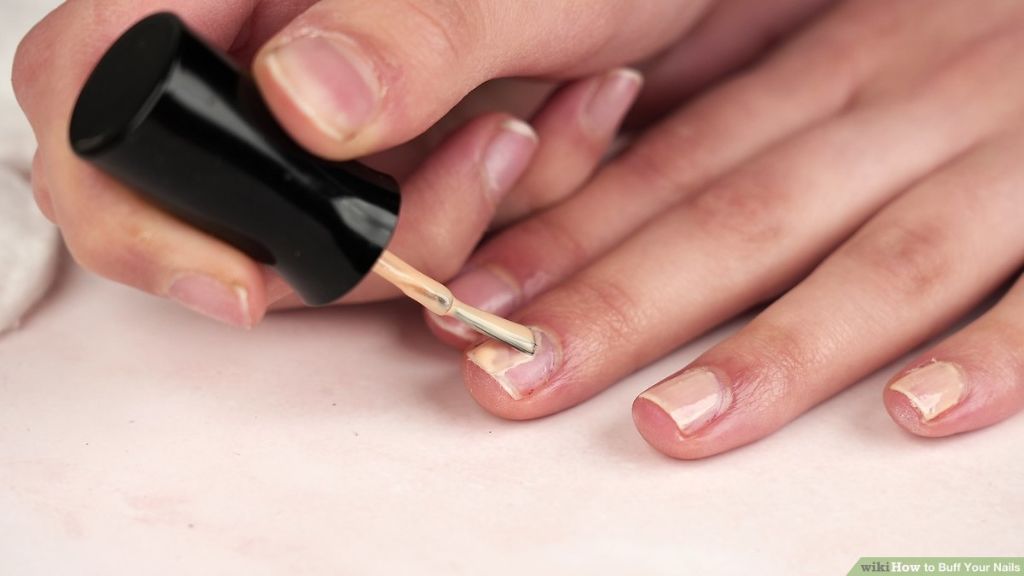
Make sure to file and buff nails into the desired shape before starting your nail art. Oval nails can be filed into a rounded curve, while square nails have straight edges. Almond shapes are a slightly elongated oval. Coffin nails are square with a straight top edge and rounded corners. Stiletto nails come to a sharp point for a dramatic look.
When shaping nails, focus on creating clean lines and smooth edges to allow polish and designs to go on cleanly. Use a glass file to avoid cracking or peeling. For length, shorten any nails that have breaks or tears. Keep nails a shorter length if you’re new to nail art to make designs easier.
It’s best to start with shorter nails around 1/4 inch long if you’re a beginner. As you get comfortable with techniques, you can gradually increase length. Longer coffin and stiletto shapes allow for more elaborate designs but can be trickier for beginners. No matter the length, keep nails filed into your chosen shape before starting art.
Sources:
https://www.amazon.de/-/en/Reusable-Extension-Protector-Protection-Accessories/dp/B08DTKLXNN
https://threads.werindia.com/beauty/9-basic-nail-shapes-to-choose-from/
Easy Solid Color Designs
For days when you’re short on time but still want your nails to pop, solid color manicures are the way to go. Whether you opt for a classic French manicure, a rich fall hue, or a bright neon for summer, solid colors are easy to apply yet still totally stylish.
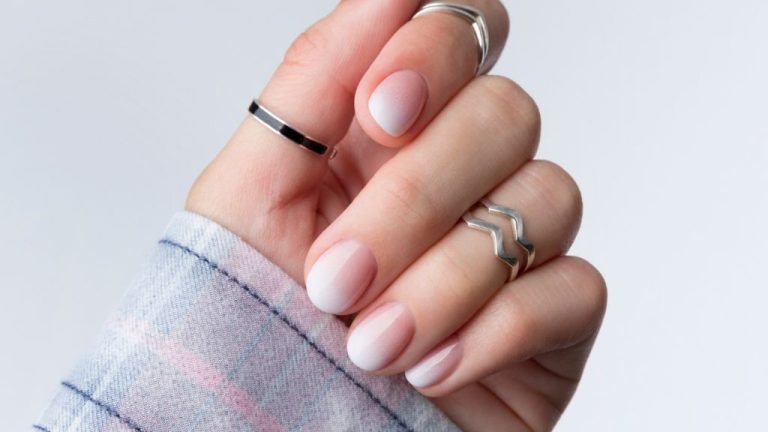
The classic French manicure is a go-to look that’s ideal for beginners. Apply a sheer, nude shade to your nail beds, leaving the tips of your nails bare. Then use white polish to paint on the tips for high contrast. Make sure to apply two to three thin coats of each color for full coverage and a glossy finish. Gently sweep the white tip polish downward so there is a slight smile line shape rather than a harsh straight edge.
Beyond French manicures, the possibilities are endless when it comes to solid nail colors. Play around with different color combinations on different fingers or alternate between light and dark tones. Metallic polishes like rose gold, gunmetal and silver are great for adding subtle shimmer. And nothing beats a punchy color like electric blue or lime green when you want your nails to stand out.
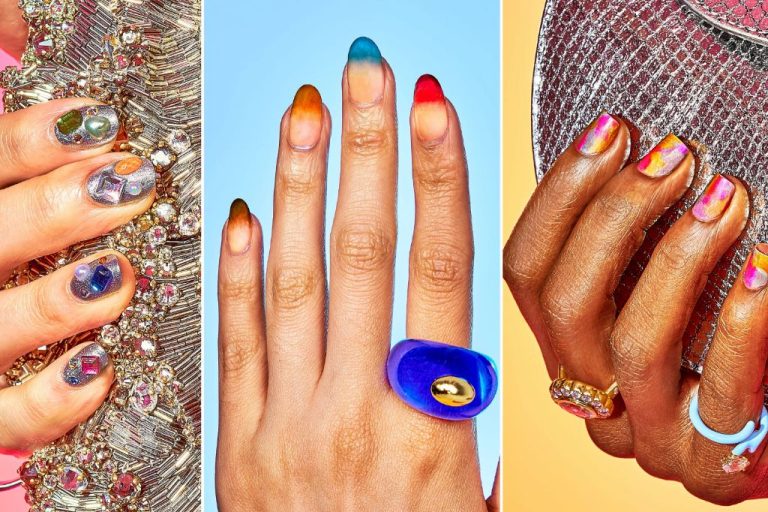
Color Blocking Nail Art
Color blocking is one of the easiest and most popular nail art trends. It involves using two or more nail polish colors to create blocked-off sections on each nail. The contrast between the different colors creates a bold, graphic look.
Some ideas for color blocking patterns to try include:
– Painting the tips of nails a different color than the base
– Creating a half moon or rainbow shape on each nail with alternating colors
– Doing an ombre blend of two colors
– Alternating colors on every other nail
– Making stripes or chevron designs with tape
– Playing with different color combinations like blacks and whites, neons and pastels, or metallics and mattes (Cite url: https://www.pinterest.com/nailsmagazine/color-blocked-nail-art/)
Color blocking nails is easy enough for even nail art beginners to try at home or on the go. The key is to use tape or dotting tools to help create clean lines between colors. Start with just 2-3 colors and simple patterns. Half moon designs and color blocking just the tips of nails are good options to begin with before moving on to more advanced styles.
Basic Nail Striping
Striping tape is a great way to add quick, graphic interest to your nails. Horizontal, vertical, and diagonal stripes immediately make your manicure look more polished and put together. For beginners, start with just two colors and experiment with different stripe widths and patterns.
Some recommended striping tape brands to try are Twinkled T Nail Vinyls, UberChic Beauty Striping Tape, and Pueen. Make sure you apply topcoat over the striping tape to help seal it and smooth any edges. Gently remove the tape before the topcoat fully dries for the cleanest lines.
When applying striping tape, use tweezers or a small tool to place it precisely along your nail tips. Slowly peel away the backing as you stick it down. Press gently but firmly once in place. If the tape lifts up on the edges, apply a little more topcoat to adhere it.
You can create chevrons by angling the tape across the nail. Try alternating thin and thick stripes. Or make geometric shapes by crisscrossing different striping tape colors and directions.
With a single striping tape roll, you can design countless quick and easy nail art looks. The options are endless for beginners looking to elevate a basic manicure.
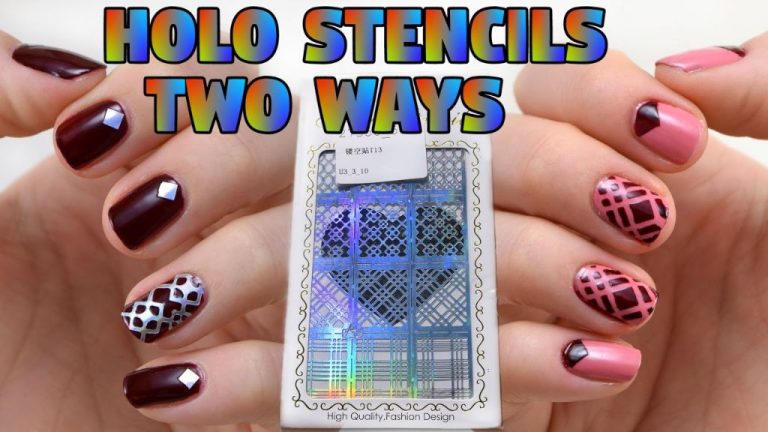
Simple Geometric Shapes
Geometric nail art uses basic shapes like dots, triangles, and lines to create graphic designs. This style is perfect for beginners since it only requires a few simple tools to get those sharp lines and patterns. Dotting tools and striping brushes are must-haves for creating geometric nail art.
Start by painting your nails a solid base color. Once dry, use a dotting tool dipped in a contrasting polish to make rows of dots, triangles, or other shapes. You can keep each nail a single pattern, or combine several in one manicure. Stripes and zig zags are easy to swipe on using a thin striping brush.
Geometric shapes are bold and eye-catching on short nails, especially in bright colors like neon pinks and blues. For a subtle take, use black and white polish on neutral nails. Refer to tutorials to learn techniques for clean lines, steady dots, and symmetrical patterns.[1] [2]
Minimal Florals and Nature
Sometimes less is more when it comes to nail art. Tiny floral accents and delicate leaves can create a subtle yet stylish look. Focusing on one feature nail with a single flower or leaf design surrounded by solid color nails is an easy way to try out floral nail art.
Try painting a simple daisy on your accent nail using a small dotting tool for the center and petals. Or do a single leaf in a contrasting color to your base color. Layering nude and gray polish can create a subtle nature-inspired texture on your nails before adding any designs.
For beginners, restraint is key. Start with miniature versions of florals and leaves, and build up your skills over time. Simplicity also makes your manicure more versatile for both everyday wear and special occasions.
Source: https://www.pinterest.com/pin/432275264248089742/
Glitter Tips
Glitter nail art is a fun and eye-catching way to add some sparkle to your manicure. For beginners, opting for partial glitter tips instead of covering the entire nail with glitter is quick, easy, and helps minimize mess. There are a few options for achieving glitter tips:
Pre-glued nail tips come in various glittery colors and designs. Brands like KISS and ImPress offer full cover tips or French tip designs with glitter on the free edge. These are the easiest glitter tips for nail art on-the-go. Just glue on and file to shape.
Nail polish strips like the ones from Incoco also have glitter tip options. These strips already have the glitter polish layered onto the tips so application is fast and precise.
For more customization, use acos Glitter Dip powder on the nail tips. Dip the free edge of the nails into the glitter powder, tap off excess, and seal with a top coat.1 This allows you to create any glitter tip shape and length.
Lastly, free-hand glitter tip polish like China Glaze Fairy Dust creates glitter tips with regular polish. Paint on two coats to the nail tips, letting it dry between coats, then finish with a top coat to smooth and seal in the glitter.
Glitter tips are a perfect way to quickly elevate any nail look. Just focus glitter placement on the ends for hassle-free nail art on busy days.
Conclusion
Beginner nail art can unleash your creativity through simple yet eye-catching designs. With just a few supplies and techniques like color blocking, striping, and glitter tips, you can create stylish nail looks that reflect your personal flair. The ideas in this guide prove you don’t need advanced skills or tons of time to do nail art. Whether going for a minimalist French manicure, delicate florals, or geometric patterns, the options are endless.
Hopefully this beginner’s guide has shown how easy and fun nail art can be. Don’t be intimidated to try these quick, simple designs yourself. Start with one accent nail to get comfortable before moving on to full hand designs. You may just find yourself getting compliments on your DIY nail art creations. So grab your nail supplies and let your creativity shine through stunning nails wherever you go.