Creating Your Own Nail Polish: Diy Recipe
With the rising popularity of DIY beauty and nail care, making your own nail polish at home has become a fun way to customize colors and save money compared to buying polishes at the drugstore. According to market research from Kline, sales of at-home nail polishes grew 3.3% in 2021 on top of a 21% increase in 2020. Creating a homemade nail polish allows you to control the ingredients and create unique colors and effects not found in stores. The basic ingredients to make a nail polish are relatively easy to find, and with some simple equipment, you can blend and bottle polishes with salon-quality results. This guide will walk through all the steps and tips for making your own beautiful nail lacquer at home.
Benefits of Making Your Own Nail Polish
Making your own nail polish at home has several advantages over buying pre-made polish.
First, it saves money. Store-bought nail polish can cost $5-15 per bottle, whereas homemade polish costs just a few dollars per batch. The ingredients like bases, pigments, and glitters can be bought in bulk and used to make many bottles of polish.
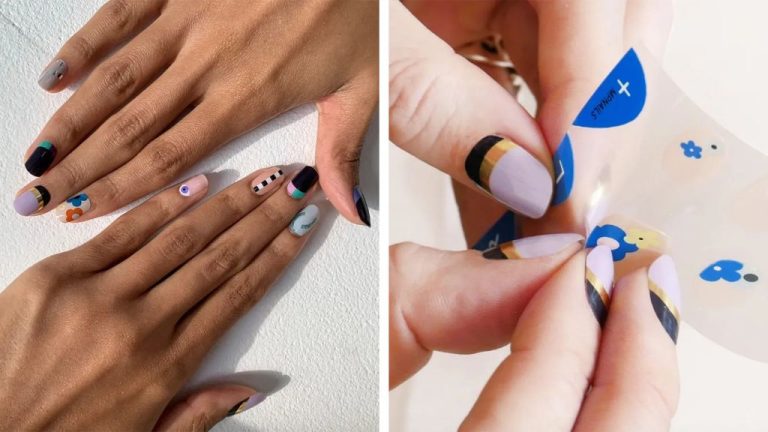
Second, you can fully customize the colors and effects. Mix and match pigments to invent unique colors. Add glitters or pearls for a textured look. The possibilities are endless when you make it yourself.
Finally, homemade polish avoids many of the harmful chemicals found in conventional nail lacquers. Pre-made polish often contains formaldehyde, phthalates, and other toxins that are absorbed through the nails. Homemade versions use safer ingredients like acetone and glycerin.
Sources: https://www.newsncr.com/lifestyle/nails-are-damaged-by-market-nail-polish-so-easily-make-nail-paint-at-home/, https://ndtv.in/topic/benefits-of-homemade-nail-polish
Ingredients Needed
There are four main categories of ingredients needed to make your own nail polish at home:
Nail polish base
The nail polish base acts as the clear carrier for the polish. Common options are clear nail polish, acrylic paint, or aloe vera gel (https://nativenailpolish.com/how-do-you-make-homemade-nail-polish-with-water/). The base provides adhesion and shine.
Pigments/glitter
Pigments and glitter add color and effects to the polish. You can use eyeshadow, mica powder, cinnamon, turmeric, herbs, or cosmetic-grade glitters (https://www.thegoodlifewithamyfrench.com/post/the-ultimate-guide-to-eco-friendly-nail-polish-how-to-keep-your-nails-beautiful-and-the-environment).
Thinner
A thinner like ethyl acetate helps adjust the viscosity of the polish. Add thinner for a smoother, more workable formula.
Mixing containers/tools
You’ll need small containers to mix the polish, like shot glasses or sample jars. Mixing tools like toothpicks, popsicle sticks, or small funnels are also useful.
Choosing a Base
The base is the clear or lightly tinted liquid that acts as the foundation for your nail polish. You have two main options for the base:
Clear Base
A clear base provides a transparent, glossy finish. The advantage of a clear base is that it allows the true colors of your nail polish to shine through vividly. You’ll get the full intensity of any pigments or special effects you add. The downside is that a clear base provides no coverage over discolorations or imperfections in the nail bed.
Sheer Tinted Base
A sheer tinted base offers a touch of color while still letting the polish layers show through. Tinted bases can help mask unevenness or discoloration in nails. However, the tint may mute or alter the intended shades of your polish slightly. Make sure to test out mixes ahead of time if using a tinted base.
Consider your own nail condition and color goals when deciding on a clear versus a sheer tinted base. Both options can work well, just keep the pros and cons in mind.
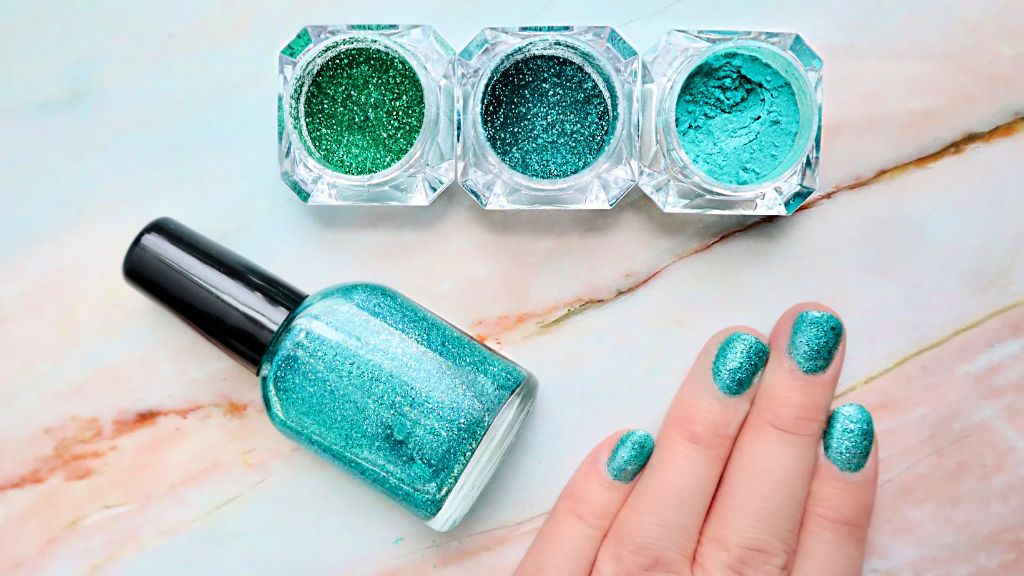
Adding Color
When adding pigment to a clear nail polish base, there are two main options – using cosmetic pigments like eyeshadow or lipstick, or using nail polish pigments specifically designed for mixing custom colors. According to Wikihow, eyeshadow can work well for creating custom colors at home as long as it’s finely milled, while chunkier glitter eyeshadows won’t blend as easily into the polish. They recommend starting with just a pinch of powdered eyeshadow for a sheer color, or up to 1/4-1/2 tsp for an opaque color (Source).
For the pigment amount, Instructables says to start with just 1-2 drops of nail polish pigment, mix, and continue adding a few drops at a time until you reach the desired saturation. They note it’s easy to add more pigment but difficult to dilute it if you overdo it at the start (Source). Thoroughly mix the pigment into the base, making sure to scrape the sides and bottom of the container so it distributes evenly.
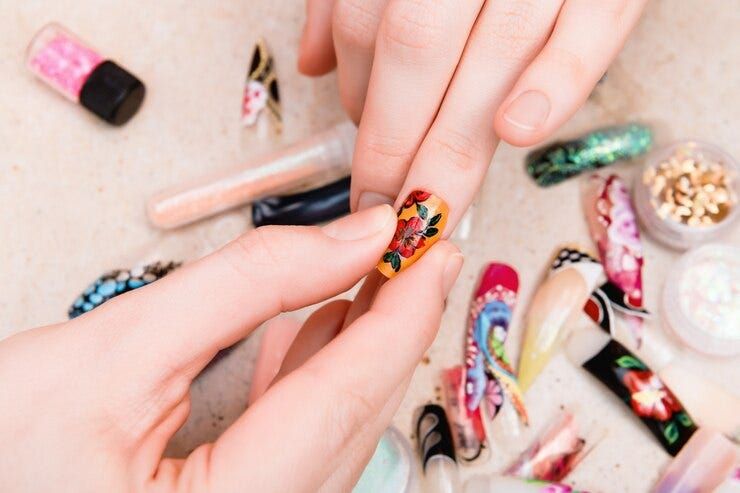
Adding Special Effects
One fun way to customize your homemade nail polish is by adding special effects like glitter, shimmer, or flakies. These add-ins give your polish a unique, eye-catching finish. According to an article on Sorority Fashion, popular special effect options include:
- Glitter – for a sparkly, glittery look
- Shimmer – for a subtle iridescent sheen
- Flakies – tiny flakes that add multi-dimensional effects
You can find many types of nail polish special effect add-ins online or at beauty supply stores (https://www.amazon.com/special-effects-nail-polish/s?k=special+effects+nail+polish). Use sparingly – add 1⁄4 to 1⁄2 teaspoon into a 4 ounce bottle of polish. Add less for subtle effects or more for a very intense, dramatic look. Experiment to find the ideal amount for the effect you want.
Thinning
Thinning nail polish is an important step to getting the right consistency for application. The main purpose of adding thinner is to reduce the viscosity of the nail polish. Straight out of the bottle, nail polish can be quite thick. This makes it challenging to apply smoothly and evenly.
By adding a few drops of nail polish thinner, you can transform a goopy polish into a perfectly flowing lacquer. Thinners contain solvents that breakdown the polymers in nail polish, making it more fluid. Be careful not to over-thin your polish though, as too much thinner can make the polish runny and prone to chipping.
A good rule of thumb is to add thinner gradually, 2-3 drops at a time. After each addition, stir the polish and test the consistency on a piece of plastic or foil. Stop adding thinner once the polish flows evenly and smoothly without being watery. The ideal consistency should be fluid but still thick enough to cling to the nail without running down the sides.
Mixing & Application
To mix your custom nail polish, you’ll need a few basic supplies according to A Beautiful Mess (https://abeautifulmess.com/make-your-own-custom-color-nail-polish/):
- Empty nail polish bottles with mixing balls
- A small funnel to pour into the narrow bottles
- A toothpick or thin brush for mixing
Start by adding your nail polish base to the empty bottle. Then add several drops of color pigment and mix thoroughly with the toothpick or brush. According to Instructables (https://www.instructables.com/Mix-Your-Own-Nail-Polish-Colors-And-Save-Money/), mix well and check the color. You can add more pigment for a darker shade or mix colors. Play around until you get your desired custom color.
When applying the homemade polish, use thin coats and let dry completely between coats. Typically 2-3 thin coats yields the best results. Cap the bottle tightly when not in use. Follow typical nail polish application and removal techniques.
Drying & Curing
Allowing adequate drying and curing time is crucial for a long-lasting manicure. Most regular nail polishes take about 15-20 minutes to dry to the touch, but can take 1-2 hours to fully cure and harden. Using quick dry topcoats or spray accelerants can shorten the drying time to just a couple minutes.
Exposing nails to UV or LED lamps right after painting can drastically reduce drying times by initiating the curing process. Most salons have UV/LED lamps that cure polish in just 30-60 seconds. At home kits are also available, though not as powerful as professional ones. Be sure to only expose nails briefly to avoid skin damage.
Other tips for faster drying include applying thin coats, keeping hands still, using fans, dipping in icy water, and avoiding wet tasks until fully cured. Check if polish is dry by gently running a finger over the surface – if it feels smooth without imprints, it is likely ready. Avoid too many thick coats as this extends curing times.
Storing
Properly storing your homemade nail polish is important for maintaining its quality and extending its shelf life. The best storage containers for nail polish are glass or plastic bottles designed for nail polish. According to customer reviews, cute glass bottles with eyedropper caps like these work well for homemade polish. The eyedropper style cap allows for easy, mess-free application. Small plastic nail polish bottles also make great containers.
It’s best to store nail polish in a cool, dry place away from direct sunlight. Exposure to light and heat can cause the polish to thicken and become gloopy. Properly stored, homemade nail polish can last 6-12 months before it starts to thicken. Always check older polish before use – if it seems too thick, add a few drops of thinner to restore it.