Nail Tools For Creative Nail Art: Must-Have Supplies For Unique Designs
Nail art has exploded in popularity in recent years as a creative hobby that allows for self-expression through unique and stylish nail designs. With the rise of sharing nail art trends on social media, interest has never been higher. More and more people are looking to take their basic manicures to the next level with intricate details, patterns, jewelry, textures, and more.
To create these increasingly complex looks, a range of specialized nail art tools are required beyond the basics like nail polish and brushes. Precision tools allow nail artists to have greater control and get even more creative. This includes dotting tools, striping tape, glitter, rhinestones, charms, decals, and more. These must-have supplies open up a world of options to apply delicate designs or bold artistic looks on natural or acrylic nails.
This article will provide an overview of the most essential nail art tools for anyone looking to advance their skills and take their nail designs to the next level. With the right supplies, creative possibilities become limitless.
Base Coats
The purpose of a base coat in nail art is to help the polish adhere to the natural nail, prevent staining of the nail plate, and prolong the life of the manicure. Quality base coats are formulated with ingredients like calcium, keratin, silk proteins, and vitamins that condition nails and promote strength and flexibility.
Some top-rated base coat products for creative nail art include:
- CND Stickey Base Coat – Contains resin and polymers for better adhesion.
- Orly Bonder Base Coat – Bonds polish to the nail while nourishing with antioxidants.
- Essie First Base Base Coat – Glides on smoothly and dries quickly.
- OPI Natural Nail Base Coat – Fortified with natural keratin protein and calcium.
Using a base coat under nail art helps the polish last longer without chipping or peeling. Let the base coat dry thoroughly before painting on colors.
Top Coats
Top coats are an essential layer when doing creative nail art. They help seal and protect nail polish designs while also controlling the final look. There are several purposes for using a top coat:
Quick-dry top coats like Seche Vite help nail polish dry fast. This prevents smudges and is useful when doing intricate nail art.[Born Pretty Top Coats Every Nail Art Lover Must Own – YouTube](https://m.youtube.com/watch?v=R5ggiQiYF58) They provide a hard, glossy finish.
Longer lasting top coats like CANNI help extend the life of manicures by preventing chips and wear. These are more durable but can take longer to fully cure.[CANNI® Top Coats for Nail Art Design](https://www.pinterest.com/pin/129056345560178924/)
Matte top coats create a non-shiny look. They mute colors for a soft, understated finish. Glossy top coats amplify shine and make colors pop.
Choosing between matte vs glossy top coat depends on the design. Bold graphic prints suit a high gloss finish. Delicate florals pair better with a matte look. Testing different top coats allows finding the perfect one for each nail art creation.[best glossy top coats for nail art](https://www.lemon8-app.com/discover/best%20glossy%20top%20coats%20for%20nail%20art?region=us)
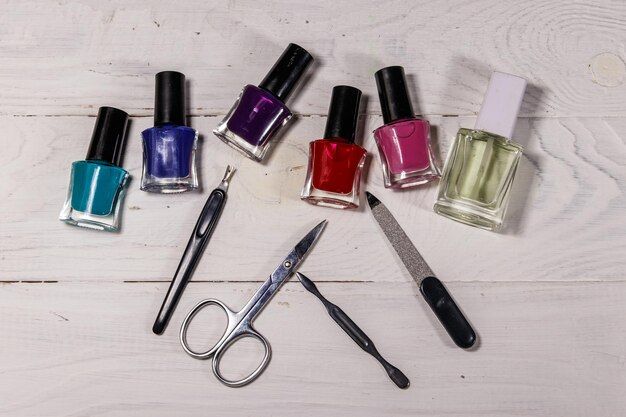
Nail Polish
Nail polish is one of the most versatile and fun supplies for creative nail art. The possibilities are endless when you have a wide selection of colors and finishes to work with.
Some recommended colors for nail art include classic reds, blacks, whites, nudes, and metallic silvers and golds. Neon shades like yellow, green, orange, pink, and blue are also great for creating fun and funky designs. Pastels like mint, lavender, peach, and baby blue are ideal for soft, feminine looks. You’ll also want black and white for graphic nail art like checkerboard patterns.
Nail polishes come in different finishes too. Matte polishes are on-trend and create a velvety look. Metallic and shimmer add sparkle and shine to your nails. Iridescent polishes display different colors depending on the lighting and angle. Sheer jelly polishes provide a translucent, glossy look. And textured polishes like crackle, magnetic, and velvet offer unique finishes.
When selecting nail polish for nail art, pay attention to the formula. Standard polishes tend to chip more quickly. Using a durable long-lasting polish like those labeled ‘gel-like’, ’10 day’, or ’14 day’ will help maintain your designs. Just be sure to apply a base coat first for adhesion and finish with a fast-drying top coat for an ultra-glossy look and added protection.
Brushes
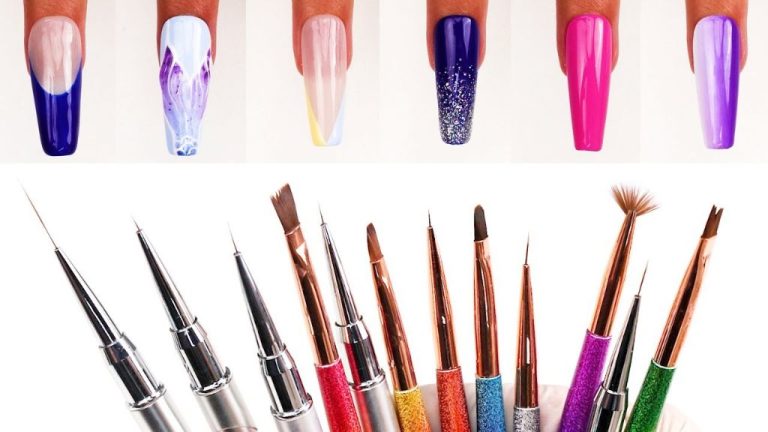
Brushes are an essential tool for any nail artist. The type of brush you use can make a big difference in the designs you’re able to create.
For intricate details and lines, you’ll want a small, thin brush like a liner or detail brush. These brushes have fine tips that allow you to paint on delicate designs. Larger brushes like oval or square brushes are better for painting on full coats of color or filling in larger areas.1
Look for brushes made with soft, synthetic bristles. Natural hair bristles can irritate skin and don’t hold their shape as well. The bristles should feel soft but spring back into shape when bent. Avoid brushes with stray or bent bristles.
Brushes come in a variety of shapes like flat, angled, and curved to allow different brush strokes. Having a range of brush types and sizes will allow you to create any nail design you can dream up.
Make sure to clean brushes thoroughly after each use with nail polish remover to keep them in optimal shape. Removing all residual polish will help bristles maintain their fine tip and prevent clumping.2
With a quality selection of brushes, you’ll be fully equipped to create beautiful, artistic manicures.
Dotting Tools
Dotting tools are essential for creating intricate, geometric nail art designs. They come in a variety of sizes and tips to allow for different effects.
Dotting tools feature round, ball-shaped tips made of metal, plastic, or rubber. The tips range in size from extra small (0.5mm) to large (3mm or more). Smaller tips allow you to make tiny, precise dots, while larger tips create bigger, bolder dots. Many sets come with multiple tip sizes so you have versatility (1).
There are single dotting tools with one tip, or multi-headed dotting tools with multiple tips on one end for quick access. Multi-headed tools allow you to switch between sizes easily. Top brands for quality dotting tools include Twinkled T, Born Pretty, and VAGA (2).
Dotting tools open up a world of polka dots, stripes, zig zags, and other geometric nail art. Mastering their use takes practice, but allows for intricate, creative manicures.
(1) Amazon.com: Dotting Tools: Beauty & Personal Care. Accessed 15 Feb. 2023.
(2) Amazon.com: 5 pc 2 Way Dotting Pen Tool Nail Art Tip … Accessed 15 Feb. 2023.
Striping Tape
Striping tape has become a popular tool for creating fun and unique nail art designs. Striping tape, also called nail tape or nail vinyls, are thin strips of plastic, magnet, or fabric that can be applied on top of the nail polish to section off areas for different colors, patterns, and designs. Using striping tape allows you to get clean, precise lines without requiring advanced freehand nail art skills.
Striping tape comes in a few different formats. Precut strips of tape in various widths are available in packs, which allow you to quickly grab a premade strip of your desired size. There are also tape rolls, which let you cut custom widths as needed for different designs. The tape strips are made of vinyl, magnet, or fabric. Vinyl tends to be the most popular for its durability and ease of use.
Here are some tips for working with striping tape:
– Make sure the base color is completely dry before applying tape
– Press the tape firmly against the nail to prevent polish from bleeding
– Apply topcoat carefully to avoid pulling up the tape
– Use tweezers and an angled brush for easy application
– Soak tape in water or oil to remove easily without damage
– Start simple, then work up to advanced designs as you gain experience
With some practice using striping tape, you can create dazzling nail designs from simple parallel lines to intricate patterns and geometric shapes.
Glitters
Glitters come in an array of finishes like matte, chunky, and fine. Matte glitters have a muted shine while chunky glitters have large sparkly pieces for a textured look. Fine glitters are very small particles that create a smooth, shiny surface.
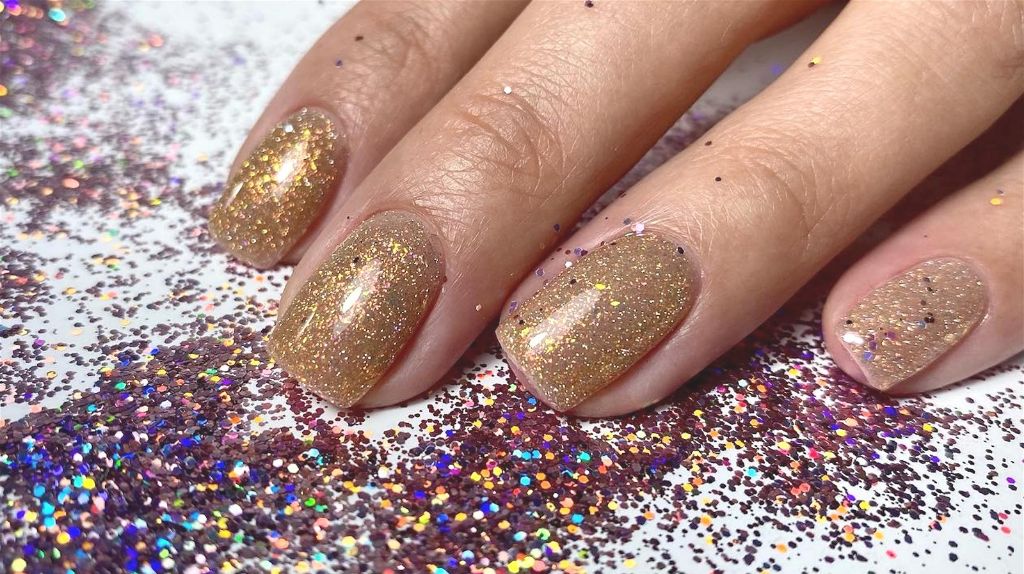
To apply glitter, first paint on a layer of clear polish or glitter glue. While the layer is still wet, pat on glitter using a makeup sponge or brush. Tap off excess glitter before sealing it in with a top coat. Make sure to work over a surface you can clean up glitter from easily.
Store glitters tightly sealed and away from heat and sunlight which can cause them to dry out. Glitters kept in a cool, dark place can last over a year.
Some popular glitter brands include Kiara Sky and those reviewed in this video.
Stickers and Decals
Premade nail stickers and decals offer a fun and easy way to decorate nails with intricate designs. Many nail sticker sets come with a variety of designs like florals, geometric patterns, and animal prints that can be applied in minutes. Nail stickers with glitter, holographic effects, and chrome finishes are also popular options.
While premade sticker sets offer convenient designs, many brands also allow for customization. Nail sticker companies like Maniology provide blank sticker paper for creating unique decals at home. You can draw designs, use stencils, or print photos to make one-of-a-kind nail art. DIY sticker kits include sticker paper, decorative studs, and laminating solution for sealing finished designs.
When applying nail stickers and decals, start with a clean, dry base coat. Cut stickers to fit each nail before peeling off the backing and pressing gently onto nails. Use a credit card or tool to smooth stickers and remove bubbles. Finish with a glossy top coat to seal in designs. Avoid flooding nails with too much top coat, as this can make stickers lift at the edges. Nail stickers provide an easy shortcut for salon-worthy nail art!
Conclusion
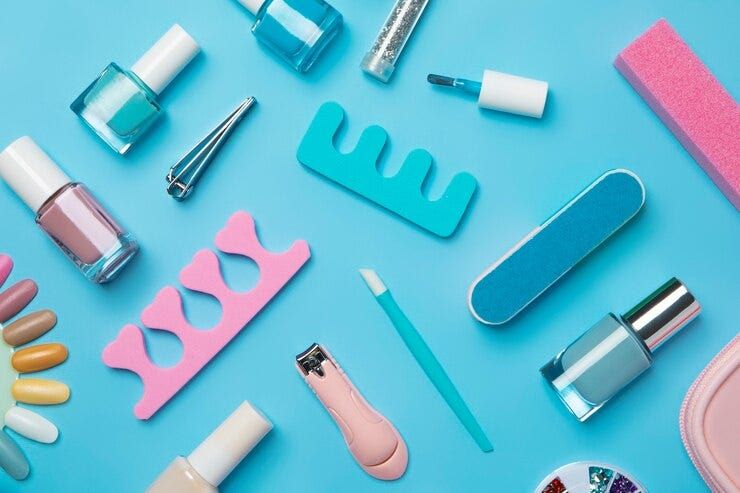
Nail art allows you to express your creativity in unique ways. With the right supplies, you can create intricate designs and patterns that make your nails into mini canvases. The must-have nail art tools include base coats, top coats, a variety of nail polishes, dotting tools, striping tape, glitters, stickers, and more. With these essentials, your options for creative nail art are endless.
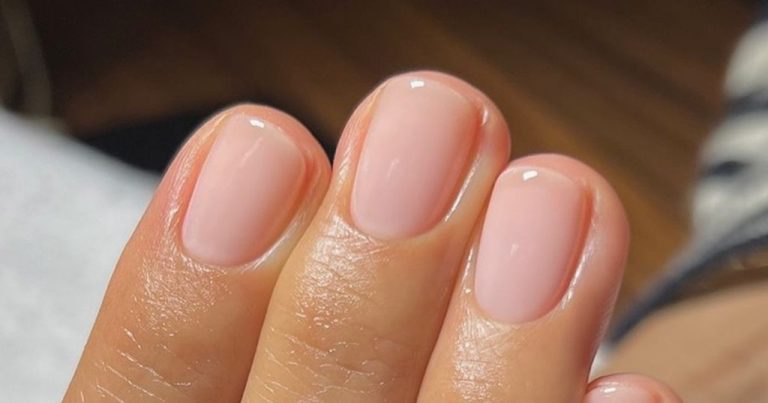
It’s important to take care of your nails and cuticles when doing frequent nail art. Use cuticle oil, hand creams, and give your nails a break from polishes periodically. When removing polish, use acetone-free removers and moisturize after. With some maintenance your nails will stay healthy for showcasing your artistic talents.
Nail art is a fun way to accessorize your look and express your personal style. The right tools unlock a world of creative potential on your fingertips. Approach nail art as an artistic outlet and have fun seeing where your imagination takes you. The must-have supplies covered here will equip you with everything needed for unique nail designs.