Creating Your Own Nail Stencils: Diy Tips And Tricks
Nail stenciling has become an increasingly popular nail art technique over the last few years. Pre-made nail stencils allow you to quickly apply intricate designs like florals, geometrics, and more to your nails with ease. But creating your own custom stencils opens up a world of possibilities for unique nail art (https://glownailbar.com/nail-stencils/).
Making DIY nail stencils allows you to design exactly the size, shape and artwork you want. You can recreate favorite motifs or patterns, customize stencils for special events, and coordinate designs across multiple fingers. It gives you total creative control. Homemade stencils also allow you to reuse designs infinitely, saving money compared to buying pre-made stencils.
In this article, you’ll learn step-by-step how to create your own nail stencils with items you probably already have at home. We’ll cover choosing a design, making the stencil, preparing and applying it to nails, filling it in, and caring for the finished manicure. You’ll gain the knowledge and confidence to unlock endless nail art possibilities using your own custom stencils.
Choosing a Nail Stencil Design
When creating your own nail stencils, the design you choose is an important first step. Consider starting with simple designs if you are a beginner. Geometric shapes, minimalist patterns, and single flowers are great options. As you gain more experience, you can try out more complex designs.
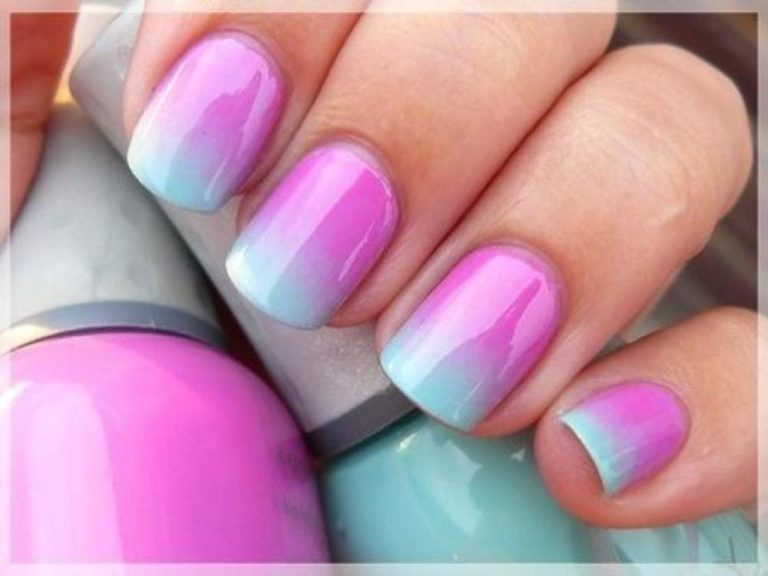
Also think about whether you want a monochrome look or to use multiple colors. Monochrome designs use a single nail polish color across the whole nail. This allows the stencil pattern itself to stand out. Multi-color designs blend several polished colors together within the stencil shapes. This creates a bolder, more vibrant style.
Some popular nail stencil design themes include:
- Geometric shapes – triangles, circles, lines
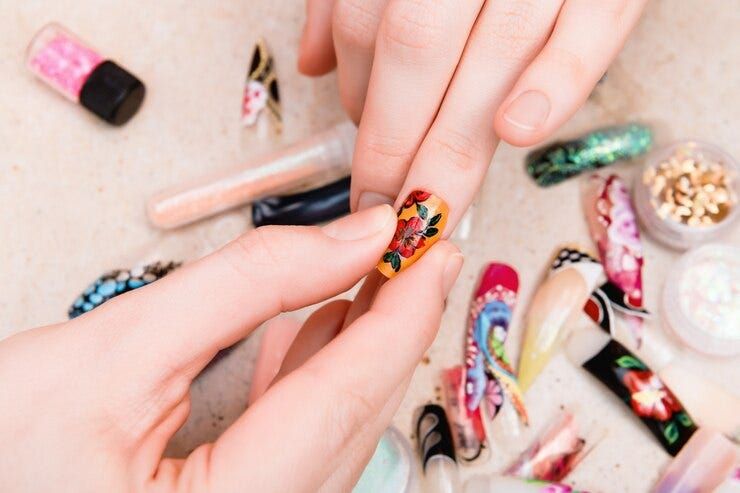
- Floral patterns – single flowers or botanical motifs
- Nature landscapes – trees, leaves, animals
- Minimalist – dots, dashes, squiggles
The design you choose should complement your personal style. Look for stencil patterns that speak to you and will be enjoyable to wear!
Making the Nail Stencil
To make a nail stencil, you’ll need a few key materials: transparency sheets, scissors or an X-Acto knife for cutting, and low-tack tape such as painter’s tape. The transparency sheets allow you to trace and cut out your design easily. Choose a design you’d like to stencil onto your nails. This can be something simple like shapes or stripes, or a more intricate pattern. Sketch out or print out the design, then tape the transparency sheet over the design. Use a pen or marker to carefully trace the outline onto the transparency. Make sure you are tracing just the outline and not coloring the whole design in. Once your design is traced, carefully cut it out using sharp scissors or an X-Acto knife. Try to keep the edges smooth. Remove the excess transparency around the cutout shape to create your stencil.
When cutting out the stencil, work slowly and be very precise – any jagged edges will likely transfer onto your nails. You may want to practice tracing and cutting out a few simple designs first to get the hang of it before moving onto more complex nail stencil shapes.
Preparing Nails for Stenciling
Properly preparing your nails is an important first step before applying nail stencils. Start by shaping and cleaning up your nails into your desired length and shape using clippers, files, and buffers. Make sure the nail surface is smooth and free of debris or oils for the best adhesion.
Apply a base coat evenly over the nails to create a smooth foundation for the stencil design. Base coats help the polish and stencil adhere properly to the nail. Let the base coat dry completely before moving onto the next step, usually about 5 minutes. Some popular base coat options include OPI Natural Nail Base Coat and Essie First Base Base Coat (source).
If using regular nail polish, apply 1-2 thin coats and let dry completely. For gel manicures or dip powders, prep nails according to your system’s instructions. Properly prepped nails will allow the stencil to transfer and adhere smoothly for the best results.
Applying the Nail Stencil
Proper placement and application of the nail stencil is key for getting a clean, crisp design. Here are some tips for applying stencils smoothly and avoiding smudges:
Position the stencil where you want the design to sit on your nail. Use tweezers to handle the stencil so you don’t get any oils from your fingers on it. Gently place the stencil and press down on the edges so it adheres and lays flat.
When applying the stencil, use a smooth, patting motion with your applicator versus swiping, which can cause bleeding under the edges. Work from the center of the design outwards to prevent catching the edges. Apply a very thin layer of polish over the stencil, adding another coat if needed versus globbing on too much polish at once which can seep.
After applying the polish over the stencil, wait a few seconds for it to set before peeling the stencil off. Peel the stencil away slowly and gently so you don’t drag any of the polish with it. Pull it back against itself rather than straight up.
To get super crisp lines, run a toothpick along the edges of the stencil after removing it to tidy up any blurred polish.
If any polish gets underneath the stencil, use a Q-tip dipped in remover to gently wipe it away before the polish dries.
Filling in the Nail Stencil
When it comes to filling in your DIY nail stencil, you have a few options for application as well as polish selection. Using the right polish and technique will help you achieve crisp, clean lines and get the most out of your custom nail art.
For color, you can use regular nail polish, gel polish, dip powder, or acrylic paint – whatever you’re most comfortable working with. Cream and shimmer finishes tend to work best. You’ll also want to choose whether you use one solid color or multiple colors to fill in different parts of the design.
Application can be done in two main ways. Using an art brush gives you precise control to paint small details. Make sure to use a stiff, short bristled brush. Dip the tip into the polish and gently push it into the stencil openings to deposit color. The other option is using a makeup sponge. Cut a small corner piece of sponge and dab it into the polish. Then dab it directly onto the stencil to apply color to larger areas.
No matter the method, take care not to overload the bristles or sponge with too much polish. This can cause bleeding under the stencil. Work slowly and let layers dry between applications. Don’t press too hard or swipe too aggressively. Gentle pressing and dabbing works best for clean lines.
Follow the stencil shape precisely, without glopping on more polish or coloring outside the design. This takes patience but allows the stencil shape to stand out beautifully on your nails.
Removing the Nail Stencil
Probably the trickiest part of using nail stencils is removing them without smudging the polish underneath. Here are some tips for clean, smudge-free stencil removal:
First, make sure you let the polish dry enough before attempting to remove the stencil. The general rule of thumb is to wait at least 10 minutes after applying the final coat of polish. This allows the layers of polish to set so they don’t smear when you peel off the stencil.
When you’re ready, carefully peel the stencil off from one edge, slowly and gradually. Don’t rip it off in one go or you risk pulling off chunks of polish. Gently roll or rub the stencil as you pull so it releases smoothly.
If you do get some smudges, don’t panic. Use a small brush dipped in acetone or nail polish remover to gently clean up any spots along the edges. Then reapply polish to any small gaps or uneven edges. Let it dry and you’re all set with a beautifully stenciled manicure!
Sealing and Protecting the Design
Once you have finished applying the nail stencil and filling in the design, it’s important to properly seal and protect your nail art so it lasts as long as possible without chipping or sustaining other damage. The key is to apply a quality top coat designed specifically for nail polish.
Look for a top coat that says it helps prevent chipping and peeling. This will form a protective barrier over your nail art. Apply the top coat carefully over the entire surface of the nail, making sure to cover both the polish and any exposed natural nail. Let the top coat dry thoroughly.
A good top coat can help properly sealed nail stencil designs last around 1-2 weeks without major chipping or damage. However, be gentle with your nails during this time. Avoid picking at or bumping the polish. Use your hands gently, and wear gloves for cleaning or other harsh activities. With proper top coat sealing and careful wear, your custom nail stencil design can stay vibrant and crisp for up to 14 days.
Caring for Nail Stencils
Properly cleaning and storing your nail stencils is important for making them last and being able to reuse them. Here are some tips for caring for nail stencils:
Clean the stencils after each use. Use water and a small amount of dish soap on a rag to gently remove any nail polish, dust or dirt from the stencil. Make sure to rinse thoroughly and pat dry with a lint-free cloth (Source).
To remove any sticky adhesive residue, use an adhesive remover like Goo Gone. Apply a small amount to the sticky area, let sit for a minute, then wipe away with a damp rag (Source).
Store stencils flat and away from direct sunlight and heat to prevent warping. Place a sheet of parchment or wax paper between each stencil before stacking to prevent them from sticking together.
With proper care between uses, most nail stencils can be reused many times. Check stencils for any tears or damage before reusing. Some stencils made of thinner plastic may only last for a few uses (Source).
Follow these tips and your nail stencils will last for multiple manicures, saving you money on replacements.
Inspiration and Ideas
Nail stenciling opens up an exciting world of nail art possibilities. With some creativity and practice, you can create intricate designs and patterns for stylish nail looks. Here are some inspiration sources and DIY tutorials to spark your imagination:
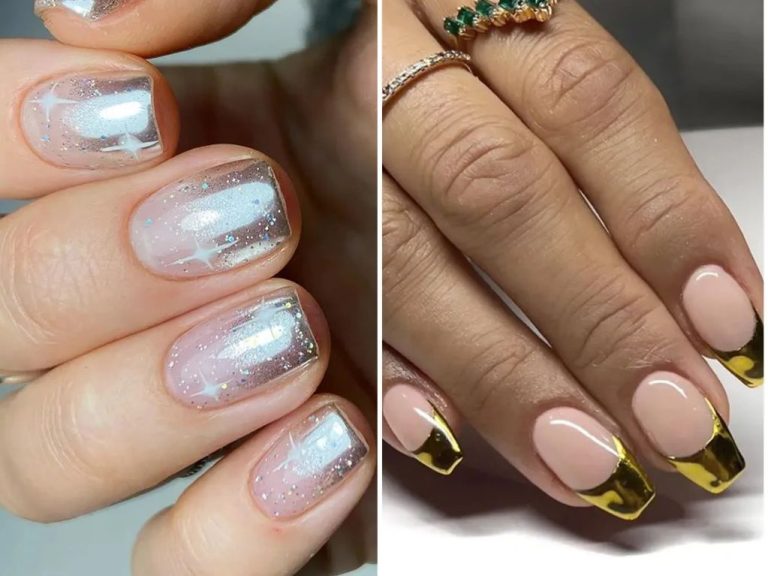
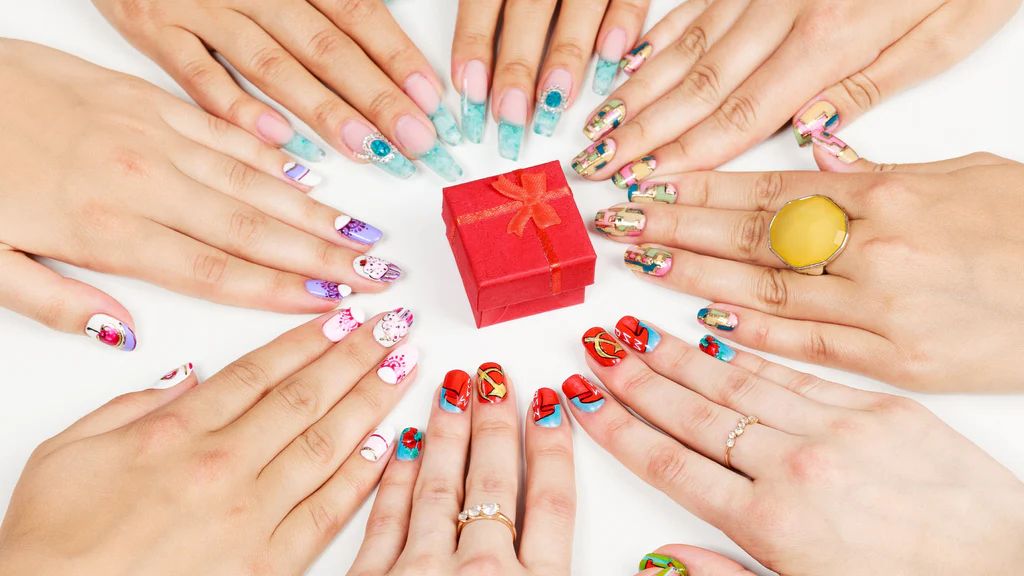
Showcase Examples of Creative Designs
Browse nail art galleries and Pinterest boards to find stencil designs like geometric shapes, animal prints, floral motifs, mandalas, and more. Professional nail artists and beauty bloggers often share their own fingernail stencil ideas you can recreate.
DIY Tutorials to Try
There are many step-by-step video tutorials and blogs showing how to make and use custom nail stencils. Helpful tutorials teach techniques like layering stencils, using multiple colors, and combining stencils with freehand nail art.
Where to Find Stencil Designs
Pre-made stencil sheets and plates can provide patterns to work from. Check craft stores, online marketplaces like Etsy, and nail art supply shops. Or create your own stencil designs and templates with materials like vinyl, stickers, tape, or cardstock.
The DIY options are endless when you make your own nail stencils. Draw inspiration from fashion, nature, pop culture, and art to design unique manicures.