How To Create Stunning Ombre Nails At Home
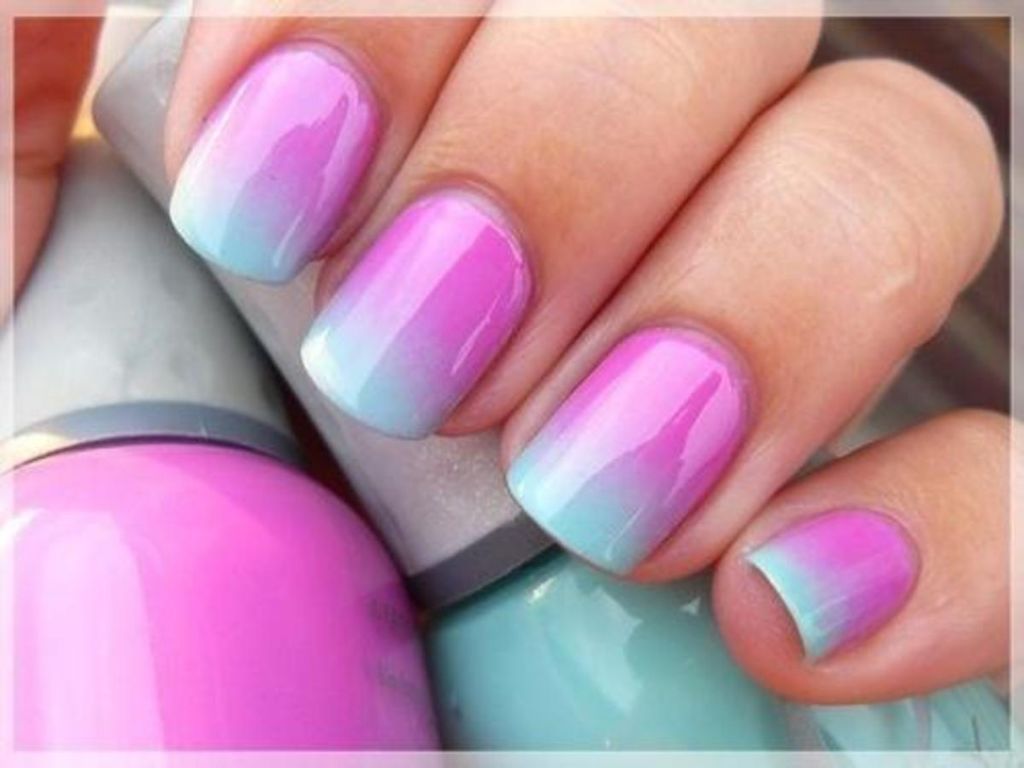
Ombre nails have become increasingly popular over the last few years. The ombre style features a gradual blend of two or more nail polish colors, creating a beautiful gradient effect on the nails. Ombre allows for a variety of unique designs, ranging from subtle and natural to bold and statement-making.
This guide will walk through the process of creating stunning ombre nails at home. With some practice and the right products, anyone can achieve professional-looking ombre manicures. The techniques are easy to learn, making ombre nails a fun DIY project. From preparing the nails to blending the colors, we’ll cover all the key steps for beautiful, salon-quality results.
Gather Your Supplies
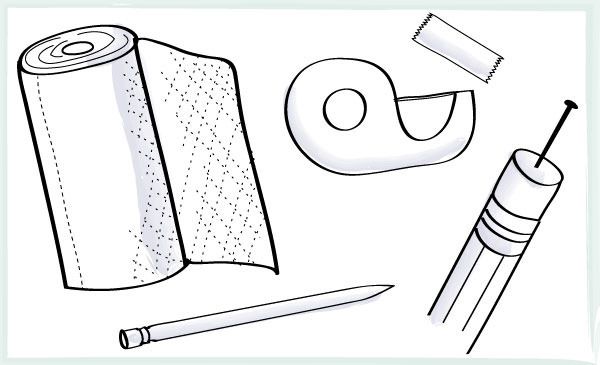
To create stunning ombre nails at home, you’ll need the following supplies:
Base, transition, and accent nail polish colors – You’ll need a light color for the base, like a nude or pale pink, a slightly darker color for the transition shade, and a third bold color for the accent nail. Good color combinations are pink, peach, and red or white, gray, and black (source).
Nail file and buffer – Use a medium grit file to shape nails and a buffer to smooth ridges and create a glossy base for polish (source).
Cuticle stick – Push back cuticles carefully with a cuticle stick or wood stick before painting.
Nail polish remover – Have remover and cotton pads on hand in case you need to start over.
Tape – Use painter’s tape or masking tape to create clean edges.
Small detail brush – A thin brush lets you paint on fine accent designs.
Top coat – Finish with a glossy top coat to seal in color and add shine.
Prepare Your Nails
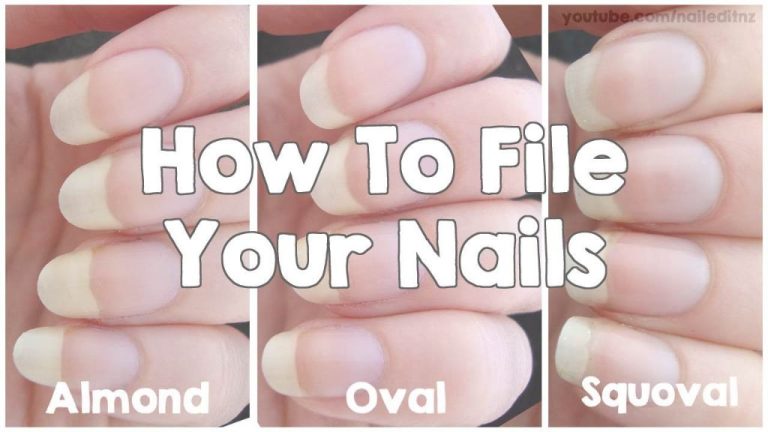
Before painting your ombre design, it’s important to properly prepare your nails. Start by filing and shaping your nails into your desired length and shape using a nail file. File in one direction to prevent weakening your nails. Then use a cuticle pusher and cuticle nippers to gently push back and trim any overgrown cuticles, which can cause lifting or uneven polish application if left unattended. It’s recommended to trim cuticles after a shower or hand soak when they are softened. Be careful not to cut your skin. After filing, shaping and cleaning up your cuticles, wipe nails with nail polish remover or alcohol to remove any dirt, oil or moisturizer.
Properly shaped nails with trimmed cuticles create the ideal blank canvas for painting your ombre design. This prep work helps the polish glide on smoothly and last longer without chipping (Source). Taking the time to prep your nails is an important first step to creating stunning ombre nails at home.
Apply Base Coat
Before starting your ombre design, it’s critical to first apply a base coat. A quality base coat helps the polish last longer and protects your natural nails from staining and damage.
According to OPI, using a base coat can help prevent chipping and peeling by creating a smooth surface for polish to adhere to (source). The base coat fills in any ridges or imperfections in the nails.
Base coat also prevents nails from turning yellow and shields nails from becoming stained by dark polish shades. As explained by Manucurist, base coat contains a special treatment that repairs and strengthens soft, bendable nails (source).
To apply base coat for an ombre manicure:
- Paint 1-2 thin coats of base coat on all nails and let dry completely before moving onto the next step. Avoid thick globs of base coat.
- Make sure to cap the free edge and wrap the base coat over the tip of each nail for maximum protection.
- Let the base coat dry for at least 5 minutes before applying color.
Paint Base Color
The base color is the lightest shade you’ll use for your ombre manicure. This color will take up the most space on your nails. Be sure to apply the base coat evenly across your entire nail. According to wikiHow, “With ombré nails, your base color is usually a white polish or the lightest color you plan to use for the ombre effect. A white base will really make the colors pop.”
Avoid painting the base coat too thickly. You want a smooth, even layer that fully covers your nails. Don’t worry about neatness yet – you’ll clean up the edges later. Focus on applying the polish from cuticle to tip. Let the base coat dry fully before moving onto the next step.
Source: https://www.wikihow.com/Do-Ombre-Nails
Add Transition Color
The transition color is applied after the base color to create the ombre effect. This is typically a slightly darker shade than the base color. When using regular nail polish, use a makeup sponge to add the transition color.
Dip the edge of a makeup sponge into the transition color polish. Then, starting at the tip of the nail, lightly dab the sponge along the nail working upwards towards the cuticle. The transition color should gradually blend into the base color. According to Wikihow, you can repeat this process until you’re happy with the blended ombre effect.
(Source)
If using gel polish, you can use a makeup brush instead of a sponge. Brush the transition color along the nail tip and work upwards just like with the sponge technique. Add additional coats as needed to deepen the ombre effect. The key is to gradually blend the transition color into the base.
(Source)
Blend the Colors
Blending the ombre colors softly is key for achieving a smooth, seamless gradient effect. Take the makeup sponge you painted the colors on earlier and gently dab it onto the nails to blend. Lightly bounce the sponge on the nails, starting at the cuticle and working downward towards the free edge.
Avoid pressing too hard or over-blending, as this can cause the colors to become muddy. Use a very light hand and build up the blending gradually. According to WikiHow, “Stamp multiple layers of color to make the ombre more gradient-like.” Just be patient and take your time to softly blend the edges where the colors meet.
The makeup sponge technique helps diffuse the lines between colors for a flawless, faded ombre effect. Always remember to use a gentle hand when blending – a light, subtle approach works best for creating stunning ombre nails.
[https://www.wikihow.com/Do-Ombre-Nails]
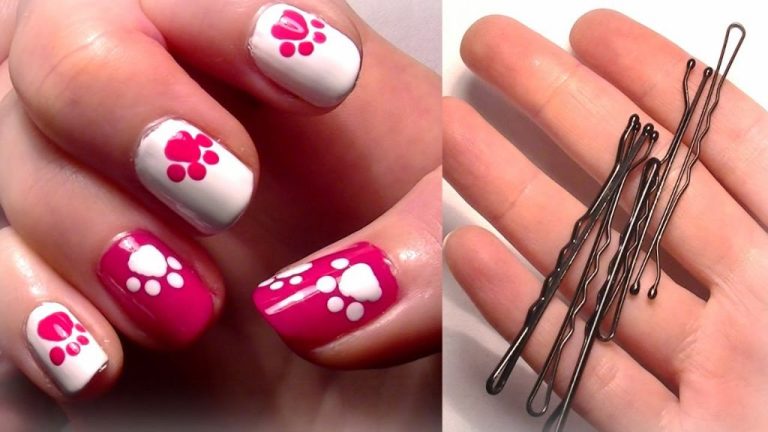
Accent Nail Design
Adding a fun accent nail design is a great way to make your ombre manicure pop. Accent nails are typically done on the ring finger, but you can do them on any nail you like. Here are some accent nail ideas to try with an ombre manicure:
- Glitter tips – Paint the tip of the accent nail with a glitter polish for a sparkly accent. Choose a glitter color that coordinates with your ombre colors. This look pairs red and pink ombre nails with a silver glitter ring finger.
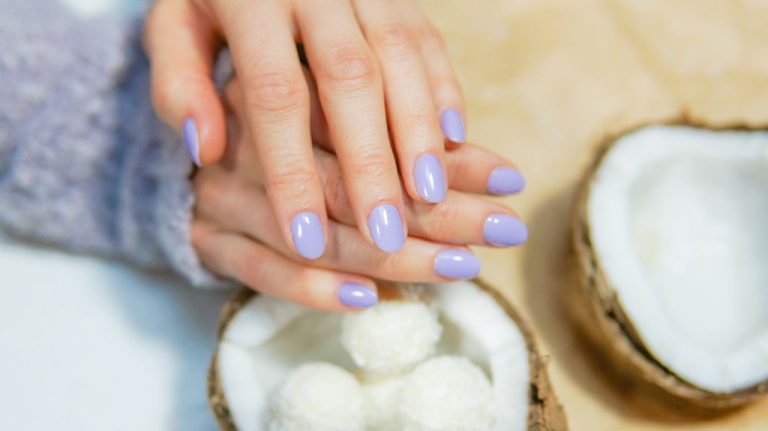
- Patterns – Try taping off a geometrical design like stripes, chevrons or diamonds on the accent nail. Use a nail art brush to paint on the pattern. These lavender ombre nails have a chic striped accent finger.
- Rhinestones – Stud your accent nail with mini rhinestones or glitter studs. Choose gems that match your ombre shades. Keep the gems clustered towards the tip of the nail for best results.
- Metallic tips – Paint just the tip of the accent nail with a metallic polish like gold, rose gold or silver. The metallic will make your accent nail pop against the soft ombre shades.
The options are endless when it comes to accent nail ideas! Get creative with patterns, glitter, rhinestones, metallics, and more. Just make sure to use a quick-drying top coat over any embellishments to seal in the design.
Finish with Top Coat
The final step is to apply a top coat to seal and protect your ombre nail design. As explained on the Manucurist blog, “In terms of resistance and durability, a quality top coat can also help to protect your polish from chipping or fading too quickly.” (1) Top coats create a smooth, even surface over the nail polish and nail art underneath. They help lock in the color and provide a shiny finished look.
When working with ombre nails, top coat is especially important. Since you have blended multiple polish colors across the nail, sealing it with top coat ensures the gradient stays put. As the article on Bluesky Cosmetics mentions, top coats “give your nails a long-lasting gel manicure, from a high-shine (or gorgeous matte) finish.” (2)
Apply a thin layer of top coat over each nail and let it dry fully. Avoid flooding the nails with too much top coat. Just one smooth layer is ideal to lock in your ombre design.
Maintenance Tips
Making your ombre manicure last as long as possible requires some careful maintenance. Here are some tips to help extend the life of your ombre nails:
Use a high quality top coat like Seche Vite to seal and protect the polish (source). Reapply top coat every 2-3 days.
Apply cuticle oil daily to keep nails hydrated and prevent chipping and peeling (source). Push back and trim cuticles as needed.
Avoid picking at your nails as this can cause chips and breaks. Use a wooden cuticle pusher instead of metal tools.
Wear gloves when doing household chores to protect against damage and staining.
Limit your nails’ exposure to acetone by using foil method for removal instead of soaking.
Get manicure touch ups every 10-14 days to refresh growth and fix minor chips.
With proper care between appointments, an ombre manicure can last 2-3 weeks or more.