Nail Art Collaborations: Team Up With Friends For Creative Nail Art Sessions
Gather Your Creative Crew for a Fun Nail Art Session
Nail art collaborations involve getting together with friends for creative nail art sessions. In a nail art collaboration, each person takes turns doing nail art designs on each other’s nails. It’s a fun way to express creativity, bond with friends, and make some Instagram-worthy nail art!
Gathering a group of friends with an interest in nail art for a collaborative session can lead to an afternoon of laughter, bonding, and amazing nail creations. Nail art collaborations provide a relaxed yet engaging creative outlet. Plus, working together on designs can help motivate each other and spur new creative ideas. With some planning and supplies, a nail art collaboration will result in awesome nail designs and lasting memories.
Gather Your Crew
Doing nail art with a group of friends can be a fun bonding activity. As Ellen May explains, “Why you should make art with friends…” making art collaboratively helps build a sense of connection and community. Having friends around while creating makes the process more enjoyable.
To maximize the fun, invite a group of 4-6 friends over for a nail art session. The ideal number for a collaborative activity is not too big or too small. With 4-6 people, you’ll have enough personalities to make things lively without it feeling crowded.
Get Inspired
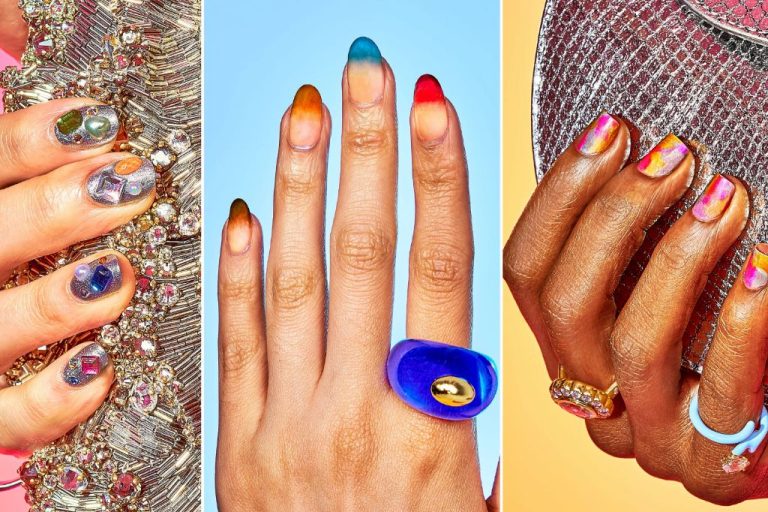
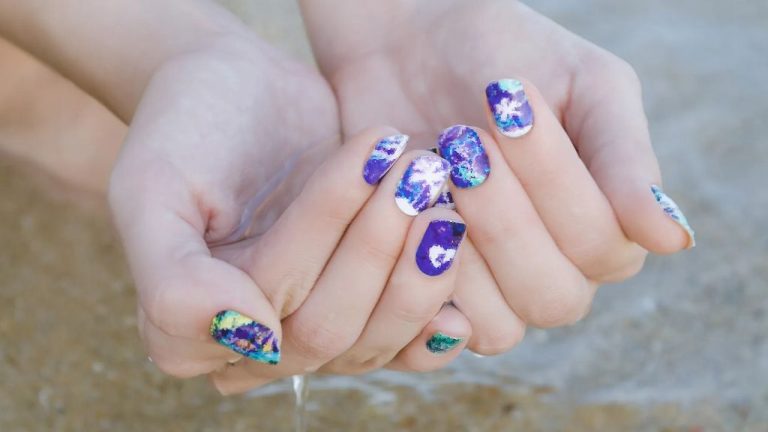
Get inspiration from nail art trends and themes together as a group. Look at images and videos of nail designs on social media and blogs together to spark ideas. Some popular nail art trends this year include chrome, hunter green, glazed donut nails, blue art, and embellished french tips (Refinery29).
You can also choose a fun theme to focus your nail designs on together like unicorns, florals, mermaids, etc. Look for nail art images and tutorials centered around your chosen theme. Pinterest and Instagram are great places to find themed nail art inspiration.
Browsing nail design photos together will help get everyone excited about the creative possibilities and focused on a cohesive style for your nail art session.
Gather Supplies
Having the right nail art supplies on hand is key for a fun and creative session. Some essentials to gather include:
- Base coat, top coat, nail polish in various colors – have each person bring a few of their favorites to share (make sure to have classics like nudes, blacks, whites, reds, etc.) (VBP).
- Nail art embellishments – rhinestones, charms, glitter, foil, gems, stickers. Great for accent nails (The Posh Look).
- Tools – dotting tools, striping tape, brushes, scissors, nail file, cuticle pusher.
- Acetone and cotton balls for easy clean up.
- Glue, top coat, matte top coat to finish off designs.
Make a list and have everyone claim an item or two to bring. That way the group shares the prep work. With a fully stocked arsenal of nail art supplies, you’ll be ready to get creative!
Prep Nails
Before starting any nail art design, it’s important to properly prepare the nails. Here are some tips for prepping nails:
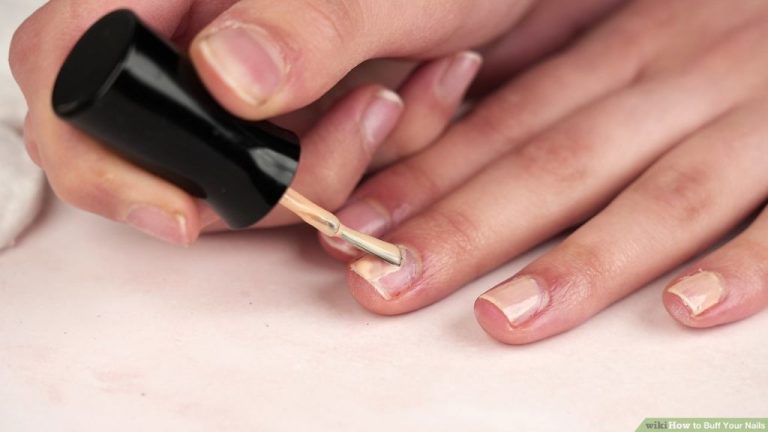
Remove any old nail polish with nail polish remover or acetone. Make sure all traces of color are gone. Use a nail file to lightly buff the surface of the nails to create a smooth canvas for nail art.
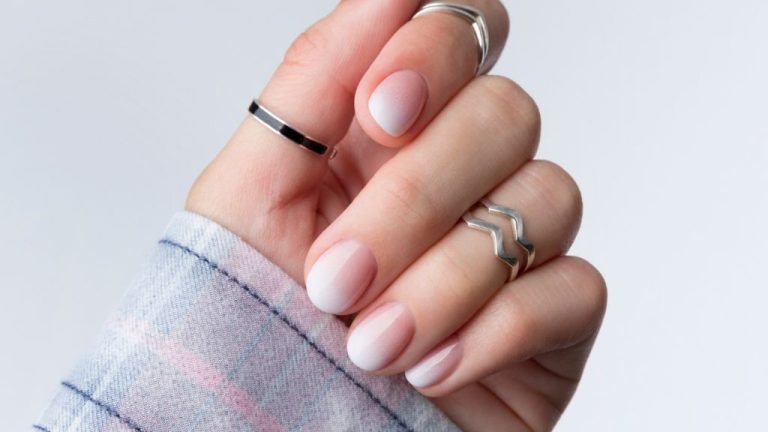
Trim and shape the nails as desired using nail clippers and files. Most nail art looks best on shorter to medium length nails. File the edges to create a smooth shape.
Thoroughly cleanse the nails to remove any oil or residue. Use soap and water or a nail dehydrator.
Apply a base coat on each nail to protect the nails and help the nail art last longer. Let the base coat dry completely before moving on.
Consider using nail forms or tips if you want a specific nail shape like square or coffin. Apply forms over the natural nail then apply acrylic, gel or dip powder for extensions.
Push back and trim the cuticles to keep the nail art looking neat and tidy. Use a cuticle cutter and pusher.
Your nails are now prepped and ready for the fun nail art designs! Having a clean and shaped base makes application easier. See this video tutorial for tips on prepping nails: “How to prep nails for nail art” by Slay with SOMIA (https://www.youtube.com/channel/UCwgsEnOH_U-8R5hbtEQHkwQ)
Take Turns
The key to a successful nail art session with friends is to take turns doing each other’s nails. This allows everyone to get involved in the creative process. Start by having one friend do the nails on one hand of the person next to them. According to nail artist Sarah Chi in her Friends Nail Art Tutorial, taking turns is essential “so that everyone gets to experience everything.”
Once the first hand is complete, switch roles and have the other friend take a turn doing the nails on the first hand of the next person. Continue alternating in this way until everyone has had their nails decorated on both hands. Taking turns ensures that no one feels left out of the fun and creative collaboration.
Get Creative
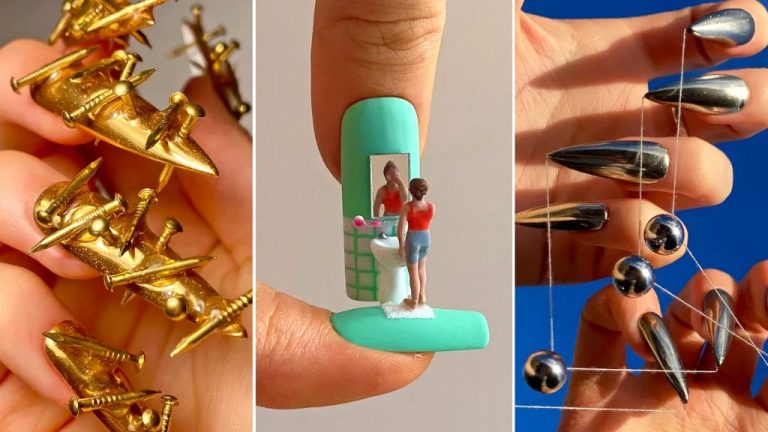
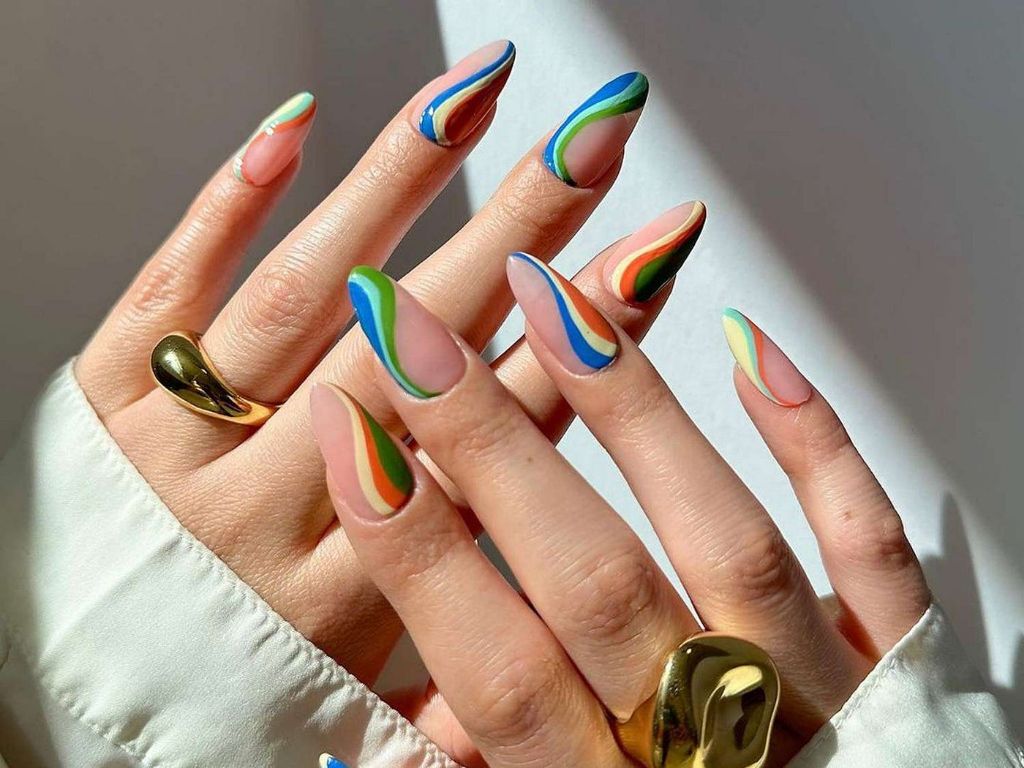
The fun part of a group nail art session is seeing how unique each person’s artistic style can be when given the same prompt. Encourage everyone to experiment with different nail art techniques together to create a collaborative work of nail art. Combining multiple styles on different nails allows you to experience a variety of techniques in one session.
Some ideas to try with the group: ombre nails, watercolor backgrounds, glitter polish, stamping, striping tape, decals, charms, rhinestones, and more. Let each person pick a few techniques they want to focus on. Then take turns being models for each other to paint on. The end result will showcase an array of talents.
For inspiration, check out nail art videos and tutorials like: 20 top beginner nail art techniques ideas in 2024.
Not everyone may have the same skill level, so be encouraging of beginners. More experienced nail artists can share tips and tricks as you work together. Focus on having fun with the creative process rather than perfection.
Show Off
After spending time meticulously designing creative nail art, it’s only natural to want to show off your hard work. Photography is an important step to memorialize your nail designs and capture the details. Take photos straight-on of each nail against a plain, non-distracting background. Photos can be a fun memento and enable you to look back fondly on your nail art session.
Consider posting your nail art photos on social media to showcase your designs. According to research, nail art is extremely popular to share on platforms like Instagram and Pinterest, with creative designs often going viral. The hashtag #nailart has over 169 million posts on Instagram. Not only is it rewarding to gain likes and positive comments, but sharing online enables you to be part of a community of nail art enthusiasts. Linking up with fellow nail art lovers can provide inspiration for future designs. Just be sure to call out any friends you collaborated with and tag them in your post.
Clean Up
After completing your nail art session, it’s important to properly clean up. Any nail polish that got on your fingers or skin should be removed right away before it dries and stains. Use a cotton swab dipped in nail polish remover to gently wipe away any excess polish from your skin. You can also rub your skin with a bit of olive oil or coconut oil, then wash with soap and water to fully remove all traces of polish.
Make sure to secure all nail polish bottles so they don’t spill. Store any extra supplies like decals, glitters, rhinestones etc. so you can use them again next time. It’s helpful to keep a small tackle box or organizer to keep all your nail art materials together. Clean any brushes by wiping excess polish off with a paper towel, then washing with nail polish remover and allowing to fully dry.
Proper cleanup after nail art sessions will keep your tools ready for next time and prevent accidental spills or stains. Taking a few minutes to remove excess polish and neatly store supplies is an important finishing touch.
Source: https://pureartnails.com/holographic-nails/
Do It Again
Nail art is a fun, creative activity to do with friends that provides many benefits when done regularly. According to tillynailart.wordpress.com, some of the key benefits of regular nail art sessions include providing a creative outlet, giving you alone time if you’re an introvert, keeping you feeling youthful, and helping you overcome personal hurdles. Nail art allows you to express yourself, decompress, and maintain a youthful spirit when done frequently with friends.
Make nail art sessions a regular bonding activity with your friends. Not only is it enjoyable creative time together, but regularly expressing yourselves through nail art can provide personal growth and fulfillment. Set up biweekly or monthly nail art sessions and take turns hosting. Come prepared with new ideas and inspiration to keep your sessions fresh. The more often you do nail art with friends, the more benefits you will reap.