Unleash Your Creativity: Easy Nail Art Tutorials For Every Occasion
Nail art has exploded in popularity in recent years as a fun and creative way for people to express themselves. As the nail industry continues to grow, with the global nails market projected to reach $14.31 billion by 2028 according to Statista, nail art has become a trendy outlet for self-expression and customization. With just a few simple tools and some creativity, anyone can create stylish nail designs for any occasion.
From everyday wear to holidays and special events, nail art allows you to showcase your personality through your fingernails. It’s an accessible art form that allows for endless creativity, no matter your skill level. In this guide, you’ll learn foolproof nail art techniques and step-by-step tutorials to unleash your creativity through dazzling nail designs for any event.
Tools and Supplies for Nail Art
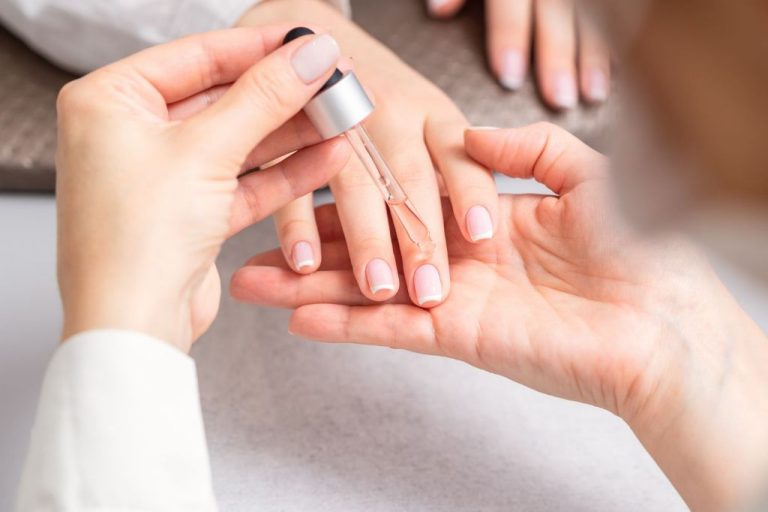
Nail art doesn’t require a lot of fancy tools, especially when you’re just getting started. Here are some of the basic supplies you’ll want to have on hand:
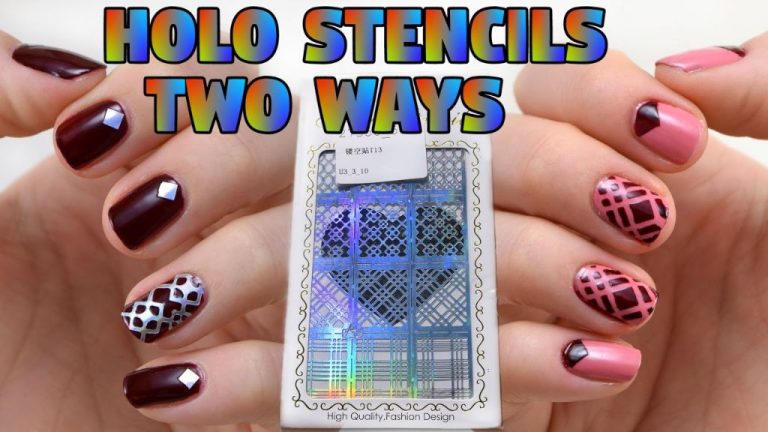
Dotting tools – These tools have different sized metal balls on the tips that allow you to make polka dots and other circular designs. Get a set like this one from Maniology that has multiple sizes.
Striping brush – Thin striping brushes allow you to paint on fine lines and details. The Maniology striping brush is a great affordable option.
Top coat – A good top coat like Seche Vite or Sally Hansen Insta-Dri will help your designs last longer without chipping or smearing. Apply over nail polish designs to seal and protect them.
Nail polishes – For beginners, it’s best to start with basic nail polish colors in creams and shimmers. Sonailicious and OPI have high-quality polishes that apply evenly.
Nail art tapes – These tapes can create geometric patterns or straight lines. Try this set from Sonailicious which has tapes in different patterns and widths.
With just these essential affordable supplies, you’ll be ready to create easy nail art designs for any occasion!
Choosing Nail Shapes and Lengths
When it comes to nail art, choosing the right nail shape and length is an important first step. The shape and length you choose can complement your hands, make your fingers appear longer or shorter, and also impact how nail art looks.
Some popular nail shapes include:
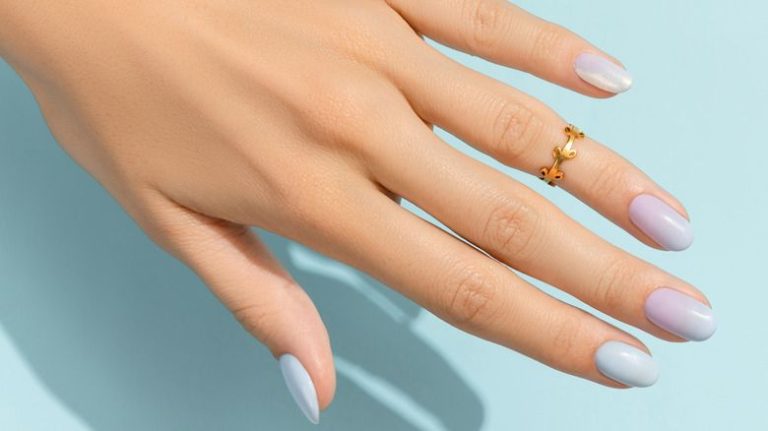
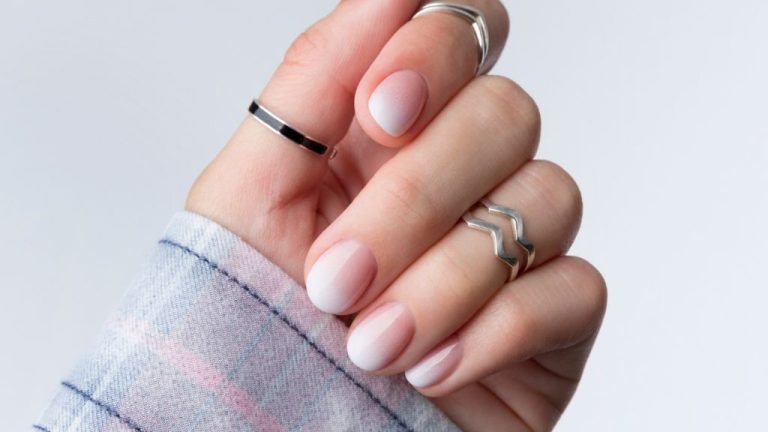
- Oval – An oval shape is rounded at the edges and follows the natural shape of the nail bed. Oval nails look great on most nail lengths and hand shapes.
- Square – Square nails have straight edges and sharp corners. They create the illusion of longer nails.
- Squoval – A squoval is a hybrid between a square and oval shape. The nails are slightly rounded at the edges.
- Almond – Almond shaped nails are widest at the tip and taper inwards towards the cuticle. This shape is flattering for most hand shapes.
- Coffin – Coffin nails are square shaped with a straight edge, but extend past the fingertip for a longer look.

When choosing a nail length, keep in mind that longer nails around 1/4 inch past the fingertip can beautifully showcase nail art, but may not be practical for all lifestyles. Medium length nails just at the edge of the finger often strike the perfect balance. Very short nails can work beautifully as well with the right nail art techniques. Consult with your nail technician on finding a length that works for your lifestyle.
Don’t be afraid to experiment with different nail shapes and lengths! The beauty of nails is you can always change it up. Consider the shape of your cuticles and nail beds for a seamless look. Nail art can look amazing on any nail length and shape with the right designs and techniques.
Everyday Nail Art Ideas
Some easy nail art designs are perfect for daily wear and can be created quickly without needing a lot of skill or special supplies. These simple nail art ideas include:
Simple polka dots – Just take a toothpick or dotting tool and apply different sized dots randomly or in a pattern onto a base color for an instant cute manicure. White dots on a bright color like yellow or pink looks fresh and fun. For more subtle polka dots, use two contrasting nude or neutral shades.
French tips – The classic french manicure with a white or light nude tip and pink or neutral base never goes out of style. Use striping tape for a clean line or free-hand it. Adding a design like polka dots, stripes, or florals on the tips can add a modern twist.
Negative space nails – Negative space manicures make a statement without requiring much effort. Simply paint your nails with two contrasting colors in different patterns leaving a gap of the base color to create cool designs. Cheetah print, v-shapes, and crisscrosses work well.
Minimalist geometric shapes – Use tape or free-hand simple shapes like triangles, lines, squares, or circles over a neutral or nude base. This modern look is subtle but eye-catching. For shiny metallic lines, try using striping foil.
Check out this nail art tutorial playlist for easy step-by-step guidance on creating these everyday nail art ideas.
Nail Art for Date Nights
Date nights are the perfect occasion to show off elegant and romantic nail art designs. Whether it’s a special anniversary dinner or Valentine’s Day, nail art is a great way to complement your look. Some popular nail art ideas for date nights include:
Elegant lace designs create a sophisticated and feminine look perfect for date night. You can paint nude nails and use a fine nail art brush to create delicate lace patterns in white, gold, or silver. Or opt for a light pink base color with white lace accents. Add a touch of glitter or rhinestones for extra romance. See an example at this article on Valentine’s Day nail inspiration: https://www.thefader.com/2015/02/09/your-guide-to-valentines-day-nail-inspiration
Jewel and rhinestone accents add a glamorous touch. Paint your nails a neutral color and use nail glue to attach small gems, rhinestones, or glitter near the base of the nail. You can also paint on designs like hearts or flowers with glitter nail polish. The sparkle will make your nails stand out on a romantic date night.
Romantic floral motifs like roses, cherry blossoms, and vines make beautiful nail art for date nights. Use red, pink, and white flower designs against a nude or black background. Florals look great as full nail designs or as small accents on one or two nails. Add glitter or rhinestones to make the flowers really shine.
No matter the design you choose, nail art is a fun way to complement your look for a romantic occasion. The extra touch of glam is sure to make date night feel even more special.
Nail Art for Weddings
Your wedding day is the perfect occasion to showcase glamorous nail art. Whether you’re the bride or a wedding guest, your manicure will complement your attire and add a special touch to photos. Some elegant yet eye-catching nail art ideas for weddings include:
A classic French manicure with bridal twists like glitter tips, pearls, lace details, or your new initials is a timeless yet personalized look. As recommended by Green Wedding Shoes, you can ask your manicurist to switch up the traditional white tips for a metallic like rose gold for a modern take (source).
Statement rings or bracelet nail art creates the illusion of jewelry on your hands for a glam effect. Pinterest suggests accent nails with rhinestone or pearl rings are great for engagement shoots and wedding events (source).
Elegant pearl or sequin accents add a hint of shimmer. Keep other nails neutral to make these details really stand out. This is an easy way to get a designer look.
Festival Nail Art Ideas
Festivals are a time to let loose and show off your fun side through fashion, accessories, and nail art. When heading to your favorite music festival or cultural celebration, festival nail art is the perfect way to get in the spirit. Bright neon colors, glitters, boho-chic designs, and music-inspired nails are popular options.
Opt for bright, electric neons like hot pink, lime green, or highlighter yellow on a couple accent nails or your full manicure. Pair with black for a striking contrast. Add rainbows, smiley faces, music notes, and glitter on top for a playful festival vibe. Studs and rhinestones also make great festival nail art additions.
Bohemian-inspired tribal and geometric patterns in earthy tones look gorgeous and on-theme for many festivals. Think Aztec, Native American, and African tribal prints and shapes. Adorn with beads, gems, or dots around the cuticle for 3D embellishment.
Nature motifs like floral designs, butterflies, feathers, and mandalas capture the free-spirited festival mindset. Let your creativity run wild with impressionist nature scenes or abstract patterns.
For music festival nail art, be inspired by your favorite artists. Add miniature band logo decals, lyric text, album cover artwork, guitar and music note shapes. The possibilities are endless when channeling the festival spirit through your fingertips.
Check out this stunning festival nail tutorial for inspo: Festival Nail Art Tutorial: Stunning Stars
Halloween Nail Art
Halloween nail art is the perfect way to get into the spooky spirit. Some popular motifs for Halloween nails include:
– Spiderwebs, ghosts, and bats – These creepy designs are Halloween classics. Use white and gray polish to create delicate spiderwebs crawling across nails. Tiny ghosts and bats add a subtle touch of Halloween flair.
– Bloody or gory accents – For a more gruesome look, add splatters or drips of red “blood” over solid black nails. Dripping eyeballs and severed fingers amp up the gore factor.
– Black cats, pumpkins, and witch hats – These nods to Halloween imagery make for cute and festive manicures. Paint a little black cat silhouette, Jack-o-lantern, or even a witch’s hat and broomstick.
When designing your ideal Halloween manicure, consider using dark colors like black, orange, and deep purple. Incorporate glitter or metallic sheens for a bit of added spookiness. Nail art stickers, striping tape, and acrylic paint pens allow you to get creative with your scary designs. For inspiration, check out this Halloween nail tutorial: https://www.pinterest.com/cutexus/halloween-nails/. With a little practice, you’ll be ready to show off spellbinding nails this Halloween.
Christmas and Holiday Nail Art
The holiday season is the perfect time to get festive with your nail art. Christmas and Hanukkah nail designs are a great way to spread some seasonal cheer. Here are some ideas for holiday-themed nail art:
Classic red and green color schemes are a must for Christmas nails. Try painting all ten nails in alternating red and green colors for a bold and vibrant look. You can also do one accent nail in red or green among more neutral nails. Add Christmas trees, snowflakes, reindeer, snowmen or bows in white acrylic paint or nail stickers for a cute touch.
Snowflakes make beautiful winter nail art. Paint your nails a shimmery white or silver color and top with various snowflake designs in white acrylic paint. Stick small rhinestones in the center of the snowflakes for extra sparkle. Blue and silver snowflakes on a white base create a pretty icy look.
Hanukkah nail ideas can incorporate the blue and white color scheme. Paint different sized white and blue horizontal stripes on each nail for a modern Hanukkah design. Or paint your nails all blue and add white Star of David designs with rhinestone accents. Menorah nail art also helps celebrate the Festival of Lights.
Kwanzaa nail art uses the symbolic colors of red, green and black. Paint one nail in each color and fill in with symbols like the kinara candle holder in black on the red nail. Swirling all three colors together creates an abstract Kwanzaa design.
No matter what you celebrate, the holidays are a great time for festive nails that spread seasonal joy. With a little glitter and imagination, you can create the perfect Christmas, Hanukkah or Kwanzaa themed nail art.
Source: https://www.pinterest.com/zamoralauralulu/holiday-nails/
Conclusion
Nail art is a fun and creative way to express your personality on your fingertips. As we’ve explored, there are endless possibilities for designs whether you want something subtle for everyday or bold and intricate for special occasions. The techniques are easy to master with some practice. Don’t be afraid to experiment with shapes, colors, and patterns to find a style that’s uniquely you.
So go ahead and unleash your creativity to make your nails a canvas for self-expression. Try out different nail art ideas from simple dots and stripes to intricate florals and swirls. With the right tools, patience, and a bit of practice your nails will be transformed into mini works of art. Your nails deserve to stand out and reflect the amazing person you are on the inside.