The Art Of Diy Nail Decals: Tips And Tricks
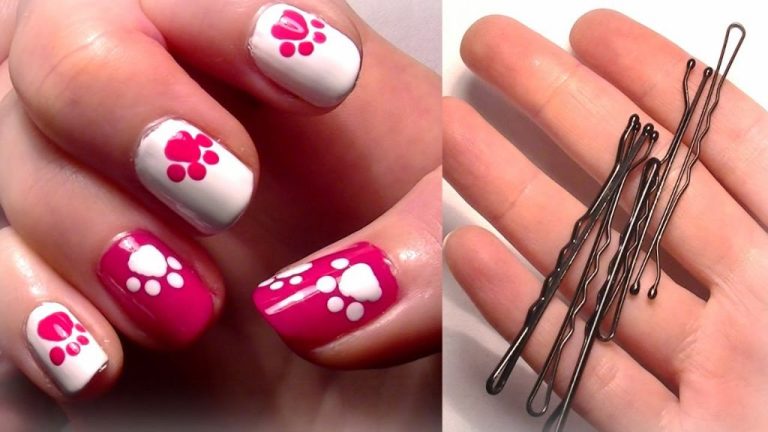
Nail decals, also known as nail stickers, are pre-designed nail art that can be applied to fingernails for an easy DIY manicure. Nail decals first became popular in the 1980s and 90s, allowing people to achieve intricate nail art designs at home without needing painting skills.
The history of decorative nail art dates back thousands of years to ancient Egypt, China, and Incas, who painted nails with color pigments. But the invention of nail decals revolutionized DIY nail art. Nail decals consist of thin, flexible designs printed on a backing sheet that can be cut to size and applied to nails with adhesive. This allows anyone to quickly decorate their nails with creative designs.
Nail decals soared in popularity in the 80s and 90s, with elaborate designs and themes. They continue to be a staple nail art technique today. Their ease of application and bold, expressive designs make nail decals a fun way to decorate nails for any occasion.
Supplies Needed
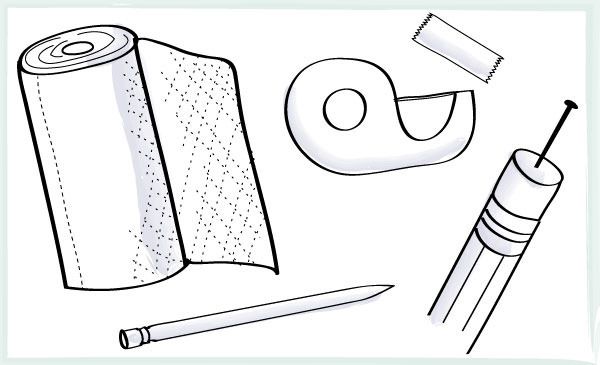
The main supply you’ll need for DIY nail decals is the nail decal stickers themselves. There are many options to choose from including fun designs, shapes, colors, and patterns. Make sure to pick decals meant for nails. Other supplies include:
- Scissors – for cutting and sizing decals
- Top coat – to seal decals and add shine
- Base coat – to prep nails before applying decals
- Nail file – to shape nails
- Cuticle pusher – to neatly push back cuticles
You may also want cotton balls, nail polish remover, and other basic nail care supplies. When starting out, opt for a nail decal set that has all the items you’ll need.
Prepping Your Nails
Before applying nail decals, it’s important to properly prep your nails. This involves filing, buffing, cuticle care and making sure your nails are free of oil and debris.
Start by filing your nails into the desired shape. Use a coarse file to shorten and shape them, then use a finer grit file to smooth everything out. Buff the surface of each nail with a nail buffing block or buffer. This will create a smooth, shine-free surface for the decals to adhere to.
Next, use cuticle nippers to gently push back and remove any overgrown cuticles. Don’t cut or dig into your cuticles, as this can damage the nail bed. Just lightly push them back to tidy up the nail and remove any excess cuticle.

Finish up prepping by using nail polish remover or acetone to remove any traces of oil, lotion or debris. You want the surface of each nail to be perfectly clean. The decals will stick best to a lightly buffed, oil-free nail surface.
Once your nails are filed, buffed and cleaned, you’re ready to start applying your base coat before adding the nail decals!
Applying Base Coat
After prepping your nails, apply a thin layer of base coat evenly across your nails. Base coat creates a smooth, even surface for nail polish and decals to adhere to. It also prevents staining of your natural nails. Allow the base coat to dry completely before moving onto the next step, usually about 5 minutes. According to Maniology, letting the base coat dry is crucial because “There’s nothing worse than adding the final touches to your nail art, just to have them smudge as you finish up.”
Some sources suggest using two coats of base for extra protection and longevity, letting each coat dry in between. Be sure to cap the free edge and wrap the base coat around the tip of each nail for maximum adherence.
Cutting and Sizing Decals
Once you have your nail decals, the next step is to cut and size them to fit your nails. This part can be tricky, but using the right scissors will make the job much easier.
Look for small, precision scissors designed specifically for cutting nail decals and wraps, like these zebra print scissors. The sharp, pointed tips allow you to cut around the edges of the decal and get very precise with sizing.
Take your time and cut slowly to avoid tearing the decals. If the decal has a clear film around the edges, be sure not to cut into the actual design.
Cut each decal just a bit smaller than your actual nail size. You want the decal to fit the nail precisely without any overhang on the edges that could catch and peel up.
Pay attention to the shape of your nail beds as you cut. For example, if your nail bed is wider at the base, size the decal accordingly.
Avoid leaving excess air bubbles under the decal by sizing it as close to your nail as possible. Take your time with the cutting step, and you’ll have beautifully sized decals ready for application.
Applying Decals
Properly positioning and applying the decals is crucial for getting a smooth, professional look. Start by using tweezers to peel the decal off the backing sheet. Hold it over the nail where you want to apply it. Use a dropper or dampened brush to wet the decal, which activates the adhesive. Carefully lower the decal into position, avoiding air bubbles. Use the damp brush to press down the edges and smooth any wrinkles. Work from the center outward. Apply pressure for 30-60 seconds until the decal adheres smoothly.
Be patient during application. It can take some practice to get the positioning and smoothing technique correct. Work slowly and gently. If the decal starts to fold or wrinkle, lift it up and re-wet before trying again. Avoid over-handling the decals once placed, as they can tear. Follow these steps for flawless, professional-looking results.
Source: https://www.stylecraze.com/articles/how-to-apply-full-nail-water-decals-perfectly/
Sealing with Top Coat
After you have applied your nail decals, it is crucial to seal them properly with a top coat. This helps protect the decals and allows them to last longer without chipping or peeling. When using a standard nail polish top coat, it’s important to apply multiple thin layers and allow each layer to fully dry in between applications.
A gel or UV top coat works best for sealing in nail decals. The IBDI Gel polish top coat is designed for layering over nail decals and gel polish to create a smooth, glossy finish (https://www.nashlynails.com/products/copy-of-haruyama-beige-gel-nail-polish-181). Gel top coats cure under a UV or LED lamp to create a durable, protective seal. Be sure to allow the gel top coat layer to cure fully under the light before adding multiple layers. Properly sealing nail decals helps prevent lifting, chipping, and smudging.
Caring for Decals
Decals can last up to 10 days if cared for properly. The key to avoiding chips and peels is to be gentle with your nails, using your fingertips when possible for daily tasks. Avoid opening cans, picking at stickers, or using tools with your nails as these activities can cause the edges to lift. Wrapping tips with a small piece of tissue or cloth when doing chores can help protect the decals.
When it’s time for removal, avoid peeling off decals if possible. Soak nails in pure acetone or non-acetone remover for 10-15 minutes until decals can be gently rolled off with a wood stick or orangewood stick. Using a gentle scraping motion under warm water can also help loosen any remaining adhesive without taking off layers of your natural nails. Acetone-soaked cotton balls pressed gently against nails for 1-2 minutes can also help breakdown sticker adhesive for easy removal. Never pick, peel or rip off stickers as this can damage nails.
Sources:
https://sonailiciousboutique.com/blogs/nail-art/how-to-use-nail-stickers-like-a-pro
Troubleshooting
Nail decals and stickers can sometimes be tricky to apply. Here are some tips for troubleshooting common issues:
Bubbles
If you notice air bubbles under the decal, gently lift the sticker and reapply while slowly smoothing out the decal. Use a cuticle pusher to press out any remaining air pockets. Avoid using your fingers as the oils can reduce adhesion [1].
Peeling
Make sure to prep your nails properly and use a base coat so the decals adhere well. If peeling occurs, try roughing up the surface of your nail lightly with a file and reapplying the decal. You can also try a layer of clear top coat over the decal to help seal it [2].
Edges Not Sticking
Use cuticle scissors to trim any overhanging edges, then seal the edges with clear top coat. Be patient when applying decals and press down gently but firmly around the edges.
Creative Ideas and Tips
Nail decals allow for endless creative expression on your nails. Here are some fun ideas to try:
Accent Nails
Use a single decal on an accent nail, like your ring finger, to make it pop. Accent nails are an easy way to add a subtle decorative touch without going overboard.
Patterns
Mix and match multiple decals to create fun patterns on your nails. You can do alternating patterns, diagonal designs, or even checkered looks. Get creative with the placements.
Shapes
Look for decals in unique shapes like hearts, stars, and flowers. Use these to accent a single nail or build a shape motif across all ten nails.
See this blog for more shape ideas: Stamping Over Nail Foils
Themed Sets
Find decals that go together for a cohesive themed manicure. Some ideas include tropical fruit, baking themes, or floral designs.
For a cute example, check out this Hello Kitty nail decal set: The Crme Shop X Hello Kitty Nail Decals
Let your creativity run wild and have fun decorating your nails with decals!