7 Diy Nail Polish Recipes For Custom Colors
DIY nail polish has become increasingly popular in recent years. According to Kline’s Cosmetics report, the at-home nail polishes category grew another 3.3% in 2021 on top of the 21% surge seen in 2020 (source). With salons closed during the pandemic, many people turned to doing their own nails at home. Sales of nail polish spiked as customers embraced DIY beauty trends (source). Making customized nail polish colors has become especially popular, allowing people to get creative and make the exact shades they want.
Benefits of Making Your Own
Making your own nail polish at home has several advantages over buying pre-made polishes. The main benefits are having control over ingredients to avoid toxic chemicals, saving money, and the fun of mixing custom colors.
Commercial nail polishes often contain harsh chemicals like formaldehyde, toluene, and phthalates. By making DIY polishes, you can avoid these toxic ingredients and use natural substitutes like olive oil or coconut oil instead. As reported by Newsncr, homemade polishes are natural and stay on nails for up to two weeks (source).
Another major benefit is cutting costs. Pre-made polishes from the store can be expensive, especially for premium or novelty colors. Whipping up custom polishes at home with common ingredients is much cheaper in the long run.
Finally, homemade nail polish allows you to get creative and make exactly the shades and finishes you want. It’s fun to experiment with mixing glitter, powders, and pigments for unique metallic, matte, or speckled effects.
Supplies Needed
Making your own custom nail polish at home is easy with just a few key supplies. Here’s what you’ll need to get started:
Nail Polish Base
The nail polish base provides the clear, glossy liquid that gives nail polish its smooth texture. Look for a base specifically formulated for cosmetic use, as other chemicals can be harmful. A good nail polish base should provide a blank canvas for adding pigments.
Color Pigments
Color pigments are powdered compounds that provide vibrant hues. Look for cosmetic-grade pigments designed for use on the skin and nails. Start with primary colors like red, blue and yellow, then mix to create custom shades.
Mixing Containers/Tools
You’ll need small containers to mix up custom polish colors, like tiny jars or reusable cosmetic pots. Stir sticks, funnels, and pipettes help transfer pigments and mix colors precisely.
Brushes
Small nail art brushes allow you to neatly paint your homemade polish onto nails. Look for brushes with fine tips and tightly packed bristles to create clean polish lines.
Recipe 1: Sheer Pink
To make a sheer pink nail polish, you will need:
- Clear base coat nail polish – 2 ounces
- Pink pigment – 1/4 teaspoon
Start with a 2 ounce clear base coat nail polish as your base. This will allow the pink color to shine through while still being sheer. Add only 1/4 teaspoon of pink pigment. Adding too much pigment will make the polish opaque instead of sheer.
Make sure to add the pink pigment slowly, mixing thoroughly between additions. Mix for 2-3 minutes to fully incorporate the pigment. Test the color on a nail wheel or piece of paper to ensure it is sheer with just a hint of pink.
If it is too opaque, add more clear base polish. If it is too sheer, add more pigment a little at a time.
Once you achieve the perfect sheer pink color, your custom nail polish is ready to use! Apply 2-3 thin coats for a soft, elegant look.
Recipe 2: Metallic Gold
This recipe will give you a beautiful shimmery metallic gold nail polish. The key is using a mix of gold pigment powder and gold shimmer powder to get the right color and texture.
You’ll need:
- 30ml clear base coat
- 1 tsp gold pigment powder (https://www.youtube.com/watch?v=fjByP_8j5j8)
- 1/2 tsp gold shimmer powder (https://bydreamsfactory.com/diy-gold-nail-polish-vintage-keys/)
In a small bowl, mix together the clear base coat, gold pigment powder, and gold shimmer powder. Stir until fully combined and there are no clumps. The pigment powder will provide the metallic gold color, while the shimmer powder adds extra sparkle and shine.
Use a clean nail polish brush to apply 2-3 thin coats to your nails, allowing each coat to dry in between. Finish with a top coat for protection and an ultra glossy finish.
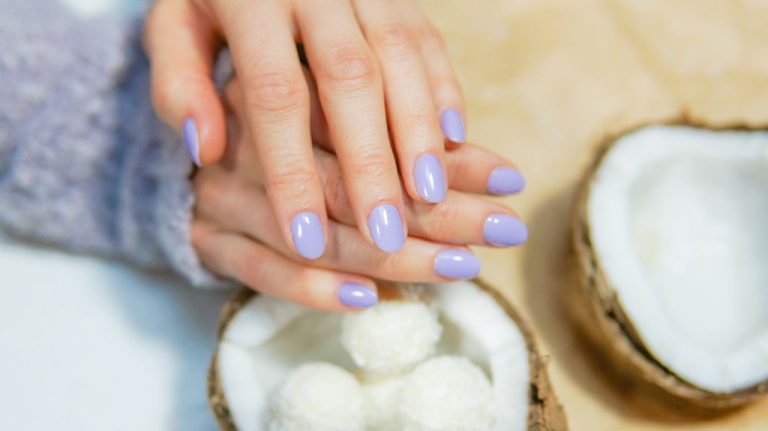
Recipe 3: Matte Purple
This matte purple nail polish recipe is perfect for achieving a trendy muted purple manicure. By adding matte powder, you can take the shine off the purple polish for a sophisticated velvet finish.
To make the matte purple polish, you will need:
- 2 tablespoons clear base coat
- 1⁄2 teaspoon purple nail pigment
- 1⁄4 teaspoon matte powder
Start by pouring the clear base coat into a small mixing container. Add the purple nail pigment and stir thoroughly until fully incorporated. Then add the matte powder and mix well to evenly distribute.
The matte powder will give the polish a matted look while allowing the vibrant purple hue to show through. Apply two coats to achieve an opaque, smooth matte purple manicure.
Recipe 4: Glittery Blue
This glittery blue nail polish recipe is perfect for a fun, sparkly manicure. To make it, you will need the following supplies:
- 1⁄4 cup clear base
- 1⁄8 tsp blue pigment
- 1⁄2 tsp fine blue glitter
Start by combining the clear base and blue pigment in a small mixing bowl. Stir thoroughly until the pigment is fully incorporated and the polish is a solid light blue color. Next, add in the blue glitter and mix well to distribute it evenly throughout the polish. Be careful not to over-mix, as this can cause the glitter to break down.
That’s it! You now have a custom glittery blue nail polish. Apply two coats for maximum sparkle and shine. The blue base allows the glitter to really pop. Get creative and try mixing different color pigments and glitters for more unique polishes.
Source: https://www.pinterest.com/pin/621074604875315114/
Recipe 5: Neon Orange
This neon orange nail polish recipe will give you a bright, summery manicure. To make it, you’ll need:
- 2 ounces clear base coat
- 1/8 teaspoon neon orange pigment powder (https://www.youtube.com/watch?v=0CMjdeMuuxA)
Start by pouring the clear base coat into a mixing container. Add the neon orange pigment powder and stir thoroughly until fully combined. The recommended ratio is approximately 1/8 teaspoon of pigment powder per 2 ounces of clear polish base.
Test the color on a nail swatch stick before painting it on your nails. If it’s not bright enough, you can carefully add more pigment a tiny amount at a time.
Apply a thin first coat, letting it dry completely before adding a second layer for maximum vibrancy. Seal with a quality top coat and your neon orange mani will really pop!
Tips for Mixing
When making your own nail polish, it’s best to mix small batches at a time. This allows you to tweak the formulas and colors more easily. According to the glossy nail experts at deepsea.com, “Mixing small batches gives you more control over the final color and finish of your homemade polish.”
Make sure to store any leftover homemade nail polish in air-tight containers. You want to prevent the polish from drying out or thickening. “Keep homemade nail polish in airtight bottles or jars between uses for the best consistency,” recommends toxiclyrics.com.
Before applying your homemade nail polish, give it a good shake first. This helps mix up any pigments or glitters that may have settled. As brandvisualschool.ru suggests, “Shaking homemade nail polish before each use will help achieve an even color.”
Customize Your Creations
The beauty of making your own nail polish is that you can customize the colors and effects to your liking. Here are some tips for creating unique polishes:
Try mixing different color combinations to invent your own shades. Refer back to the recipes and experiment with combining various pigments. For example, mix the pink and purple polishes to create a custom fuchsia. The possibilities are endless when you blend the basic colors.
Add shimmer or glitter to give your polish a sparkly, multidimensional look. Try adding a pinch of holographic glitter to any of the recipes for an iridescent shimmer. Or stir in some silver or gold glitter to create a metallic effect.
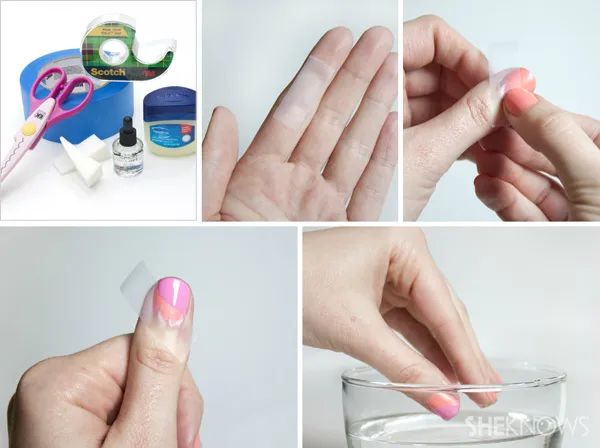
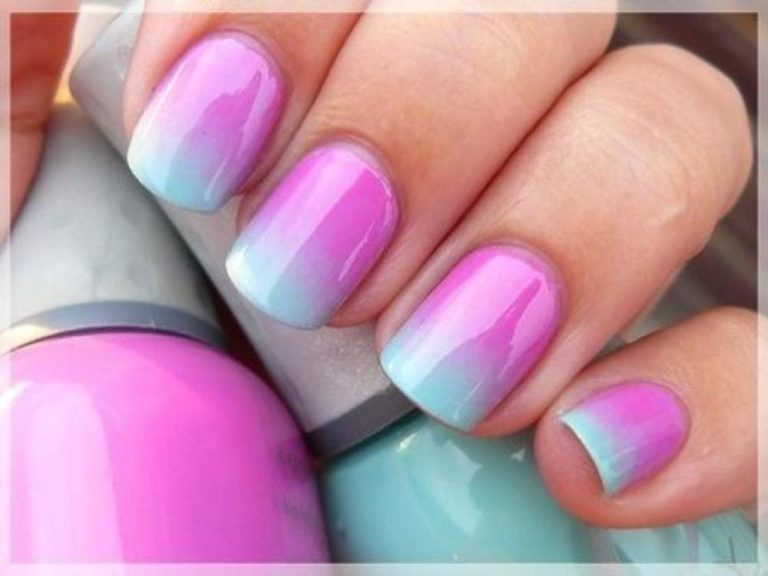
Create ombre polishes by lightly dripping one color over another. Let the colors blend softly into each other. You can also make jelly sandwiches by painting a sheer color over an opaque base. The combinations are limitless!
Refer to this Pinterest board for more custom polish inspiration. With a few basic supplies and these recipes, you can invent a world of unique colors and effects for your nails.