Achieve Salon-Quality Nails At Home: Diy Secrets Revealed
Having beautifully manicured nails can instantly make you feel stylish and put together. But when professional manicures come with a hefty price tag and require a trip to the salon, many women choose to skip them altogether or rely on basic drugstore techniques. While it’s true that an expert nail technician can achieve a polish and precision that’s hard to replicate at home, you can absolutely give yourself a professional-quality manicure with the right products, tools, and techniques. From shaping and filing to cuticle care and creative polish application, we will provide the DIY secrets you need for achieving dazzling nails from the comfort of your home. With some patience and practice, your at-home manicures can rival those from even the most upscale salon.
Assess Your Nails
Before diving into at-home nail care, it’s important to thoroughly assess the health and condition of your nails. Look at each nail and note the shape, thickness, texture and any discoloration. Check for any signs of damage or disease.
Some things to look out for are:
– Unusual thickening or thinness of the nails
– Discolored or yellowed nails
– Cracked, brittle or peeling nails
– Splitting or grooved nails
– Ingrown nails
– Ridges or grooves down the length of the nail
According to dermatology experts, it’s important to look at all twenty nails when assessing nail health. Nails can change in color, size, texture and thickness, so it’s key to do a full overview.
If you notice any concerning symptoms like persistent discoloration, nail separation, or pain, it’s best to seek examination from a dermatologist. They can diagnose and provide treatment for any underlying nail conditions.
Gather the Right Tools
Having the proper tools is essential for achieving salon-quality nails at home. Here are some of the key items you’ll need:
Nail Files and Buffers
Invest in high-quality nail files and buffers. Look for files made of glass, ceramic, or metal as they tend to last longer than cardboard files. The grit rating indicates the coarseness – 180 or 240 grit is ideal for shaping nails. Use a finer grit like 400-600 for smoothing edges. Buffing blocks are great for shining nails after filing (Seki Edge).
Cuticle Cutters
A cuticle nipper allows you to neatly trim hangnails and excess cuticle tissue. Look for one made of stainless steel. Make sure it has a spring-loaded handle and sharp cutting edges (Amazon).
Base Coat, Color, Top Coat
Use a base coat first to protect nails and help polish adhere better. Opt for quality polishes in your desired colors. A top coat seals in color and provides extra shine. Select quick-dry top coats to help nails harden faster.
Cuticle Oil and Hand Cream
Cuticle oil hydrates and nourishes the nails and cuticles. Apply it after cleaning nails. Massage in a rich hand cream after polishing to rehydrate the skin.
Shape and File
Proper filing technique is crucial for achieving the perfect nail shape. Always file in one direction, using long, gentle strokes. File from the outside of the nail towards the center to prevent the edges from becoming too thin and brittle. According to this tutorial, the key is using a light touch and taking your time.
When shaping nails, consider the natural shape of your nails. oval and squoval shapes tend to complement most nail beds. Use the file to slightly round the edges of square nails or create a curved “C” shape on longer nails. Filing at a slight angle can make short nails appear longer. For the length, stick to what feels comfortable – longer nails may snag and break more easily. File just beyond the fingertip for a classic, natural look.
Invest in a high-quality nail file, as cheaper files can damage nails. Look for crystal or glass files which have fine grit and can shape nails smoothly. Replace files regularly as worn files are less effective. With the right tools and proper technique, you can shape and file nails at home to rival the work of professionals.
Cuticle Care
Proper cuticle care is essential for healthy, beautiful nails. Cuticles are the thin skin around the base of your nails that help protect them from bacteria and infections. While you don’t want to cut or remove your cuticles completely, gently pushing them back can give a neat appearance.
Soak your nails in warm water mixed with a small amount of soap for 5-10 minutes to soften the cuticles and make them easier to push back. Use a cuticle pusher or orange wood stick, gently pressing back the skin around each nail. Avoid cutting or nippers which can damage the cuticle. As noted in the Facebook post by Nuova Beauty Bar, keeping cuticles moisturized prevents painful cracking and hangnails.
After pushing back cuticles, it’s important to nourish them with cuticle oil or cream. Apply a drop of oil around each nail and cuticle, massaging it into the skin. The Life of Bri recommends using cuticle oil daily for the best results. Look for formulas containing hydrating ingredients like jojoba, vitamin E, and essential oils.
With the proper tools and techniques, you can easily care for your cuticles at home between salon visits. Just be gentle, take your time, and keep them moisturized for healthy, attractive nails.
Painting Technique
Achieving a professional, lasting manicure at home requires using the right painting technique. Follow these key steps:
Apply Base Coat
Start by applying a thin, even layer of base coat to protect your nails and help the polish adhere. Make sure to cover your entire nail. Let the base coat dry completely before moving on.
Paint On Color
Next, apply two thin coats of your chosen nail polish color. For the first coat, use long, smooth strokes starting near the base of your nail and sweeping upward to the tip. Let the polish dry, then repeat with a second coat to get full, even coverage. Be patient and avoid globbing on too much polish at once.
Seal with Top Coat
Finish with a layer of top coat, which helps lock in color and provides a glossy shine. Use the same technique as you did for the color coats. Let your nails dry completely before doing anything with your hands.
Avoid Common Mistakes
To get a flawless manicure, steer clear of these errors:
– Shaking polish before applying – can cause bubbles
– Skipping base or top coat
– Forgetting to cap the tips of your nails
– Not allowing adequate drying time between coats
Following the proper technique of base coat, color, top coat will help you achieve a smooth, professional look that lasts. With some practice, DIY manicures can rival the results from any salon.
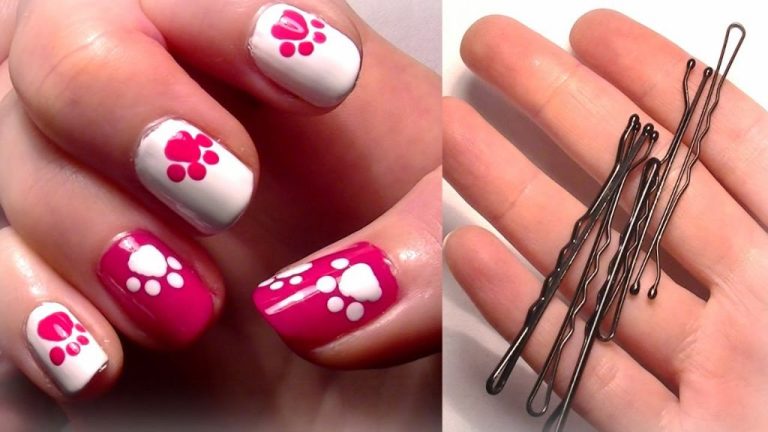
Special Nail Art
Adding special designs and embellishments to your nails can take your manicure from basic to fabulous. Here are some simple nail art techniques you can try at home:
Stamping: This involves using a nail stamping kit with designs etched into a metal plate that you scrape polish over to pick up the design, then stamp onto your nail. It allows you to quickly apply intricate designs like florals, geometrics and more. Check out this tutorial for beginners from Easy Nail Art for Beginners!
Gradients: Blending two or more nail polish colors to create an ombre effect is easy with some makeup sponges. Apply base coats of each color on separate nails, then use a makeup sponge to blend them together. Add topcoat to smooth and seal. For a basic gradient tutorial, see Easy Nail Art for Beginners!
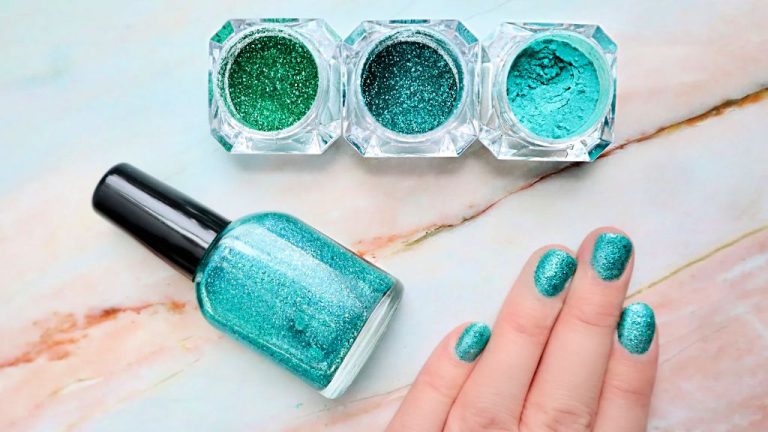
Glitter: Add sparkle with glitter polish or loose glitter applied over regular polish. For concentrated color, paint on a layer of glitter polish. For a sheer, scattered effect, apply regular polish first then use a makeup sponge to dab on glitter while the polish is still wet. Topcoat to seal.
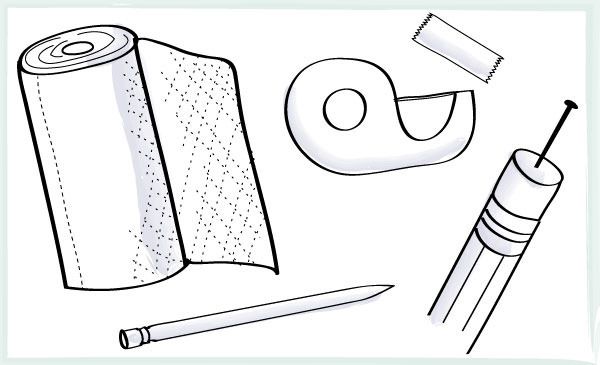
Stripes: Create fun striped nails using striping tape or regular scotch tape. Apply a base color first then place tape where you want stripes and paint over it. Remove the tape to reveal crisp stripes. Add topcoat to smooth and seal. For a stripe tutorial, check out Easy Nail Art for Beginners!
Drying and Finishing
After painting your nails, it’s important to let them dry properly before resuming normal activities. Here are some tips for speeding up drying time and finishing off your manicure:
Use a quick-dry topcoat like Seche Vite Dry Fast Top Coat. This will help seal and harden the polish much faster than letting it air dry. Allow each coat of polish and topcoat to dry for at least 5 minutes before applying the next layer (cite: https://fashionista.com/2023/08/manicure-last-longer-maintenance-expert-tips).
Sit under a fan or point a blow dryer set on cool at your nails to speed up drying time. Keep your hands still and avoid wiping or touching the polish until fully hardened.
After your manicure has dried completely, massage a cuticle oil like CND SolarOil around the nail and cuticles. This will hydrate the skin and help prevent hangnails. Push back any overgrown cuticles gently with an orangewood stick.
Finish by applying a rich hand cream like L’Occitane Shea Butter Hand Cream. The moisture will help prevent cracking and keep your manicure looking freshly-done longer. Reapply after each time you wash your hands.
Maintenance
Keeping your nails strong and healthy between manicures is key for maintaining your DIY salon look. Be sure to use a top coat to prevent chipping and peeling. Apply cuticle oil daily to keep cuticles hydrated. Use a glass nail file gently as needed to smooth rough edges. Avoid picking at your nails, as this can cause them to peel and weaken.
When your manicure starts looking worn, you can do touch-ups between full manicures. Use a small brush dipped in nail polish remover to gently fix any chips in the polish. Apply a fresh top coat over the repaired areas. If multiple nails are chipped, consider repainting just your nail tips with fresh polish. You can also fill in gaps in the polish with some quick nail art using a detail brush. Adding polish to the very tips helps restore the just-painted look.
With some simple maintenance habits, you can stretch your at-home manicures and keep your nails looking fabulous.
When to Seek Professional Care
While DIY manicures can look great, salon visits have some advantages that at-home care may lack. According to Nail Care: DIY vs. Professional Manicures & Pedicures, there are certain times when visiting a professional is the better choice:
For special occasions like weddings, parties, or events, a professional manicure will provide perfect, polished nails that stay flawless. DIY manicures may chip or smudge more easily.
If you want long-lasting polish, acrylics, gel polish, or intricate nail art, seeing a professional can provide more durability and precision.
Salon sanitation practices help prevent infection when using tools and cleaning nails. DIY manicures at home come with a higher risk of bacteria.
Signs that it’s time to book a salon visit include:
- Chipped, cracked, or peeling nails
- Hangnails or painful cuticles
- Discoloration or damaged nails
- Overgrown cuticles or rough skin
- A special event coming up
For major nail damage, acrylics, gel polish, or intricate designs, consult the experts. Otherwise, with the right tools and techniques, beautiful, salon-worthy nails are achievable at home.