Diy Nail Stickers: Making Your Own Custom Designs
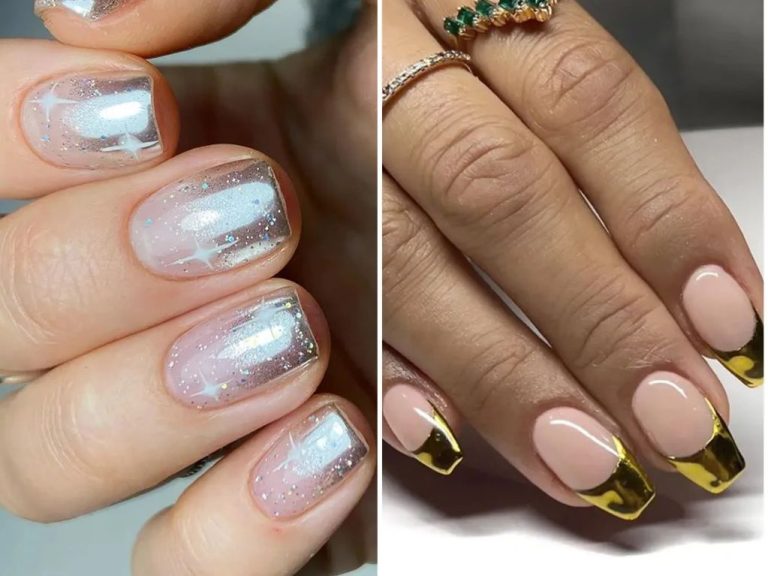
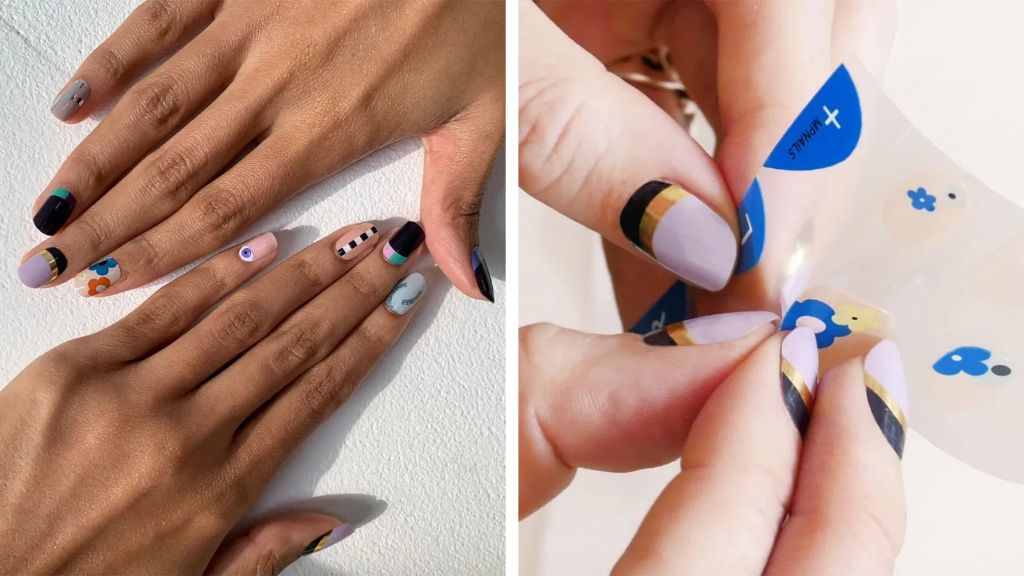
Nail stickers have become a popular nail art trend, allowing you to quickly apply designs and patterns to your nails (Nail Stickers: Everything You Need To Know). DIY custom nail stickers let you create your own unique designs that match your personal style and mood. There are many benefits to making your own nail stickers at home.
Nail stickers provide a fast and easy way to decorate your nails without the need for skilled nail art or waiting for polish to dry. Premade designs allow you to quickly apply an intricate look that would normally take much longer to hand paint (Nail Sticker Market Size, Trends & Opportunities, 2023 -2030). Custom DIY stickers let you design exactly what you want. You can match stickers to your outfit, create designs for holidays or events, or just express your creativity.
Making your own stickers allows for completely personalized designs not found in stores. DIY stickers also allow you to reuse designs and avoid waste compared to single-use premade stickers. With practice, homemade stickers can yield professional looking nail art with a special personal touch.
Supplies Needed
The main supplies needed for making custom nail stickers are:
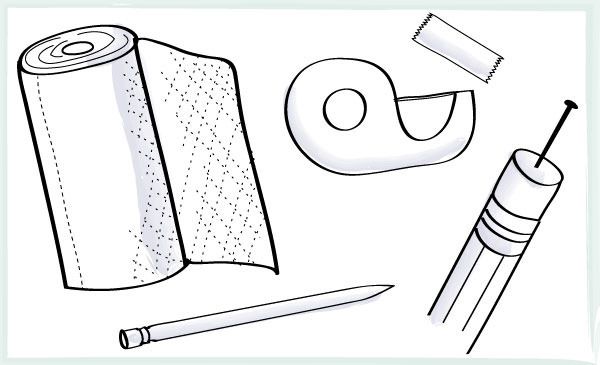
- Nail sticker paper – This is a special paper coated in a water-activated adhesive that allows you to print designs and apply them to nails. Some good options are available from nail art supply shops like Le Mini Macaron.
- Scissors – Small scissors with pointed tips are ideal for precisely cutting out nail sticker designs.
- X-Acto knife – Helpful for trimming stickers right along the cuticle.
- Ruler – Allows you to measure nail sticker sizes and cut perfectly straight lines.
- Nail polish – Use a base color that complements your sticker designs.
- Top coat – Apply over stickers and base color to seal and protect.
- Sticker applicator – A tool made specifically for picking up and accurately placing nail stickers.
With sticker paper, you can print any custom designs. Then using the other tools, you can cut out and apply quality nail stickers at home.
Designing Custom Stickers
When designing your own custom nail stickers, you have a few options for software to use. One popular option is the free Canon Printable Nail Sticker Creator app which provides over 200 designs and allows you to customize them. You can change colors, shapes, add text and more to make each design your own.
Another option is using design software like Adobe Illustrator or Photoshop to create stickers completely from scratch. This takes more time and skill, but allows for unlimited creativity in your designs. Focus on simple, bold shapes and designs that will translate well to small nail stickers.
In terms of sizing, individual nail stickers are usually 0.5-1 inch in diameter. Full nail stickers can be sized to your actual nail beds for a perfect fit. Play around with different geometric and organic shapes to find ones that appeal to your personal style.
The key is creating high contrast designs with defined edges that will stand out on the nail. Have fun with patterns, characters, seasonal themes or abstract shapes to make your custom stickers unique.
Printing the Stickers
When printing nail stickers at home, it’s important to use sticker paper specifically designed for use in inkjet printers. Look for paper that is thicker and more rigid than standard printer paper to allow for easy application on nails. According to Canon USA [1], their printable nail sticker paper feeds reliably through Canon PIXMA printers.
Load the sticker paper in the rear manual feed tray, following the loading instructions for your specific printer model. Set the paper type or media setting to “sticker” or “glossy photo paper” depending on the options available. Make sure to print at the highest print quality setting for best results.
To ensure proper alignment when printing multiple stickers per sheet, use the preview function to check positioning. If stickers seem off-center or misaligned, adjust the paper positioning or loading. Wipe the rear tray and feed rollers to prevent paper dust buildup. Gently handling the sticker paper when loading can also prevent misfeeds.
If experiencing issues with paper jams, switch to printing one sticker per page. Troubleshoot by cleaning the printer heads and rollers and trying a new pack of sticker paper. Test print quality on plain paper first. With proper printer settings and fresh sticker stock, you can achieve great results printing custom nail stickers at home.
Cutting Out the Stickers
Once your custom designs are printed out on sticker paper, the next step is to carefully cut out each individual sticker. It’s important to take your time and cut precisely during this stage to get clean edges.
Use a ruler and sharp hobby knife like an X-Acto to cut out your stickers. Place the ruler along the edges you want to cut and press down firmly. Run the X-Acto blade along the edge of the ruler to get a straight, clean cut.
You can also cut out stickers with rounded edges instead of straight edges. To do this, use the tip of the X-Acto knife to gently cut out a curve freehand along the edges. Curved edges give stickers a softer, more delicate look.
Work slowly and carefully during the cutting stage. Rushing increases the chances of tearing the sticker paper or getting jagged, uneven edges. Take your time for precision cutting. The effort pays off with professional looking DIY stickers!
Applying Base Color
Choosing the right base color is crucial for making nail stickers pop. Neutral colors like nude, white, and light pink allow stickers to stand out, while darker colors like black, blue, and purple create a stylish contrast https://feed.zoya.com/the-best-base-colors-for-nail-art/. For adding small details, nail polish pens give you precise control. Apply base color in 2-3 thin coats and allow each coat to dry fully before adding the next. This prevents bubbling or smudging when applying stickers.
Adding Top Coat
After the nail stickers are applied, it’s important to seal and protect them with a layer of top coat. Top coat provides shine and longevity to nail stickers by preventing chipping and wear. There are two main types of top coat to consider – glossy and matte.
Glossy top coats provide a shiny, wet look that makes nail stickers really pop with vibrance. According to The Best Top Coat Polish for Nail Wraps: Is it Necessary or Not? by Pretty Fab Nails, popular glossy top coat choices like Seche Vite and Essie Gel Setter give nail stickers a professional salon-quality finish. Glossy top coats smooth the surface for a glassy look.
In contrast, matte top coats provide a muted, velvety finish that mutes shine for a more understated look. Matte top coats like OPI Matte provide durability with a soft matte texture. According to 3 Best Top Coats for Nail Wraps by Ivy & Ash, matte top coats are great for a natural, subtle style.
You can also use gel top coats over nail stickers for extra protection and longevity. Gel top coats cure under UV or LED light to form a super durable, chip-resistant layer. According to Can You Put Gel Top Coat Over Nail Wraps? by Polish Pops, gel top coats like Essie Gel Couture Top Coat or OPI GelColor Top Coat work well to seal in nail stickers.
When applying top coat, use thin, even brush strokes across the entire nail sticker to ensure full coverage and avoid bubbles. Let each coat dry fully before adding another. Properly sealing nail stickers with top coat keeps them looking fabulous!
Applying the Stickers
The key to flawlessly applying nail stickers is having the right tools and techniques. Start by gathering your applicator tools – tweezers, an orange stick, and a smoothing tool like a silicone spatula or the back of a nail file are essential. Before applying stickers, make sure your nails are clean, dry, and free of oils. Then follow these tips for perfect placement:
Use tweezers to gently lift and position the stickers. Place them starting near the base of your nail and slowly smooth outwards. Don’t stretch the stickers – let them sit gently on the nail. If the sticker is larger than your nail, trim it to fit with manicure scissors before applying.
Take your time to get the placement just right. You can lift and reposition stickers if needed. Once positioned, use the orange stick and/or smoothing tool to firmly adhere the stickers and smooth out any bubbles or creases. Run the tools over the surface and edges to seal it completely. Work from the base outwards and hold down edges to prevent lifting.
Be patient during application – slowly smoothing and pressing the stickers ensures they won’t lift or fall off quickly. Don’t pull or tug on the stickers. Let gravity help them lay flat against your nails. Finishing with a top coat seals the design and fills in any remaining tiny air bubbles.
Sealing and Protecting
Properly sealing nail stickers is crucial for ensuring they stay adhered and last as long as possible. The key is applying a quality top coat over the nail stickers. According to experts at Southern Country Nails, a top coat helps “encapsulate the sticker” and seals down the edges and corners (https://www.amazon.com/Southern-Country-Nails-Seal-Decals/dp/B076N519SZ). The top coat creates a protective barrier that helps prevent lifting or peeling.
It’s recommended to apply at least 2-3 thin coats of top coat over the nail stickers, making sure to seal the edges. Allow each coat to dry completely before adding the next. The drying time between coats is usually around 60-90 seconds. Be patient and let the top coat fully cure, which can take up to 24 hours. Properly sealing the stickers will help them last 7-10 days without chipping or peeling (https://www.justpeachy.co/featured/how-to-make-nail-stickers-last/).
Caring for and Removing Stickers
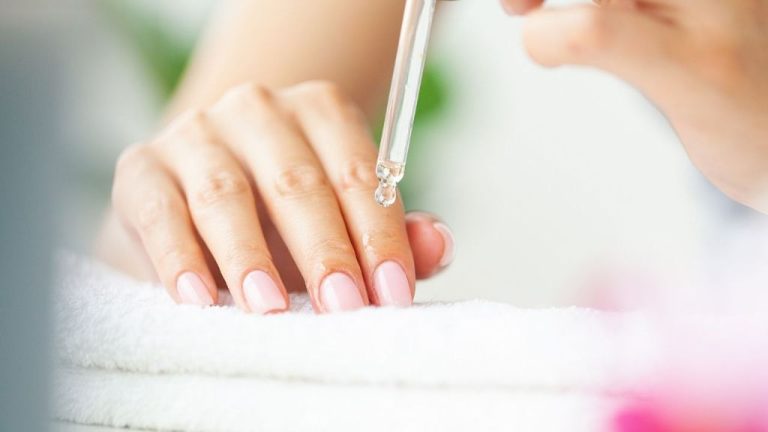
It’s important to take good care of your natural nails and cuticles when using nail stickers. Apply a nourishing nail oil regularly to keep cuticles hydrated and prevent peeling or hangnails. Jojoba oil or vitamin E oil work well for cuticle care.
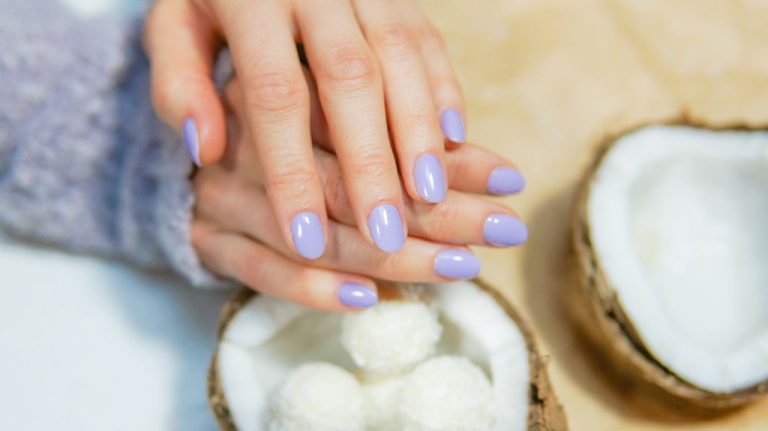
When it’s time to remove the nail stickers, avoid harsh acetone-based removers which can dry out the nails. Instead, look for acetone-free removers formulated with oils, or try soaking the nails in pure oil like olive or coconut oil, which will help gently break down the polish.
Start by soaking a cotton pad or ball in remover and holding it against the nail for 10-15 seconds to let it penetrate. Then gently roll or slide off the sticker. Don’t peel or pick at stickers, as this can damage the natural nail. Take your time and re-soak as needed for easy, painless removal.