How To Make Your Own Nail Strengthener: Diy Recipe
Having healthy, strong nails is important for both appearance and health reasons. Nails protect and support the tips of our fingers and toes. Weak, brittle nails can split and crack easily, leading to pain, infection, and other problems. Keeping nails trimmed and filed properly also helps prevent injuries and the spread of germs (CDC).
Store-bought nail strengtheners often contain chemicals like formaldehyde and toluene. These ingredients may initially harden nails, but over time can cause brittleness and peeling (La Veda Boutique). Making your own natural nail strengthener at home allows you to avoid these harsh chemicals.
Natural nail strengthening recipes usually include moisturizing oils as well as hardening ingredients like protein, calcium, and vitamins. These remedies can be customized based on your specific nail needs. Homemade nail strengtheners are often much cheaper than store-bought options. They also give you full control over the quality of ingredients.
Ingredients Needed
There are a few key ingredients you’ll need to make your own homemade nail strengthener:
– Jojoba oil – This nourishing oil contains vitamins and minerals that help moisturize nails and cuticles. Jojoba is similar in composition to the natural oils produced by the skin and nails, so it is readily absorbed.
– Vitamin E oil – Vitamin E has antioxidant properties that can help protect nails. The vitamin E oil helps nourish nails and cuticles to prevent cracking and splitting.
– Tea tree oil – This essential oil has antimicrobial properties to help keep nails and cuticles clean. A small amount of tea tree oil can be added to the nail strengthener recipe.
– Biotin – While not an oil, biotin is an essential B vitamin that aids keratin production and promotes nail growth. Consider taking a biotin supplement or adding a biotin liquid to the nail strengthener.
Other oils like coconut oil, castor oil, and lemon oil can also be beneficial, but jojoba oil, vitamin E, and tea tree oil form the core ingredients for an effective homemade nail strengthening oil.
Equipment
Making your own nail strengthener at home requires only a few simple pieces of equipment:
You’ll need small containers or bottles to store the finished mixture in. Look for opaque containers with tight sealing lids or you can reuse empty nail polish bottles. This keeps the mixture fresh and allows for easy application directly onto nails.
Using a dropper makes applying the nail strengthener quick and mess-free. Look for glass droppers with rubber bulbs that provide precise control over how much product is dispensed.
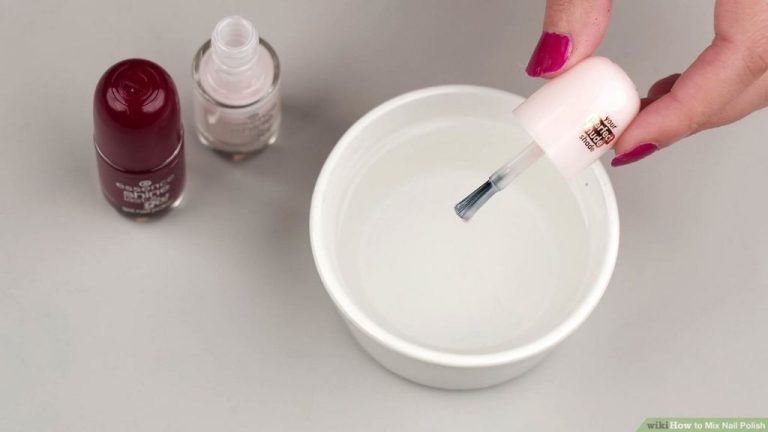
A basic mixing bowl and spoon will be needed to combine ingredients before transferring to storage bottles. Use something small like a ramekin or custard bowl. Metal, glass, ceramic all work fine.
Having the right equipment helps make DIY nail strengthening easy and efficient.
Recipe and Instructions
To make your own nail strengthener at home, you will need to mix together specific amounts of strengthening oils like castor oil and coconut oil along with biotin for extra nail growth. According to this article, a simple recipe is to combine:
- 2 tablespoons castor oil
- 2 tablespoons coconut oil
- 5 drops vitamin E oil
- 3 capsules (3000mcg) biotin, punctured to release powder
Add all the ingredients to a small bottle or jar. Shake vigorously for 30-60 seconds to fully incorporate the biotin powder. Alternatively, you can use a small whisk or spoon to stir the mixture together until fully blended.
Once mixed, use a funnel to pour the nail strengthening serum into tiny sample sized containers for easy use. Make sure containers are clean and sterilized first. Store in a cool, dark place like the fridge to help extend shelf life.
Shake or stir the mixture before each use to remix any separated ingredients. Apply a thin layer to bare nails and cuticles 1-2 times per day. For best results, use daily for 2-3 weeks to see nail improvement.
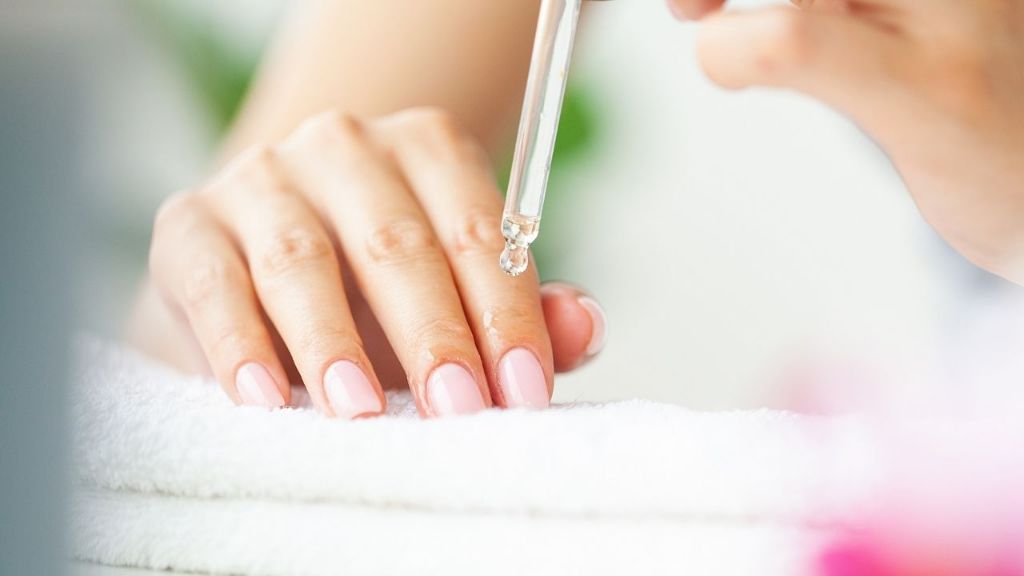
Application
When applying the nail strengthener, be sure to apply directly to both the nails and cuticles using the dropper for easy application (https://beautygarde.com/blogs/news/how-to-use-nail-strengthener). Allow the nail strengthener to dry completely before moving on, which typically takes around 4 minutes (https://beautygarde.com/blogs/news/how-to-use-nail-strengthener). Applying carefully and letting the strengthener dry fully ensures maximum absorption and strengthening benefits.
Tips and Tricks
When making your homemade nail strengthener, there are some tips and tricks to keep in mind:
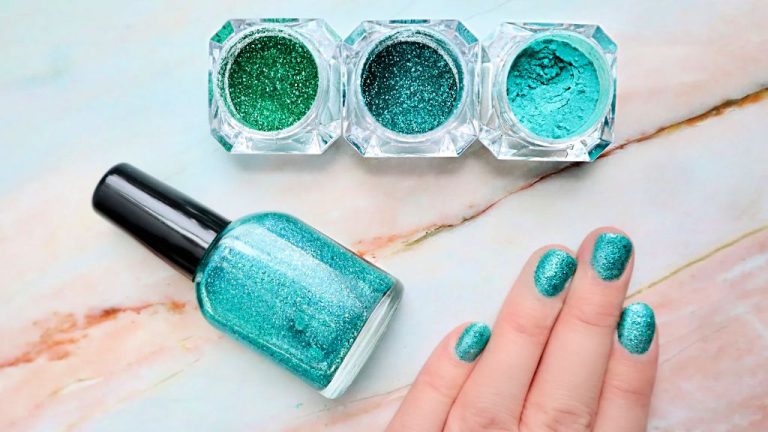
Experiment with different oil combinations – Some effective options are castor oil, coconut oil, olive oil, vitamin E oil, and jojoba oil. Try mixing different ratios to see what makes the best nail strengthener for you. According to this source, castor oil in particular is known for its nail-strengthening benefits.
Make small batches to test what works best – Only make enough for a few applications until you find your perfect homemade recipe. This way you don’t waste ingredients on large batches if something doesn’t work for you.
Add essential oils for scent – Drop in a few oils like lavender, lemon, or peppermint to make your nail strengthener smell nice. Just be sure the oils don’t irritate your skin.
Troubleshooting
Making your own nail strengthener can sometimes result in issues like oily residue, irritation, or the mixture not working as desired. Here are some tips for troubleshooting common problems:
If you notice an oily residue on your nails after applying the strengthener, try reducing the amount of oil in your recipe. Oils like jojoba, vitamin E, and coconut are essential for nourishment, but too much can leave nails feeling greasy. Start with a smaller amount of oil, like 1 teaspoon, and adjust from there.
Irritation or redness may be a sign you are sensitive to an ingredient. Eliminate potential irritants one at a time, like lemon juice or essential oils, to see if the reaction subsides. Opt for more gentle ingredients like aloe vera gel or vitamin E.
If your homemade strengthener isn’t producing the desired results, reassess the recipe. Make sure you are using enough protein-rich ingredients like gelatin or collagen to reinforce thin, weak nails. Or consider adding more moisturizing oils if your nails are still brittle.
Don’t be afraid to experiment and tweak the ingredients or amounts until you find the perfect strengthening formula for your nails. Keep notes on what works to reproduce your customized recipe.
Storing and Shelf Life
Properly storing your homemade nail strengthener is important for maintaining its effectiveness. The mixture should be kept in a cool, dark place like a cupboard or closet away from direct sunlight and heat sources according to Shape.
The shelf life of a homemade nail strengthener depends on the specific ingredients used in the recipe. However, most DIY strengtheners will stay fresh when properly stored for 1-2 months according to beauty experts. Opened bottles may have shorter shelf lives around 4-6 weeks. If you notice any changes in color, texture, or smell, it’s best to discard and remake a fresh batch.
Additional Remedies
In addition to the homemade nail strengthener recipe, there are other natural ways to help fortify weak or brittle nails:
Certain foods and dietary supplements can promote nail health. Getting enough protein, biotin, calcium, and iron in your diet supports strong nail growth. Supplementing with a multivitamin or biotin may help as well. Staying hydrated is also key for healthy nails.
Using moisturizers regularly on your nails and cuticles keeps them from becoming too dry and brittle. Massaging cuticle oil into the nail beds can condition nails. Products with jojoba oil, vitamin E, and coconut oil are nourishing options.
Avoiding excessive exposure to water is recommended, as too much water contact can strip nails of moisture. Wear gloves when washing dishes or cleaning to protect nails.
Getting manicures less frequently allows nails to recover strength. Take breaks between manicures when possible. Ask for nourishing products like cuticle oil to be applied during manicures.
Trimming nails properly can prevent splits and cracks. Cutting them too short exposes fragile nail beds. Use a file to smoothly shape nails after trimming.
Quitting nail biting is ideal for weak nails to grow in healthier. And removing gel polish properly limits damage to nails.
Summary
Making your own natural nail strengthener at home has many benefits over store-bought versions. This do-it-yourself recipe contains nourishing ingredients like jojoba oil, vitamin E, and horsetail extract that can help strengthen weak, brittle nails. Regular application helps condition nails and cuticles while providing key vitamins and minerals for better nail health.
This DIY nail strengthener recipe is easy to make with common ingredients. It’s customizable so you can adjust it to suit your individual nail care needs. And it’s free of harsh chemicals found in many commercial nail products. With just a bit of time and effort, you can whip up a batch that rivals salon-quality strengtheners.
If you struggle with weak, splitting nails try this natural homemade remedy. Follow the simple instructions to create a nourishing nail treatment. With consistent use, your nails will start to look and feel stronger. You’ll be amazed at how healthy your nails can become using natural ingredients you select.