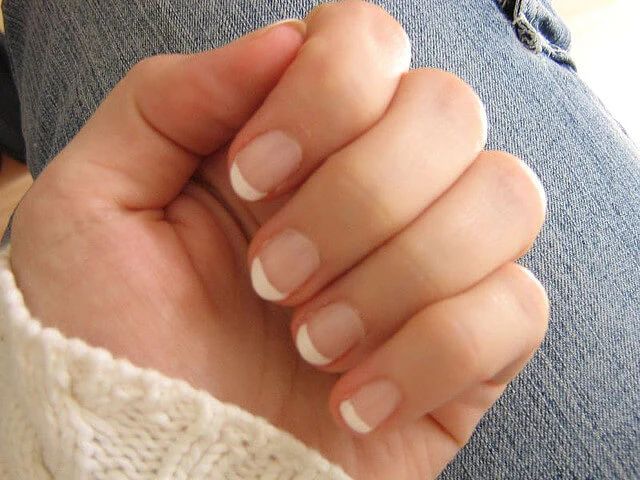
Mastering The Diy French Manicure: A Step-By-Step Tutorial
The classic French manicure has remained an iconic and versatile nail look for decades. Though often assumed to have originated in France, the distinctive white-tipped nails actually have roots in 20th century Hollywood. The look was created in the 1970s by celebrity manicurist Jeff Pink, founder of Orly nail polish, who wanted to create neutral, natural nails for actresses on camera. Pink coined the term “French manicure” as a marketing technique, helping popularize the style worldwide.
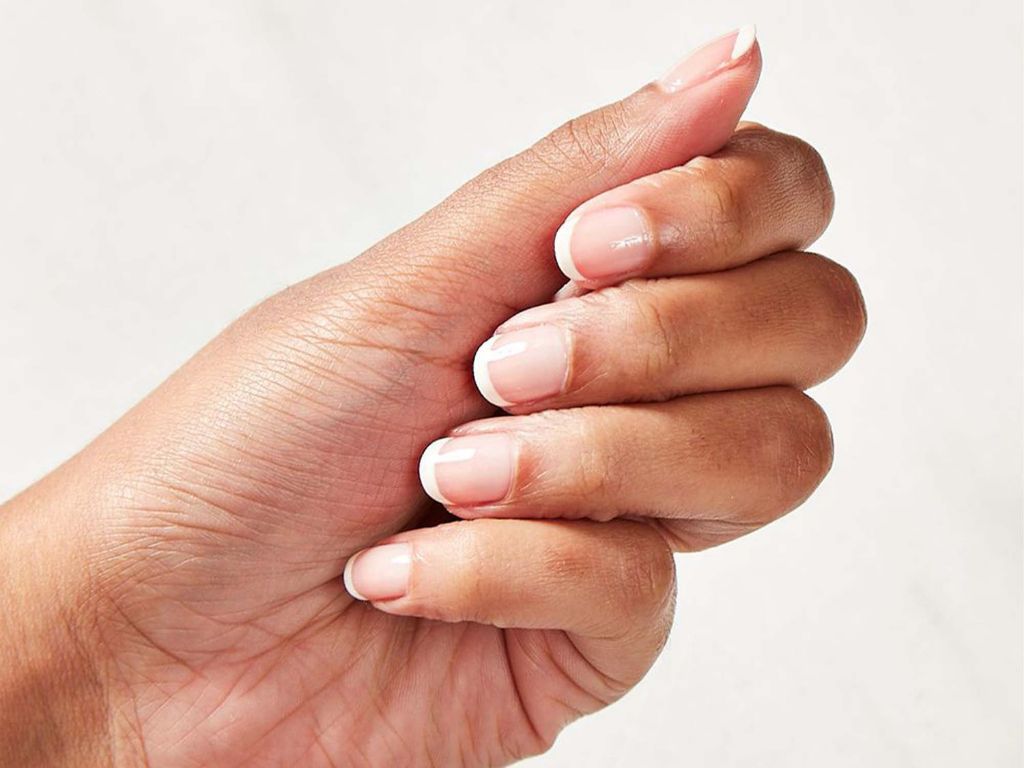
Achieving the perfect French manicure involves carefully applying a base coat, painting on white polish for the tips, sealing it all with a top coat, and finishing with a clear coat to add shine. While salon manicures create a flawless look, it’s also possible to DIY a French manicure at home. This tutorial will walk through all the key steps and techniques needed to master the classic French manicure.
Supplies Needed
The main supplies you’ll need for a DIY French manicure are:
- Nail polish colors – This includes a white nail polish for the tips, a nude or neutral shade that matches your skin tone for the base color, and a top coat to seal everything in.
- Nail file – Use this to shape your nails before starting.
- Nail clippers – Trim and cut your nails to the desired length before beginning.
- Cuticle remover – Apply this to cuticles to clean up the nail bed area.
- Cotton balls – Use these to remove cuticle remover and clean up the nails.
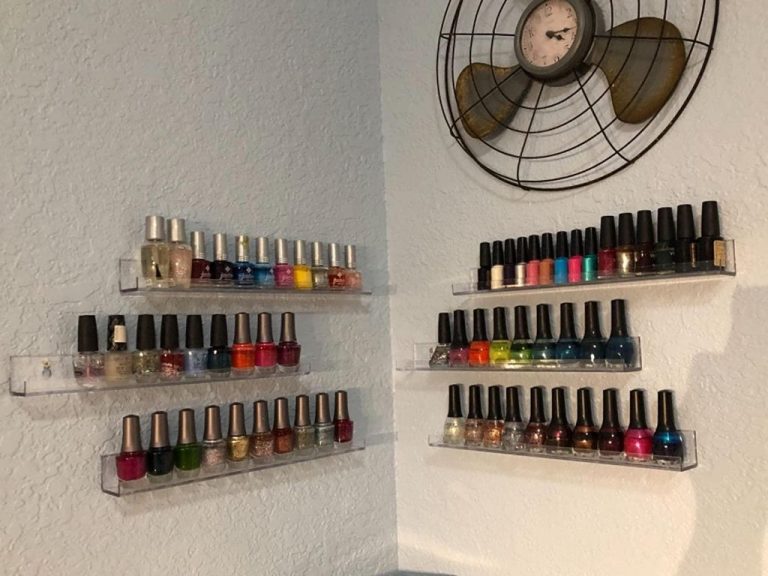
Some good kits to get high-quality polishes and many of these supplies in one place are: Amazon’s French Manicure Kits and Le Mini Macaron’s Le Frenchie Kit.
Prepping Your Nails
Before painting your DIY French manicure, you’ll need to properly prep your nails. This involves filing and shaping them into the desired length and shape, as well as caring for your cuticles.
Start by filing your nails with an emery board, gently shaping them into a rounded or square shape. Be sure to file in one direction only to avoid weakening your nails. Get rid of any ragged edges or hangnails. Buff your nails lightly to smooth any ridges for a flawless base for your polish.
Next, soak your nails in warm water mixed with a small amount of soap or oil. This will soften your cuticles and make them easier to care for. Let your nails soak for 5-10 minutes. Once the cuticles look softened, gently push them back with a cuticle pusher or orange stick. Avoid cutting your cuticles, as this can damage the nail bed. Simply push them back gently.[1]
Your nails are now prepped and ready for polish! Make sure they are completely dry before moving onto the base coat.
Applying the Base Coat
The base coat is an essential step for achieving a flawless, long-lasting French manicure. After prepping and shaping your nails, apply a thin layer of base coat on all nails. Let the base coat dry completely before moving onto the next step. This helps the rest of the polish adhere properly. Opt for a base coat that matches your natural nail tone. Light pink or sheer nude shades work best as a base for the classic French tip look. As Essie notes, their popular Ballet Slippers shade is an ideal base color that complements most skin tones.
Take your time painting each nail to ensure full, even coverage with the base coat. Try using light, fluid strokes from the cuticle to the tip of the nail. Let the polish dry for at least 10 minutes before continuing. Proper drying prevents smudging when you paint on the white tips. With asmooth, opaque base color, you’ll achieve professional-looking results.
Painting the White Tips
The key to a perfect French manicure is painting clean, crisp white tips on each nail. There are a few techniques you can use to achieve this:
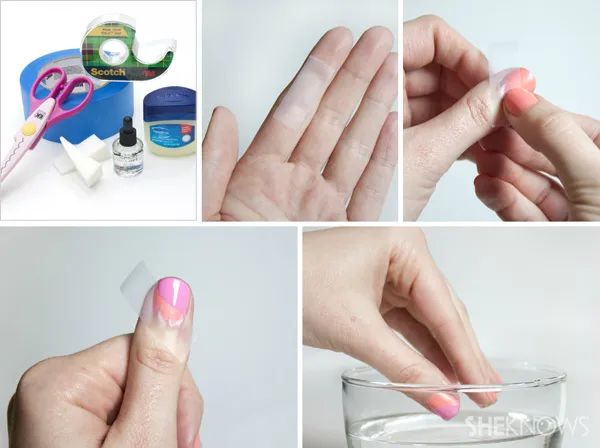
Using tape or guides – Special manicure guides, stickers, or simply pieces of tape can help you paint straight, even lines. Place the guide at the tip of your nail, painting the white polish just above it. Peel the guide off to reveal the perfect French tip shape (1).
Outlining the shape with white polish – If freehanding it, first outline the shape you want with a thin stripe of white polish across all your nail tips. Let it dry completely. Then fill it in with more coats of polish to get good opacity (2).
Filling in – Apply two to three thin coats of white polish to get full coverage and an opaque tip. Don’t overload the polish or it may seep underneath the nail tip.
Take your time painting the white tips, making sure they are straight, shapely, and sharply defined from the natural nail. This is the signature look of an elegant French manicure.
(1) https://www.youtube.com/watch?v=5Vtr8y-6w58
(2) https://www.byrdie.com/french-manicure-how-to-do-it-yourself-at-home-346225
Sealing with Top Coat
The next step is to seal and protect your DIY French manicure by applying a top coat. This is a critical step, as the top coat helps prevent chipping and extends the life of your manicure.
Start by opening your top coat polish and rolling the bottle between your hands to mix the contents. Using the nail polish brush, apply a thin layer of top coat over each nail from base to tip. Let the polish fully dry before moving on to the next nail.
Once all nails have one layer of top coat applied, go back and add a second layer following the same technique. Two coats of top coat provide maximum protection and shine. Be sure to cap the free edge of each nail with top coat as well.
After applying the second coat, allow your nails to completely dry for at least 10-15 minutes before doing anything with your hands. The top coat needs proper drying time to set and harden. Now your DIY French manicure is securely sealed and you can show off your handiwork!
Maintaining Your Manicure
A French manicure can start to look worn after a few days. Follow these tips to keep your manicure looking fresh:
Avoiding Chips and Smudges
Chips and smudges are inevitable, but you can minimize them by:
- Using your hands gently and avoiding using them as tools
- Wearing gloves when doing household chores
- Applying a layer of clear top coat every other day
- Carrying nail polish with you for quick touch ups
Be very gentle with your nails and avoid picking, pulling or prying things with your fingertips. This will reduce the chances of chips and cracks (https://timesofindia.indiatimes.com/life-style/beauty/make-you-french-manicure-last-longer/articleshow/12517005.cms).
Touching Up as Needed
When you notice a chip, use a small brush to touch up the white tip or pink base color. Try to match the original polish color as closely as possible. Touch ups allow you to revive the manicure in between full reapplications.
Reapplying Top Coat
Top coat keeps the polish sealed and shiny. Reapply a layer of top coat every 2-3 days. This protects the polish underneath and prevents it from becoming dull (https://www.byrdie.com/how-to-make-nail-polish-last-longer-4770229). Top coat touch ups give your manicure a freshly painted look.
Removing Your Manicure
When it’s time for your French manicure to come off, you’ll want to use a gentle approach to protect your natural nails. Start by using a non-acetone nail polish remover rather than an acetone-based one, which can be quite drying to nails. Soak a cotton ball or round in the remover and hold it against each nail for 30-60 seconds to let it soak in and break down the polish. Then, gently roll or slide the cotton over the nail in a circular motion to remove the polish without scraping at your nails. The circular rubbing motion helps lift even stubborn polish off efficiently. Continue with fresh cotton and remover until all traces of color are gone.
If you have any residual polish left after removing the bulk of it with remover and cotton, don’t pick at it! Instead, gently file the remainder off using a fine grit nail file or buffer. Work in one direction across the nail to lightly abrasive away excess polish. Buff gently so you don’t thin out the nail layers. Take your time with this step until your natural nail is revealed.
Troubleshooting
Even with the best technique, mistakes can happen when doing a DIY French manicure. Here are some tips for troubleshooting common issues:
Avoiding Bubbles
Bubbles can occur when painting the white tips if you apply the polish too thickly. To prevent bubbles, use thin, even coats and allow each coat to dry fully before adding another. If bubbles do appear, let the polish dry completely and then gently go over the area with a fine-grit nail file to smooth it out. Applying a fresh thin coat of white over the filed area can help fill in any unevenness.
Fixing Smudged Edges
It’s easy to smudge the crisp line between the French tip and base color if you aren’t careful. If the edges get messy, dip a small brush in acetone/nail polish remover and gently run it along the smudged areas to clean them up. Let dry and then repaint the tip with a steady hand. Using painter’s tape can help you re-create a straight edge.
Covering Up Chips
Chips happen, but they don’t have to ruin your manicure. Just apply a small amount of base color to cover the exposed nail. Once dry, use a thin brush dipped in white polish to repaint the tip and blend it into the base color. Adding top coat over the repaired chip can help smooth and seal it.
Cite: https://www.southernliving.com/fashion-beauty/nails/ugly-manicure-mistakes
Variations
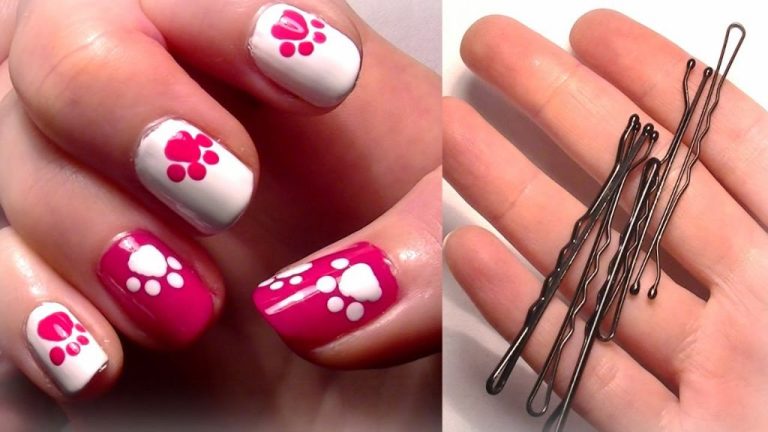
French manicures don’t have to be the traditional white tips. There are many creative ways to put your own spin on this classic manicure. Here are some ideas for variations:
Colored tips: For a fun pop of color, paint the tips with your favorite bold or pastel shades rather than white. Light pink, mint, yellow, and even black tips can look chic.
Glitter tips: Add some sparkle by dusting glitter over the tips while the top coat is still wet. Or use a glitter polish specifically for the tips.
Gradient tips: Get an ombre effect by blending the tips into the base color. Apply two coatings of a sheer white on the tips and blend upwards.
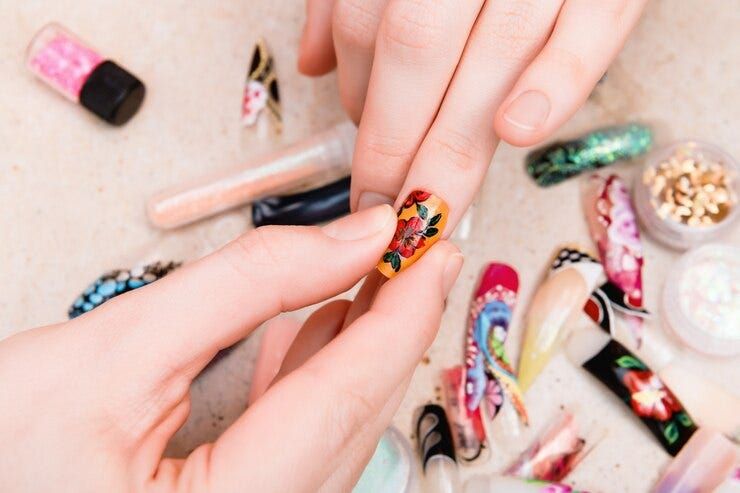
Stamping: Use a stamping kit to add patterns, polka dots, flowers or other designs on the tips.
Decals: Adhere pre-made nail decals onto the tips for an easy embellishment.
There are endless options to customize your French manicure. The classic look remains popular, but don’t be afraid to try unique colors, art and effects to make it your own.