Easy Diy Nail Art For Kids: Fun Designs To Try
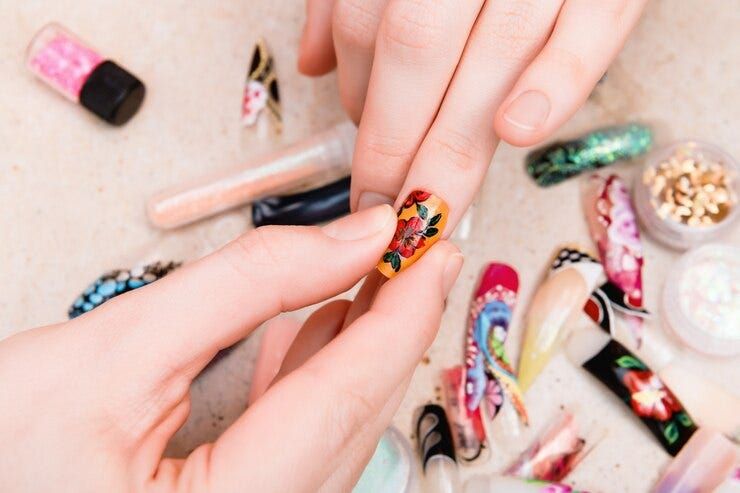
Nail art is a fun and creative way for kids to express themselves by decorating their nails with colorful polish, designs, stickers, and more. It allows kids to tap into their imagination, develop their fine motor skills, and experiment with art and design in a safe and easy way. Nail art can be so simple, like painting each nail a different color, or more advanced, like creating intricate patterns and characters. The best part is there are so many quick and cute nail art ideas that are perfect for kids to try. It’s an activity that keeps them engaged and focused, plus they end up with a stylish manicure they’ll love showing off!
Gather Your Supplies
Before you can start creating cute nail art designs, you’ll need to gather some basic supplies. Here are the must-haves for any beginning nail artist:
-
Base coat – Helps the polish adhere to nails and prevents staining.
-
Top coat – Seals in designs and adds shine.
-
Variety of nail polish colors – Go for basics plus glitter, metallics, and neon.
-
Dotting tools – For making polka dots and other shapes.
-
Striping brush – Helps make straight lines.
-
Rhinestones – Add sparkle and dazzle.
-
Nail stickers – Cute designs like flowers, animals, emojis.
-
Glitter – Loose glitter to sprinkle on wet polish.
-
Nail art brushes – For detail work.
You probably already have some of these supplies at home. Pick up a few special nail art tools like dotting tools, striping brushes, and fun stickers to add to your collection.
Prep Your Workspace
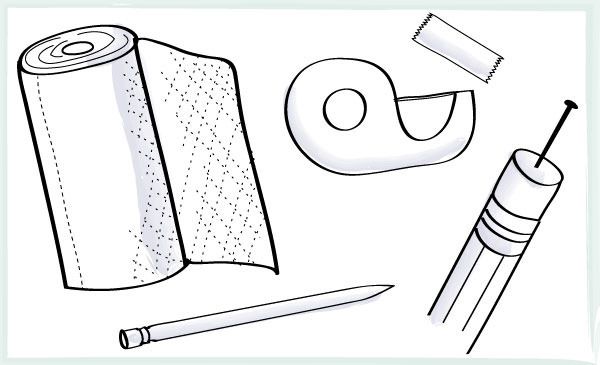
Before starting any DIY nail art with kids, it’s important to properly prepare the workspace to keep things clean and organized. Cover the work area with an old tablecloth, newspapers, or even a disposable plastic table cover to protect the surface from spills and drips. Having paper towels on hand is also essential for quick clean up of any messes.
Set out all the nail supplies in organized sections so they’re easy to grab as needed. Small plastic containers work well for separating polish colors, glitters, gems, sequins, and any other embellishments. Place a roll of paper towels within reach along with cotton swabs and nail polish remover for fixing any mistakes.
You’ll also want to make sure kids are wearing old clothes in case of splatters or spills. And be ready with a towel to drape over their clothing as an added precaution. Taking a few minutes to prep the nail art workspace will make the DIY nail designing process go smoothly!
Start with Base Coats
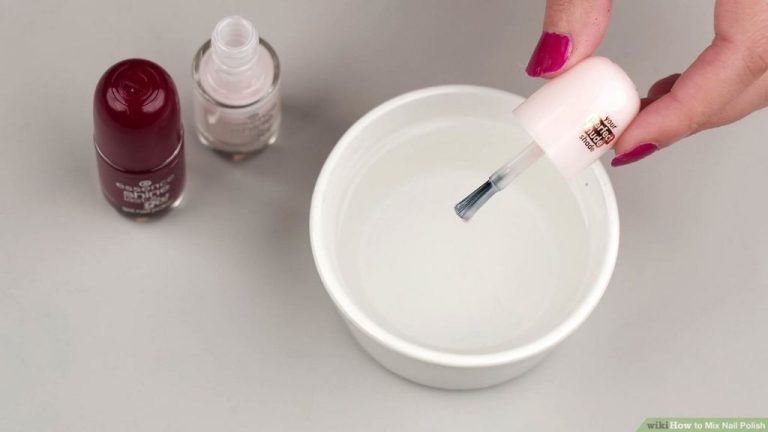
The first step in any nail art design is to apply a base coat. As the Manucurist blog notes, a base coat acts as a protective primer between your natural nail and the polish. It helps the polish adhere better, preventing chips and promoting longer wear. The OPI blog also highlights how a base coat decreases staining and yellowing of the nails from darker polishes. For kids’ nail art, where you want the fun designs to last as long as possible, a base coat is key.
Choose a base coat specifically formulated to prep nails for polish. Apply it smoothly across the entire nail surface, sealing the edge around the cuticles and tip. Let it dry fully before moving on to designs. The base creates the perfect blank canvas for nail art and keeps the colors true. With a good base, kids can go wild with their creativity, knowing their masterpieces will last.
Easy Designs for Beginners
Simple nail art is a great way for kids just starting out to have fun expressing themselves through easy and cute designs. Here are some of the most basic nail art looks that are perfect to try first.
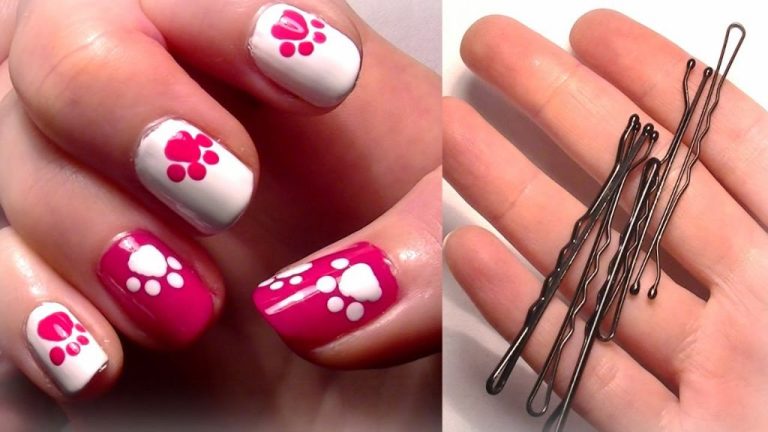
Polka dots are a classic, easy nail design you can’t go wrong with. All you need is a dotting tool, toothpick, or bobby pin to make perfect little dots in your choice of colors. Start with one accent nail, or cover each nail with a rainbow of dots for a fun and playful look. For more guidance, check out this tutorial: 20 Stylish Designs Of Nail Art For Kids And Steps …
Ombre nails are stylish and simple to achieve. Paint each nail a different color, then use a makeup sponge to blend the colors into each other. Start darker at the base and transition to lighter tips. Glitter ombre takes this look up a notch by incorporating glitter polish too. Let creativity shine through color combinations!
Glitter patterns like stripes, chevron, or zigzags are easy ways to add some sparkle. Paint nails a base color first, then use striping tape to mask off sections before painting over with glitter polish. Peel the tape away slowly to reveal perfect glitter designs. Have fun mixing and matching glitters for endless possibilities.
Add Some Sparkle
What better way to make your nails stand out than by adding some sparkle? Glitter and rhinestones are a fun way to take your designs to the next level. Here are some tips for adding that extra pop of shine to your nails:
Glitter polish adds an instant burst of shimmer. Look for polishes that contain different sized glitter particles for extra dimension. Apply 2-3 thin coats for good coverage, allowing each coat to dry in between. Be patient as glitter polish can take a bit longer to dry. Top it off with a layer of clear polish to smooth everything out and help it last.
Rhinestones let you add sparkle exactly where you want it. Use a small brush or toothpick to apply a dot of nail glue where you want the rhinestones placed. While the glue is still wet, pick up a rhinestone with tweezers and place it onto the glue. Repeat for as many rhinestones as you want. Once the glue has dried, seal it in with a layer of top coat.
For extra bling, you can apply rhinestones over glitter polish. The rhinestones will stand out nicely against the shimmery background. Just be sure the glitter polish is completely dry before adding glue for the rhinestones.
With just a few simple techniques, you can add a dazzling touch of sparkle to your nails! Glitter polish and rhinestones are an easy way to take any design up a notch.
Get Creative with Stickers
Stickers are a fun and easy way to decorate nails for kids. There are endless options when it comes to stickers – stars, hearts, flowers, animals, emojis, and more. Stickers add instant color and whimsy to any design.
Look for high-quality nail stickers made specifically for nail art. Avoid cheap stickers that may not adhere well. Go for sticker sheets with various shapes and themes to give kids options. Stars, hearts, rainbows, cats, dogs, unicorns are all cute themes kids will love.
Have kids apply a base coat first, then let them go wild placing stickers wherever they want on each nail. Let them layer stickers over each other for a colorful collage look. The stickers will hold up well and stay put with a good top coat sealed over them.
Younger kids may need some help separating stickers from the sheet and placing them neatly on their tiny nails. Older kids can fully take charge of designing sticker nail art. Watch their creativity shine as they make nail art masterpieces!
Cleanup and Final Steps
After you’ve finished all your nail art designs, it’s important to properly clean up and seal in your artwork with a top coat. Start by taking a cotton ball or pad and dipping it in acetone nail polish remover to gently clean up any polish on your skin or that went outside the nail.
Be very careful not to touch the remover directly to your polished nails, as it can smear your designs. Lightly roll or press the cotton on your skin to dissolve any stray polish. You can also use a small brush dipped in remover for precise cleanup around cuticles.
Once your skin is cleaned up, finish your manicure by applying a top coat over all your nails. The top coat helps seal in your designs, adds shine, and prevents chipping. Carefully paint the top coat over each nail, going slowly over any intricate art. Let the top coat dry completely. A good top coat like Seche Vite or Essie Gel Couture Top Coat will help keep your nail art looking fresh for a week or more.
And that’s it – you have a beautiful, artistic manicure using easy nail art techniques! Be sure to snap some pictures of your designs before washing your hands.
Inspiring Designs to Recreate
Kids will love recreating fun and creative nail art designs. There are many cute and easy nail art ideas that are perfect for little hands. Here are some inspiring kid-friendly nail designs to try at home:
Unicorns, rainbows, and hearts are classic choices. Let kids’ imaginations run wild painting these fun shapes and patterns on their nails. Use toothpicks for polka dots, striping tape for straight lines, and dotting tools for perfect circles. For unicorns and rainbows, have kids paint each nail a different color. Finish it off with accent nails featuring glitter, rhinestones, or stickers for extra pizzazz.
Flower power is always a hit. Paint a solid base coat first, then let kids add flowers on top. Daisies are one of the simplest options – just use a dotting tool for the center and add petals around it. For a garden variety, have kids paint different flowers on each nail like roses, tulips, sunflowers, and daisies.
Animal lovers will adore kitty cat and puppy dog nails. Paint on cat faces with triangles for ears and dots for eyes and noses. Add mini bows for an extra cute touch. For puppy dog nails, paint each nail tip black for the nose and add dots or hearts for eyes. So adorable!
Keep designs minimal with modern geometric patterns. Have kids apply striping tape to create clean lines and shapes. Try chevron stripes, crisscross lines, or concentric circles for a trendy look. Change up the color palette for a new spin on geometric nails each time.
Let kids show off their favorite hobbies and interests through specialty themed nails. Soccer players can paint mini soccer balls. Budding artists can replicate famous paintings in miniature on each nail. There are endless possibilities for custom designs based on kids’ unique personalities.
With some patience and practice, kids can become mini nail art pros. Set them up for success with easy designs, proper tools, and adult supervision. Then let their creativity shine through with fun DIY nails!
Safety Tips for Kids
When doing nail art with kids, it’s important to keep safety in mind. Here are some tips:
Always have an adult supervise. Nail art involves using sharp tools like nail files and cuticle pushers that kids should not handle alone. Adult supervision ensures proper technique and prevents injuries.
Work in a well-ventilated area. Some nail polishes and glues contain chemicals that can be irritating, especially for young kids. Open windows or use a fan to keep the air circulating.
Use non-toxic products marketed for children. Look for nail polishes, glues, and embellishments that are labeled non-toxic and safe for kids. Avoid products with harsh chemicals.
Take breaks to let products dry before adding more. Alternate between hands to allow each coat to dry thoroughly before moving on. This prevents smudging and allows products to cure properly.
Thoroughly clean up and wash hands after. Have kids wash their hands with soap and water to remove any residual nail products once they’re done. Properly dispose of used cotton balls, swabs, and other tools.