Recreating Celebrity Diy Nail Trends At Home
Recreating the latest celebrity nail art trends at home has become increasingly popular and accessible. With social media showing off the latest looks straight from the red carpet, many people are inspired to try out these stylish nail designs themselves. The appeal is obvious – who doesn’t want nails like their favorite star for a fraction of the price? DIY nail art allows you to get salon-quality results without the salon price tag or time commitment.
The benefits of doing your nails at home go beyond just saving money. You can work at your own pace, try designs over and over until you get them just right, and switch up your manicure anytime the mood strikes. Compared to the permanence of salon manicures, DIY designs offer flexibility and creativity. By learning a few simple techniques, anyone can unlock a world of trendy nail possibilities from the comfort of home.
In this guide, we’ll cover everything you need to know to recreate celebrity nail looks, from the essential tools and tips to the trendiest designs. With the right approach and a bit of practice, you’ll be walking around with stylish, salon-worthy nails anytime you want.
https://abc30.com/diy-nail-trends-press-ons-stickers-color-street-nails/6353515/
The Tools You’ll Need
Before you can recreate celebrity nail looks at home, you need to gather the proper tools and supplies. Here are the essentials:
Nail clippers – Trim and shape your nails with a good pair of clippers like the ones from Tweezerman. Make straight cuts to avoid splits and cracks.
Nail file – Use a fine grit file to smooth edges and shape your nails into a rounded or squared shape, depending on your preference. Try a glass file for longevity.
Cuticle remover – Soften and push back cuticles with a product like the Sally Hansen cuticle remover. This prevents lifting or peeling.
Base coat – A quality base like OPI Natural Nail Base Coat will protect nails and help polish adhere evenly.
Nail polish – Pick trendy polish colors and finishes like matte, chrome, or holographic. Essie and OPI have many on-trend options.
Top coat – Seal in your polish and add shine with a top coat like Seche Vite Dry Fast Top Coat.
Cotton pads – Use these to apply polish remover and clean up the skin around nails.
Polish remover – Remove old polish cleanly before starting your manicure with acetone-free remover.
Manicure brush – A small brush simplifies cleanup and precise polish application.
Choosing Your Nail Shape
When it comes to nail shapes, there are many popular options to choose from. The shape you select can dramatically change the look and feel of your manicure. Some of the most common celebrity nail trends include square, round, oval, almond, coffin, ballerina, and squoval shapes.
Square nails are exactly what they sound like – straight across the free edge with right angles at the corners. This shape provides the maximum amount of tip surface area and can make nails appear longer and more rectangular. Square shapes are great for nail art since the broad tips provide ample “canvas” space. However, the sharp corners can be prone to cracking and breaking (Source).
Round nails are rounded at the free edges, giving a softer appearance. This versatile and classic shape works well with most nail lengths. It’s a safe choice that complements all finger sizes. Since the corners are less sharp, round nails are less likely to snag or break. But the rounded edges can sometimes make nails seem shorter.
Oval nails have a rounded free edge that follows the natural curve of the fingertip. This shape is similar to round but more elongated, giving an elegant slimming effect to the fingers. However, oval nails lack the stability of square or squoval shapes, making them more prone to bending and breaking (Source).
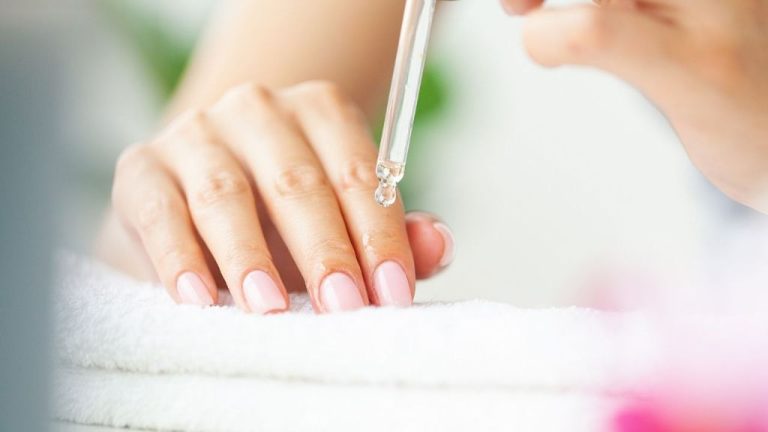
Prepping Your Nails
Prepping your nails properly before painting is one of the most important steps for achieving a flawless, long-lasting manicure. Just like prepping a canvas before painting a masterpiece, you need to prep your nails to create the ideal base.
Start by filing each nail into your desired shape using a nail file. File in one direction starting from the outside corner down towards the center. This will help prevent your nails from splitting or peeling. Pay close attention to filing the edges of your nails so they are smooth. Uneven edges will cause polish to chip faster.1
Next, use a cuticle pusher to gently push back your cuticles. Avoid cutting or snipping them as this can damage the nail bed. Then use a cuticle remover or softener to hydrate the cuticles and make them easier to manage. Let it soak in for a minute or two before gently pushing the cuticles back again with the pusher.
It’s essential that all dirt, oil, and moisture is removed from the nail plate before painting. Use a nail prep dehydrator and pH balancer to dry and balance the pH of your nails. This will help the polish adhere properly. Follow with a primer or base coat to further prep the nails.
Finally, use a buffer block to lightly buff the surface of your nails. Buffing creates micro-abrasions that allow the polish to grip better. Take care not to over-buff as this can damage the nails. Your nails are now perfectly prepped and ready for a pristine paint job!
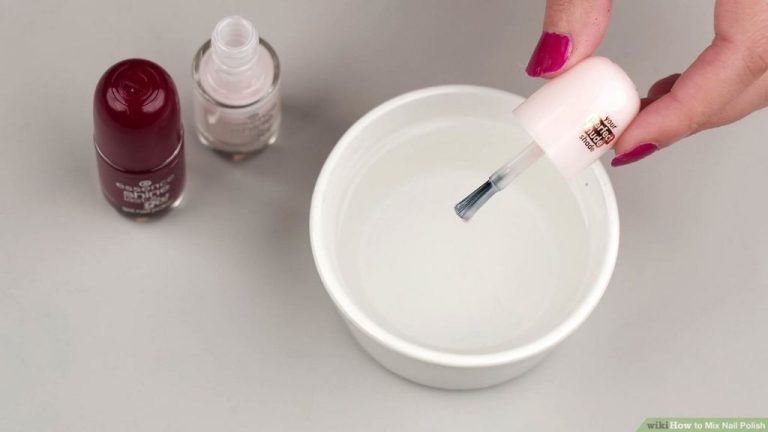
Perfecting Your Base Coat
Applying a base coat is a crucial first step for any manicure. As celebrity manicurist Tom Bachik explains, “Base coats are designed to be more flexible and help in longer wear of your manicure” (source). The base coat helps the polish adhere to your nails and prevents staining. It also provides a smooth, even surface for polish application.
When applying your base coat, be sure to use thin, even strokes from the base to the tip of the nail. Let the base coat dry completely before moving on to colored polish. Using too thick of a coat or not letting it dry properly can lead to peeling or chipping. Go slowly and focus on smooth application for optimum results.
Investing in a high-quality base coat is worth it for longer-lasting manicures. Look for nourishing formulas containing ingredients like vitamin E, biotin, and calcium to strengthen nails. With the right base coat and technique, your at-home manicure can rival celebrity nails.
Nailing Down Application Techniques
Getting a flawless, professional-looking manicure at home takes practice and patience. While it may seem simple, there are some key techniques you’ll want to keep in mind for applying nail polish neatly and avoiding common mistakes like bubbles, streaks, and smudges.
Start with very thin, even coats of polish. As celebrity manicurist Tom Bachik explains, “If you lay it on too thick, it’s going to be too gummy and it’s going to take longer to dry.” Use the edge of the brush to outline the nail first, then fill it in using straight, central strokes from cuticle to tip. Don’t overload the brush with too much polish.
Aim for 2-3 thin coats, allowing each coat to dry in between. This helps build up to an opaque, glossy color without getting thick, messy polish that’s prone to smudges. If you do end up with a smudge, use a Q-tip dipped in remover to gently fix it before moving onto the next coat.
When applying the last coat, use gentle cap strokes to seal the free edge and prevent chips. Lightly run the brush off the end of the nail tip to smooth out the edge.
Patience is key for avoiding bubbles in the polish. Go slowly and resist the urge to blow on wet nails. Let each coat dry completely before moving on. If you do end up with bubbles after your last coat, you can smooth them out carefully with a dotting tool while the polish is still wet.
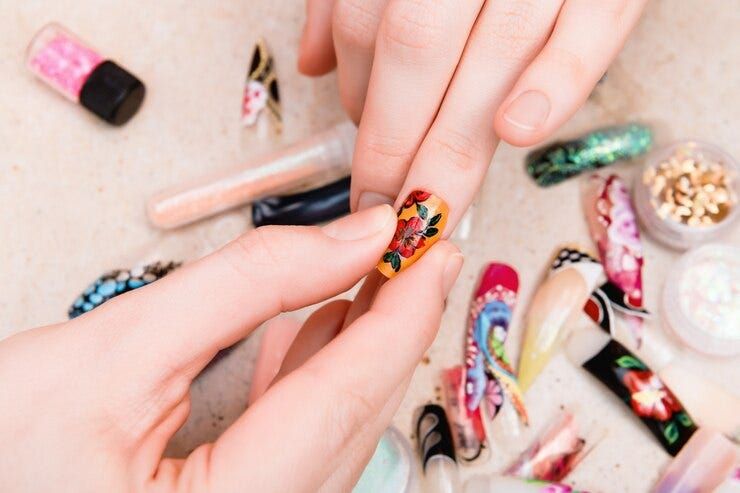
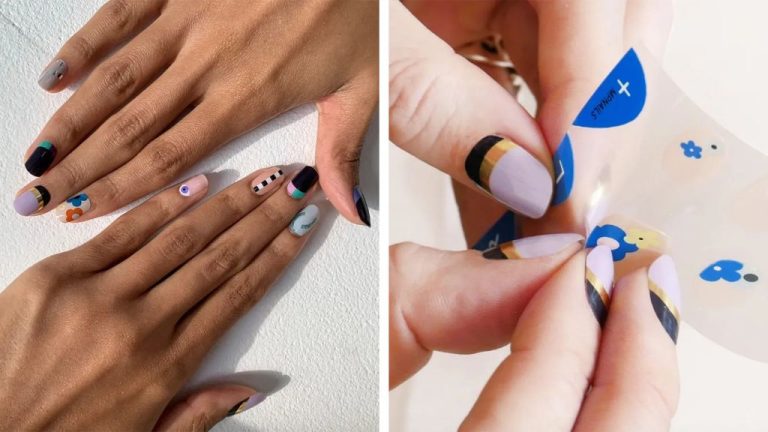
Trying Trendy Nail Art
Celebrity nail trends are always inspiring new DIY nail art ideas that can easily be recreated at home. Some of the most popular nail looks spotted on celebrities recently include fun prints, abstract shapes, and bold colors.
Animal prints like leopard and zebra are a huge trend that add flair to any manicure. To get the look, use a striping brush and black and white polish to paint on spots or stripes over a nude basecoat. For a modern take, try more graphic prints like polka dots, chevron, or even plaid using nail vinyls or tape (Refinery29).
Negative space nail art creates abstract shapes and lines by leaving parts of the nail bare. Use a base color on most of the nail and leave whitespace to make triangular, circular, or squiggly designs. Dip the tip of a dotting tool in polish to make tiny dots around the negative space for added flair (Rachael Ray Show).
Bright neon shades are huge for summer manicures. Do a colorblocked or ombre look by painting on bold pinks, greens, yellows, and oranges. Leave your ring finger bare or paint it white for a subtle pop. Metallics like rose gold, silver, and chrome are also trending either as an accent nail or full manicure.
By following celebrity nail trends, you can change up your usual manicure and experiment with fun prints, shapes, and colors right at home.
Sealing with a Top Coat
A top coat is an essential final step when doing your nails at home. It seals and protects the underlying polish and adds a beautiful glossy or matte finish.
The main benefits of using a top coat include:
– Smoothing out any small imperfections in the polish underneath 1
– Helping the manicure last longer by preventing chipping and smudging
– Enhancing shine and making colors pop
– Optional matte effect for a fashionable velvet finish
When applying a top coat:
– Use thin, even strokes starting near the base of the nail and swipe towards the tip.2
– Let each coat dry between applications for best results.
– Avoid flooding the cuticles or sides of nails.
– For extra protection, apply two thin coats instead of one thick coat.
The right top coat locks in your celebrity-inspired nail art and completes the DIY manicure.
Drying and Caring For Your Manicure
After spending time perfecting your nails, you want that manicure to last as long as possible. But first you need to ensure the polish is fully dry and cured. Here are some tips for drying your nails quickly and caring for your manicure:
Nail polish can take a while to fully dry and cure. The polish may feel dry to the touch within 5-10 minutes, but it takes around 24 hours to fully cure and harden. Be patient and avoid smudging for the first few hours.1
There are a few tricks to help nail polish dry more quickly. Applying a fast-drying top coat helps polish dry faster. You can also try drying drops, which work by pulling moisture from the nail polish.2 Dunking nails in ice water and spraying with cooking oil are other options.
Once polish is dry, avoid hot water, harsh chemicals, and picking at your nails to maximize wear. Moisturize cuticles and hands daily. Use gloves for cleaning and apply a fresh top coat every few days.
With proper application and aftercare, a DIY manicure can last over a week. Be patient during the drying process, avoid smudging early on, and care for your nails daily.
Final Takeaways
Recreating celebrity nail trends at home is totally possible with some practice and the right tools. To summarize, the key steps include:
- Start by shaping and prepping your nails – this creates the perfect base.
- Apply a high-quality base coat for protection and adhesion.
- Use proper brush techniques to get clean, smooth polish application.
- Get creative with trendy nail art using tape, stamps, glitter, or loose glitters.
- Finish with a shiny top coat to lock in your design.
- Allow adequate drying time and care for your manicure to extend wear.
With some patience and the right products, you can recreate stunning celebrity-inspired nails right at home. Focus on nailing the basics first, then start experimenting with fun embellishments. Your inner nail artist will shine through with practice. So try out new trends and designs – your custom manicures will be red carpet-worthy in no time!