Nail Art For Short Nails: Maximize Your Mini Manicure With Stunning Designs
Short nails have become increasingly popular in recent years. Many people find short nails to be more convenient and hygienic than long nails. Short nails are also easier to maintain and less likely to break or snag. Despite their petite size, short nails are extremely versatile when it comes to nail art. With the right techniques and designs, you can create stunning nail looks on short nails that are just as eye-catching as long nail art.
Nail art is a fun way to express yourself and show off your personal style, no matter the length of your nails. Short nail art is great for people who want to decorate their nails without the hassle of long extensions. The scaled-down canvas allows you to get creative with shapes, colors, patterns, jewelry, and more. Mini manicures are a great way to add artistic flair to your fingertips.
In this guide, we’ll share tips and inspiration for maximizing your short nails with beautiful nail art. Get ready to be amazed by the many possibilities for glamorous short nail designs!
Prep Your Nails
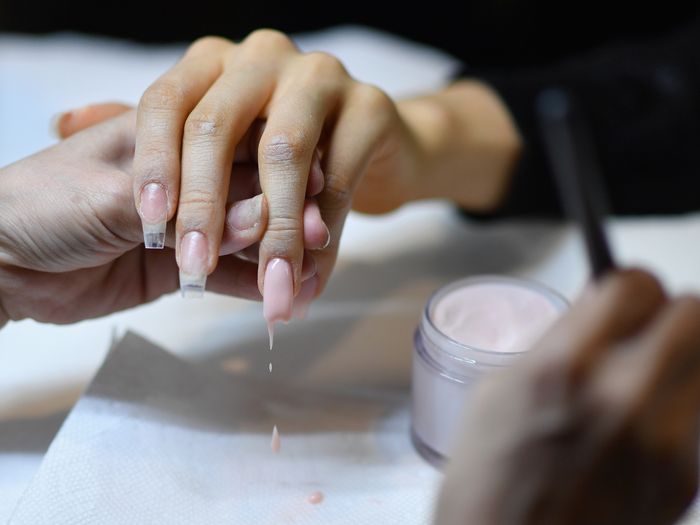
Prepping your nails is one of the most important steps before applying nail art. Properly shaped and hydrated nails provide the perfect base for your designs.
Start by filing and shaping your nails into your desired length and shape using a nail file. File in one direction to prevent nail damage. For short nails, round or squoval shapes work well. Avoid overfiling the sides of your nails, as this can make them appear even shorter.
Next, use cuticle oil to hydrate and push back your cuticles. This helps create a clean canvas for nail art. Massage the oil into your nails and cuticles. Then gently push back your cuticles with a cuticle pusher (Igel Beauty).
Finish prepping by buffing the surface of your nails to remove shine. Use a fine grit buffer or nail file and buff in a back and forth motion. Buffing improves adhesion for your base and color coats.
Choose a Base Coat
A base coat is an essential first step when doing nail art on short nails. Base coats help protect your natural nails and prep them for polish. For short nails, it’s especially important to use a base coat because the tips of short nails can be prone to peeling and chipping. The base coat creates a smooth foundation and helps polish adhere evenly across your nail. It also prevents staining from dark polishes.
Look for a base coat formulated for natural nails, which will be gentle and nourishing. Base coats with calcium or biotin can help strengthen short nails over time. Avoid base coats with formaldehyde, toluene, and other harsh chemicals. Apply the base coat thinly and evenly across your nail, sealing the free edge. Allow it to dry completely before adding color. The right base coat will help your polish and nail art last longer on short nails without cracking or peeling.
Simple Nail Art Ideas
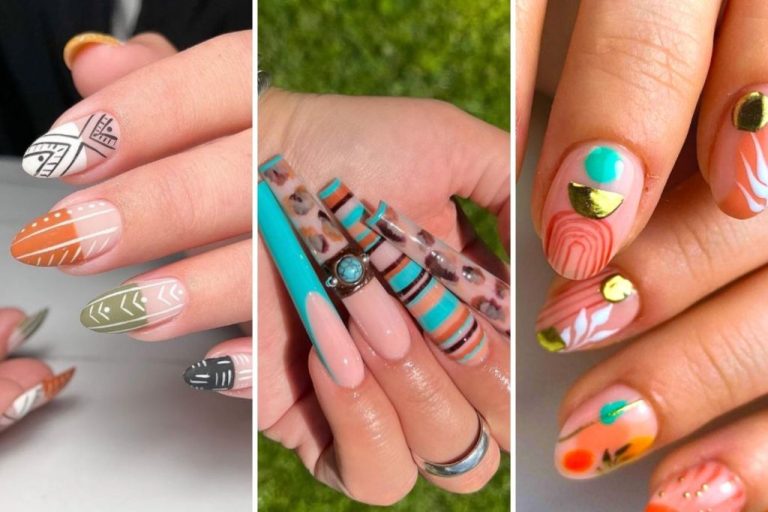
One of the best ways to decorate short nails is with simple yet eye-catching designs. These are quick and easy to do at home or in the salon and don’t require much nail length to look fantastic. Here are some trendy simple nail art ideas for short nails:
French Manicure: The classic french manicure with a nude base and white tip never goes out of style. Play with different colored tips like black, blue, or metallic for a fresh take. Keep the tips thin and angular on short nails.
Polka Dots: Cute and playful polka dots in varied sizes look great on short nails. Use different colored polishes or combine colors in a polka dot pattern for a fun pop of color.
Glitter: A glitter topcoat or single glitter nail adds just the right amount of sparkle to short nails. Go for chunky or fine glitter in any color.
Geometric Shapes: Graphic styles like stripes, lines, zig zags, and geometric shapes make short nails appear longer. Use nail art brushes and tools to achieve clean lines.
Ombre: The ombre effect of graduated color is easy to do on short nails. Apply two nail polish colors blended together for a stylish fade.
Keep your manicure looking chic yet simple by limiting designs to one or two accent nails. The options are endless for pretty patterns that pop on short nails!
Sources: https://www.pinterest.com/kaylafaith1010/minimalist-nail-art/
Statement Nails
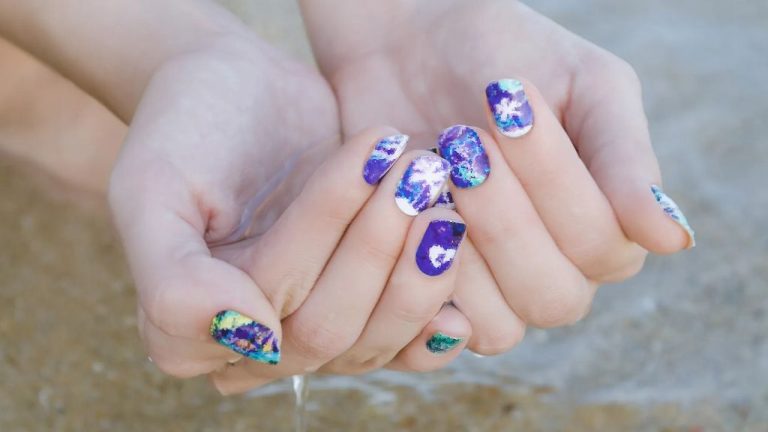
Statement nails are a fun way to jazz up a mini manicure. Using embellishments like rhinestones, charms, glitter, and patterns on just one or two nails can make a bold impact without overdoing it on short nails.
Some ideas for statement nails include:
- A glitter ombre – fade glitter from dark to light on an accent nail for mermaid vibes. Use a clear base coat first to help the glitter adhere (Harper’s Bazaar).
- Charms or jewels – add a touch of bling with a decorative charm or jewel glued onto one nail. Opt for something dainty like a star or heart (Harper’s Bazaar).
- Striping tape patterns – use striping tape to create geometric patterns like chevron stripes. Paint the base color first, apply tape, then paint over it. Remove the tape to reveal the design (Harper’s Bazaar).
The key is keeping embellishments small in scale. Focus the statement nail on just one or two nails. Avoid overloading short nails with too many large adornments.
Negative Space Nail Art
Negative space nail art is a trendy technique that creates interest by leaving portions of the nail bare. This allows the natural nail to act as a canvas and makes nail art possible even on very short nails. There are many creative ways to play with negative space on mini manicures:
– Try a French manicure with a wider nude base and thinner white tip to maximize the negative space on your nails. You can add a graphic or geometric touch by making the tips straight across instead of rounded.
– Another spin is a reverse French manicure, with bare nail at the base and colored tips. This makes short nails appear a bit longer.
– Geometric shapes like triangles, lines, dots, and chevrons work beautifully with negative space. Use metallic polishes like gold, rose gold, or silver to create striking accents against the bare nail.
– Play with textures by adding glitter, foil, or velvet to the filled-in portions of your nail art. The contrast against the natural bare nail is eye-catching.
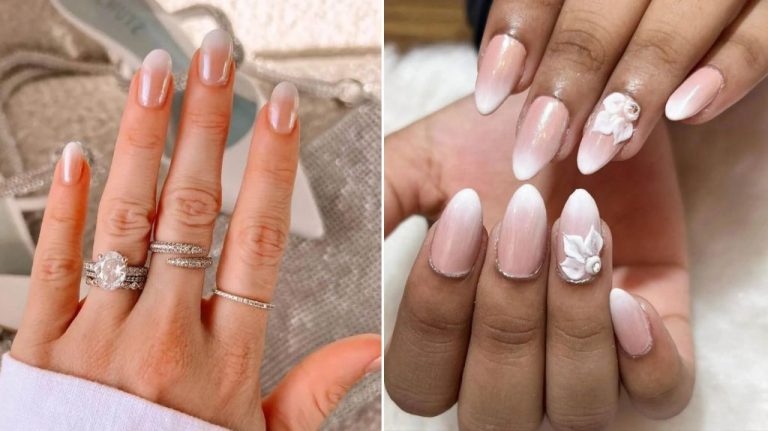
– Florals and nature motifs pair beautifully with negative space. Try small floral designs or single blooms like roses, daisies, or wildflowers.
– Go for an ombre look by gradually fading your polish color from dark to light, leaving the tip portion bare for a modern gradient effect.
Negative space allows you to get creative with colors, textures, shapes, and designs. And the simplicity keeps the focus on your beautiful natural nails. It’s the perfect way to maximize the impact of your mini manicure!
Minimalist Nail Art
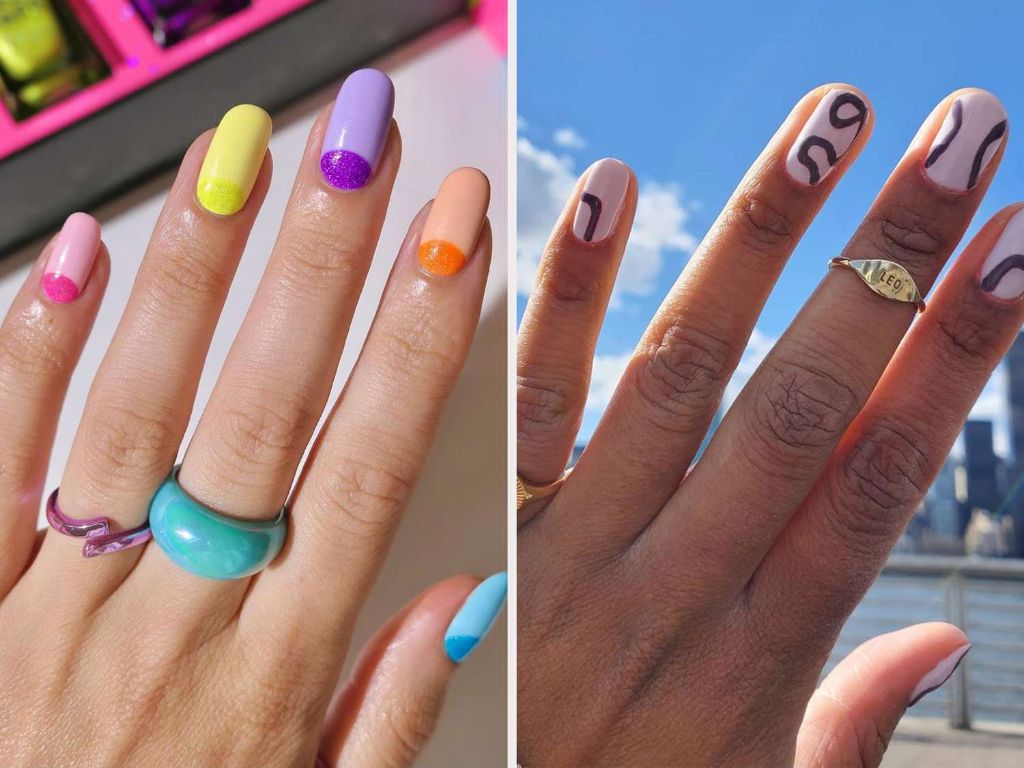
Minimalist nail art is a great option for short nails. It focuses on thin lines, minimal colors, and simple details to create an understated yet chic look. The simplicity of minimalist designs helps elongate the look of short nails. Here are some tips for achieving pretty minimalist nail art on short nails:
Use thin striping tape to create straight, clean lines on a single nail or across multiple nails. The tape allows you to get perfect lines without needing a steady hand (source).
Try negative space designs with simple shapes like triangles, circles, or lines. The empty spaces will make nails appear longer than they are (source).
Stick to nude polish as a base and add one pop of color with a bright or metallic shade. Keep additional embellishments to a minimum.
Make mini polka dots, tiny arrows, geometric shapes, or single strokes of color. Less is more with minimalist short nail designs.
Matte top coat creates a modern, stripped-down look. It helps tone down shine and makes minimalist nail art look more sleek.
Short Nail Shape Ideas
When your nails are on the shorter side, choosing the right shape can make all the difference. Here are some popular short nail shapes and the pros and cons of each:
Round
Round nails are shaped in a continuous oval with no sharp edges. Pros: This shape works well on most nail beds and hands. Rounded edges prevent snagging and breaking. Cons: Can accentuate wide nail beds or make nails appear even shorter.
Square
Square nails have straight sides and slightly rounded edges. Pros: Creates the illusion of longer nails and elongated fingers. The straight sides allow for more nail art space. Cons: Corners can be prone to breaking or catching.
Oval
Oval nails are a slightly tapered almond shape. Pros: Elongates the fingers and flatters most nail beds. Smoother edges helps prevent breaks. Cons: Doesn’t work as well on wider nail beds.
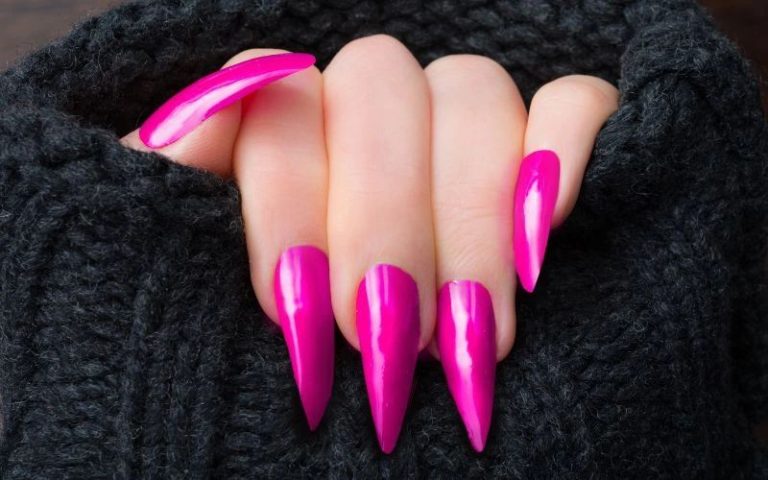
Almond
Almond nails are shaped like a slender oval that comes to a defined point. Pros: Visually lengthening for fingers and nails. Allows for detailed nail art. Cons: Points can easily break or snag.
Coffin
Coffin nails are long squares that extend just past the fingertips. Pros: Creates a dramatic, elongating effect. Lots of space for nail art. Cons: Too severe lengths can look impractical or damaging to nails.
Caring for Your Nail Art
Caring for your nail art properly will help it last longer without chipping or fading. An important step is applying a good top coat after your design is complete. A top coat creates a protective barrier over the nail art and can also add a shiny finish. Some top coats are designed specifically for nail art, like Seche Vite Top Coat, which dries quickly to seal in the design.
It’s also crucial to keep cuticles moisturized when you have nail art. The nail art can lift up and chip if the cuticles are dry and peeling. Massage a few drops of cuticle oil around the nails each day. The oil hydrates the cuticles to prevent hangnails and peeling that ruin the nail art.
Avoid doing anything too rough with your hands when you have nail art. Chores like gardening or heavy cleaning can quickly lead to chips. Wear gloves when needed and remove rings to prevent accidentally chipping the nail art. Be extra careful with removing polish since rough removal damages the nail underneath. Use an acetone-free remover whenever possible.
With proper care and maintenance, your gorgeous nail art can stay vivid and flawless for over a week on natural nails, and even longer on acrylics or gel manicures. Investing a little time into caring for your nail art pays off with stunning nails you can show off!
Conclusion
Nail art on short nails can be just as fun and creative as on long nails. With some smart nail shaping and the right techniques, mini manicures can make maximum visual impact. Whether you want an elegant minimalist look, artsy negative space, or eye-catching statement nails, the possibilities are endless. The key is choosing designs that work with the proportions of short nails, so they don’t appear cluttered or feel out of balance. Take inspiration from the ideas in this guide, have fun with polish colors and patterns, and enjoy rocking your own stunning short nail art. Your nails don’t have to be long to make a statement! With a little creativity, you can do mini marvelous.