Celebrate In Style: Diy Nail Art Designs For Birthdays, Weddings & More
Celebrate in Style with Nail Art Designs
Nail art is a fun and creative way to celebrate special occasions and milestones. With some practice, patience, and the right tools, you can create dazzling nail designs at home to commemorate birthdays, weddings, baby showers, graduations, holidays, and more. Nail art allows you to get glammed up and add some flair to your fingers. The designs can be simple patterns, intricate illustrations, monograms, inspired themes, sparkly gems, and so much more.
In this article, we will explore beautiful nail art ideas and techniques for the major events in your life. Nail art is highly customizable, so you can tailor designs to suit your personal style. It’s a thoughtful gesture to coordinate nails to the occasion. We’ll cover how to do popular nail art like ombre, marble, stamping, stickers, glitter, and freehand drawing. With some creativity and the right supplies, you can design standout nails to celebrate in style.
Birthday Nail Art
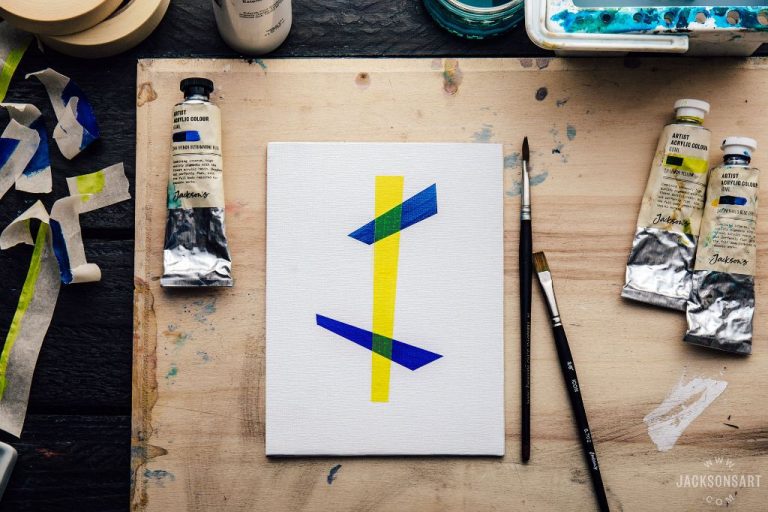
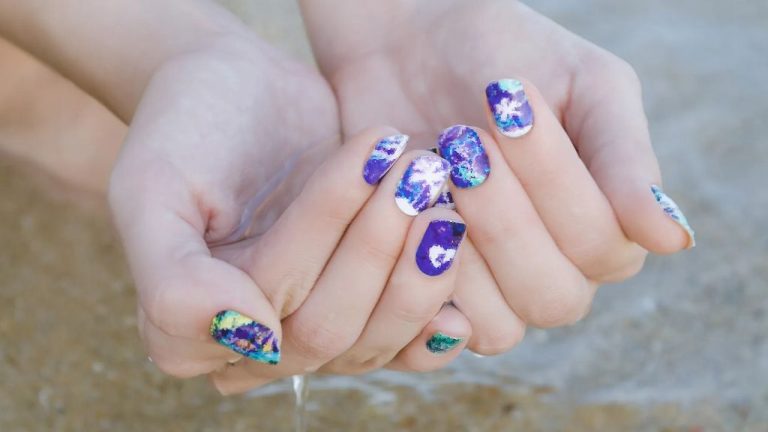
Birthday celebrations call for fun, colorful nail art designs. Some popular motifs for birthday nail art include cakes, candles, balloons, presents, and of course the birthday number or age. Cakes and candles are classic birthday symbols that translate beautifully to nails. Tiny floral designs and dots can be used to create candles, while different shades of nude, white, or pastel polish create the “cake”. Accent nails with colorful polka dots, swirls, or confetti flakes evoke festive balloons and confetti. Wrapped gift images or bows represent presents. Metallic gold or silver polish can be used for the birthday age.[1] Even short nails have plenty of room for fun designs. A single candle on an accent nail or two crossing paintbrush stripes to resemble wrapping paper allow you to get creative.
If you want to get extra fancy, try sculpting mini fondant decorations like bows or flowers out of nail art clay and adhere them to your nails with a touch of top coat or nail glue. Rhinestones, glitter, and metallic studs add extra bling for the big day. Don’t be afraid to go bold with your color palette – neon brights and pastels with lots of rainbow effects fit the playful birthday mood.
Wedding Nail Art
Your wedding day is one of the most memorable days of your life. Celebrating your nuptials with a beautiful manicure is the perfect finishing touch to your bridal ensemble. From delicate floral designs to bold rings, wedding nail art allows you to showcase your personal style.
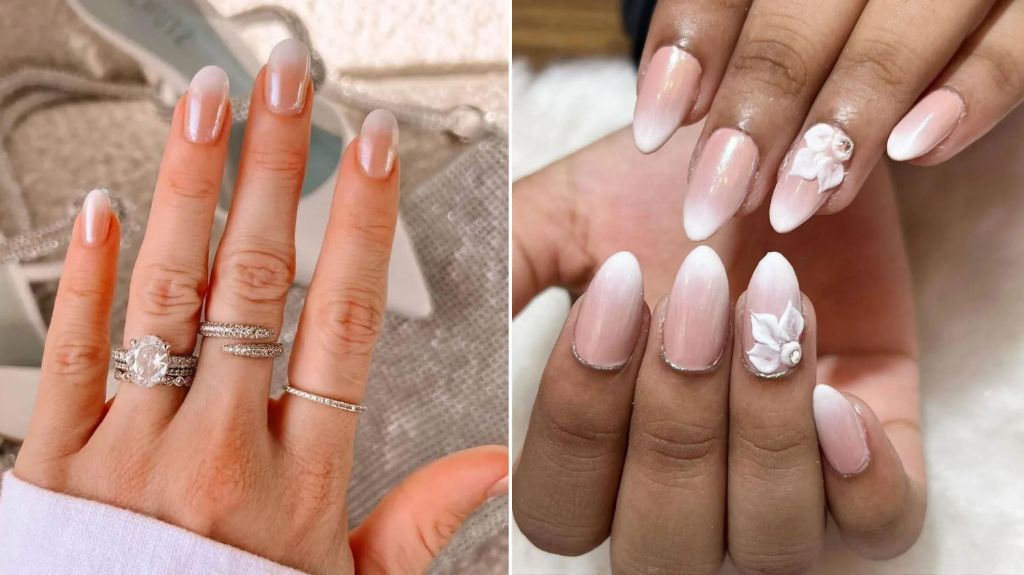
For the bride, elegant French tips or nude nails with crystal accents are timeless and classy. Metallic rose gold and silver nail polish provides a modern twist. Don’t forget your something blue – add a pop of color with blue tips or gemstones. Showcase your engagement ring with ring finger nail art featuring stones, bands, or words like “I Do” or “Mrs.”
The groom can sport polished neutrals or make a statement with black nails featuring geometric symbols or brushed gold tips. Rings, bow ties, and other wedding elements can be incorporated into simple monochromatic nail art.
Floral nail art is always in style for weddings. Vivid pink and red roses, baby’s breath, and lavender offer romantic flair. Softer watercolor florals in blush pinks, sage greens, and peaches emit a dreamy vibe. Accent nails with single blooms for a minimalist look.
However you choose to celebrate your love through nail art for your special day, these memorable designs will have you happily remembering your “I Dos” each time you glance at your fingers.[1]
Baby Shower Nail Art
Baby shower nail art is a fun way to celebrate the arrival of a new little one. Designs often incorporate pacifiers, rattles, bottles, strollers and other baby motifs. Pastel colors like pink, blue, yellow and green are commonly used. Accent nails with polka dots, stripes, flowers or animal prints also work well.
Some popular baby shower nail ideas include painting each nail a different pastel color, or doing one accent nail in blue or pink depending on the gender. Tiny pacifiers or baby footprints make cute accents. For an understated look, paint nails a neutral color and add just a few small baby designs like a stroller or stuffed animal.
According to Pinterest, some of the trendiest baby shower nail art features minimalist white and neutral backgrounds with small pops of pastel color, as well as clean stripes and simple accent nails. Glitter, pearls, and rhinestones can add a touch of girly glam. Keeping most nails a neutral color allows the baby motifs to really stand out.
For baby shower nails that are easy to DIY, simple shapes like pacifiers, bottles and blocks are best. Use nail stickers, stamps, or tape for crisp lines. Or free-hand designs with a thin nail art brush. Apply a top coat to help artwork last longer. With a little practice, you can create beautiful baby shower nail art that’s Pinterest-worthy.
Graduation Nail Art
Graduation is a time to celebrate your academic achievements with fun nail art designs. Show your school spirit by incorporating your school colors into your manicure.
Paint a base coat in one of your school colors, then add details like the graduation year, diploma scrolls, or mortarboard hats with the opposite color. Outline diploma scrolls or paint small caps in glitter polish for an extra pop. For colleges, paint your school’s logo or mascot on an accent nail.
Beyond school colors, black and white designs symbolizing graduation are timeless and chic. French tips with black bands or bows are simple yet elegant. Paint scrolls, books, or diplomas in black over a clean white base. Add pearls, crystals, or metallic studs on one finger for subtle bling.
If your school colors are more playful, embrace the fun with colorful polka dots, florals, or confetti over a bright base color. Painting each nail a different color also allows you to showcase a range of hues.
Whatever you choose, graduation nail art is the perfect way to display your school pride while looking poised and polished for your big day. For inspiration, check out these graduation nail ideas: https://www.pinterest.com/graduationfocus/graduation-nails/ and https://www.byrdie.com/graduation-nail-ideas-7507964
Holiday Nail Art
The holidays are the perfect time to get creative with festive nail art designs. Some popular holidays to decorate your nails for include Christmas, Halloween, and the 4th of July.
For Christmas nail ideas, you can’t go wrong with classic red and green colors. Try painting your nails red and adding green Christmas trees, wreaths, snowflakes, or presents with nail art brushes and dotting tools. Gold and silver accents also make for glamorous Christmas nails. Check out this tutorial for 10 easy Christmas nail art designs: https://www.youtube.com/watch?v=Mix2d05H9ak
Halloween nails can get spooky with orange and black colors. Paint your nails black and add jack-o-lanterns, ghosts, bats, or spooky words like “boo” and “witch”. You can also create “blood drip” effects with red nail polish. For inspiration, search “simple Halloween nail art tutorials”.
July 4th nails are all about red, white and blue. Try painting each nail a different color of the flag. Or paint your nails blue and add white stars and red stripes or other patriotic designs. Look up “4th of July nail tutorial” to find easy nail art for Independence Day.
The holidays are the perfect excuse to try new nail art techniques and designs. With some creativity and practice, you can decorate your nails for any special occasion.
DIY Nail Art Techniques
Some popular DIY nail art techniques that even beginners can learn include:
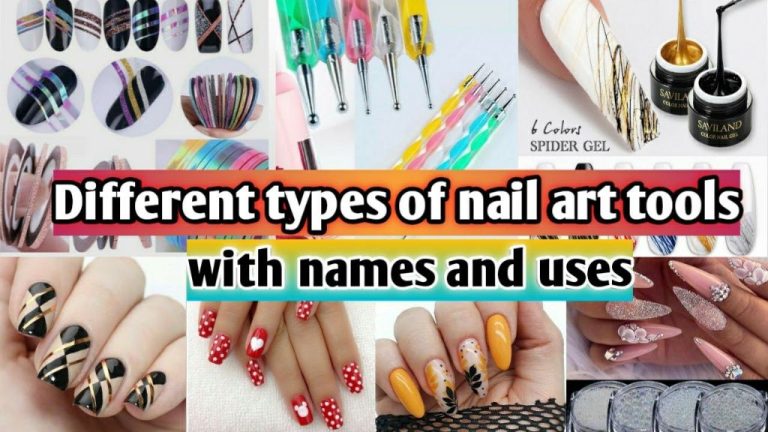
Dotting
Dotting is a fun and easy nail art technique. All you need are dotting tools, which are toothpicks or metal rods with different sized balls on the end. Dip the dotting tool in nail polish and gently press onto the nail to create dots. You can make simple designs like polka dots or use different sized dots to create flowers and other intricate patterns. Dotting tools are inexpensive and learning basic dotting designs is a great way to start exploring nail art 1.
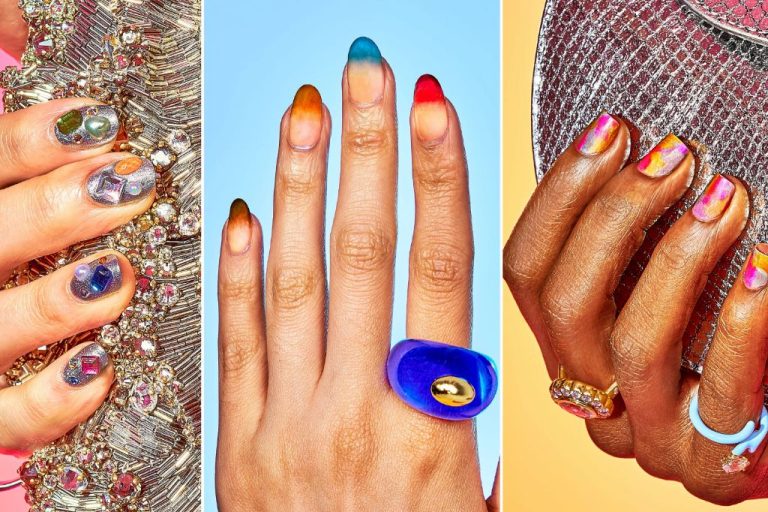
Ombre
Ombre nail art produces a gradient effect by blending two or more nail polish colors together. After painting your nails with a base color, use makeup sponges to dab and blend a darker polish shade onto the tips. Continue layering colors with the sponge to create a seamless ombre transition. Use glossy top coat to smooth and set the ombre design.
Stamping
Nail stamping transfers intricate designs using etched metal plates and a scraper. After painting your nails with a base color, coat the etched design plate with polish. Use the scraper to lift the design from the plate, then press it onto your nail. Stamping takes practice to transfer the designs cleanly, but it allows you to quickly decorate nails with polka dots, florals, and other patterns.
Glitter
Adding glitter nail polish or loose glitter can create sparkly, eye-catching designs. Paint a coat of glitter polish or top coat for subtle shimmer. For bolder looks, apply loose glitter on top of undried polish and seal it with a top coat. You can also create ombre glitter nails by concentrating the glitter near the tips. Finish with a glossy top coat to smooth any texture and help the glitter stay put.
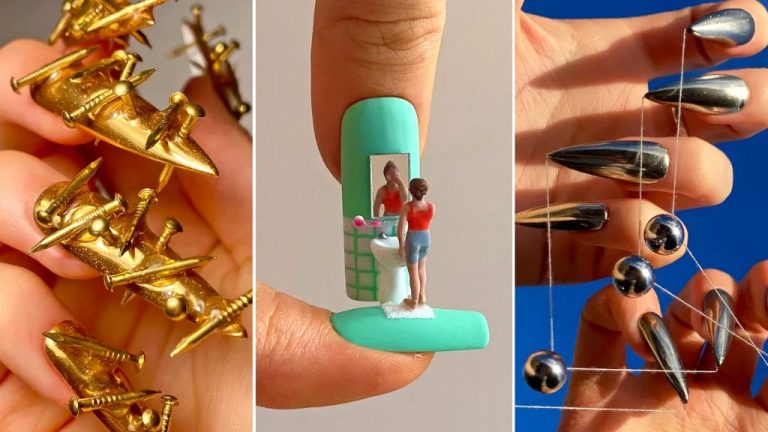
Rhinestones
Gluing rhinestones and jewels onto your nails is an easy way to add some bling. Use tweezers to place rhinestones and then apply clear nail glue for adhesion. You can create simple abstract designs, ring fingers with full nail coverage, or accent nails with a cluster of jewels. Let the glue fully dry before applying your final protective top coat.
Nail Art Design Inspiration
When looking for nail art inspiration, one of the best places to find a wide variety of designs is on image sharing sites like Pinterest and Instagram. There you can discover galleries and boards dedicated to nail art, with hundreds of photos showcasing stylish designs for any occasion.
For example, Pinterest user Mohika Reddy has an extensive nail arts board with over 900 pins of various nail art like geometric patterns, floral motifs, holiday themes and more. The Images Lux Nail account on Pinterest also offers a treasure trove of nail inspiration with its Nail Art & Designs board containing creative images.
Sifting through photos of nail designs gives you a good sense of what’s trending and popular, as well as more unique and niche aesthetic styles. You can draw color palette inspiration and find new techniques or embellishment ideas. With so many stunning photos of nail art available online, you’re sure to discover the perfect design for your next manicure.
Nail Art Tools & Supplies
To recreate stunning nail art designs at home, having the right tools is essential. Here are some of the key supplies every nail art kit needs:
Brushes – Different sized brushes allow you to paint fine details and thicker coatings. Points and strips make intricate designs easy. Some essential brushes include a detailer brush for small designs, a striping brush for straight lines, and a fan brush for gradients.
Rhinestones – From sparkling crystals to pearls and beads, rhinestones let you add some glam to your mani. Use a pick-up tool to easily apply them.
Tape – Striping tape lets you mask off sections of the nail for crisp lines. Use it to create geometric patterns, French tips, or color blocks.
Glitter – For dazzling sparkle, keep a selection of fine and chunky glitters on hand. Apply on top of polish or mix with clear topcoat for a shimmery look.
Stickers – Pre-made stickers like bows, flowers, and lace make accenting designs easy. Place them on top of dry polish.
Conclusion
Nail art is a fun and creative way to express your style on a small canvas. As we’ve seen, there are endless nail art possibilities for every occasion, from birthdays and weddings to holidays and graduations. With just a few simple tools and techniques, you can create dazzling DIY nail designs to celebrate life’s special moments.
In this article, we explored beautiful nail art inspiration ranging from flowers and glitter to abstract patterns and tiny motifs. The key is finding a design that reflects your personality, mood or event. Nail art allows you to showcase your inner artist and attention to detail. It’s also a great way to bond with friends and family during parties and showers as you collaboratively create mini masterpieces on your nails.
So next time you have something to celebrate, take your DIY nail art to the next level. With some practice and creativity, your nails will be the life of the party!