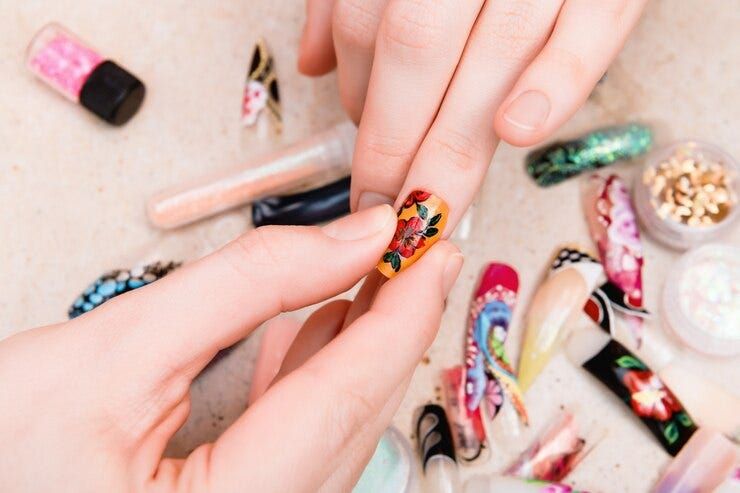
Easy Diy Nail Art Using Water Marbling Technique
Water marbling is a fun and creative nail art technique that has been gaining popularity in recent years. It involves dropping nail polish onto the surface of water and then dipping your nails into the polish to create colorful, marbled designs. The technique allows you to create unique patterns and swirls that are different every time. As nail art trends have shifted towards bold, artistic looks, water marbling has become a go-to method for achieving stylish nails at home. Its versatility and inexpensive supplies have made it accessible for nail art enthusiasts of all levels.
Water marbling first emerged as a trend in the early 2010s, but has seen a major resurgence on social media platforms like Instagram and TikTok. The mesmerizing marbling process and stunning results have captivated viewers, inspiring many to try it at home. While it does take some practice to master, the basic technique is simple enough for beginners. With a few household supplies and a steady hand, anyone can create their own marble nail art.
Gather Your Supplies
Water marbling nail art requires just a few simple supplies:
- Nail polish – You’ll need several different colors of nail polish to create the marbled design. Opt for polishes that are opaque or formulated specifically for nail art (Tips on How to Marble & Supplies for Marbling).
- Water – Fill a small plastic cup with room temperature water.
- Toothpicks – Use wooden toothpicks to swirl the polish around in the water.
That’s really all you need for basic DIY water marbling! For more advanced designs, you may want specialty supplies like nail art brushes, silicone mats, or foil to transfer the polish (The Swirling Colorful World of Marbling). But with just nail polish, water, and toothpicks, you can create beautiful marbled nail art!
Prepare Your Nails
Before starting the water marbling process, it’s important to properly prepare your nails. First, file and buff your nails into the desired shape. Use a fine grit nail file to smooth the surface of your nails and erase any ridges. Next, use a buffing block to further refine the surface, leaving your nails with a glossy finish (1). This will help the polish adhere better and give you a smooth canvas for the marble design.
After filing and buffing, apply a base coat to your nails and let it dry fully. The base coat creates a protective barrier between your nails and the polish, preventing staining. It also helps the polish adhere to the nail. Allow plenty of time for the base coat to dry before moving onto the next step, usually about 10 minutes (1). Properly priming your nails is the key to creating clean water marble nail art that lasts.
(1) https://www.byrdie.com/water-marble-nails-4842357
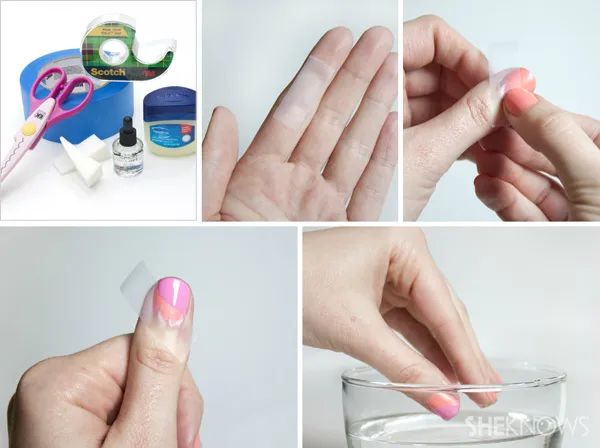
Fill the Cup with Room Temperature Water
The water temperature is crucial for creating the perfect water marble effect. Fill your cup about 1/3 full with room temperature water – around 70°F/21°C is ideal. Water that is too cold can cause the polish to set too quickly, while water that is too warm can make the polish spread out too much.
Only fill the cup partially, as you’ll need room for the polish to spread out on the surface of the water. Too little water means the polish won’t have enough room to marbleize properly. Too much water means you may end up accidentally dipping your fingers in!
According to nail experts, room temperature water provides the right viscosity for the polish to spread evenly and marbleize beautifully (Source: https://nailboo.com/blogs/news/water-marble-nails-guide). The key is finding that perfect balance – not too cold and not too hot.
Add Drops of Polish
The next step is to add drops of nail polish to the water. This creates the marbled effect. You’ll want to use 3-5 colors for the best results. Add the drops close together in the center of the cup of water.
According to WikiHow, “Three or four drops is usually a good amount, but you can use up to 12.” https://www.wikihow.com/Create-a-Marble-Nail-Effect-Using-Water The more polish colors you use, the more vibrant the marbled design will be.
As A Beautiful Mess suggests, “The more drops you do, the more marbled your polish will look. I suggest somewhere between 6-12 drops.” https://abeautifulmess.com/sherbet-water-marble-mani-diy/
Make sure to have the drops close together so the polish spreads and swirls together when you run the toothpick through in the next step.
Run a Toothpick Through the Polish
Once you have added your desired polish drops to the water, the next step is to swirl them together to create the marbled pattern. This is done using a toothpick or skewer.
Hold the toothpick horizontally above the surface of the water. Gently drag the toothpick through the polish from the center of the cup outward in a spiral motion. Make sure not to stir too quickly or aggressively, as this can muddy the colors. Go slowly and gently to get the best defined pattern.
Continue running the toothpick from the center outward until you achieve your desired marbled effect. The colors will bloom and blend together into beautiful abstract shapes. Don’t overwork the pattern or the colors will become too muddled.
When you are happy with the marbled design, it’s time to transfer it onto your nails using the dipping technique. Work swiftly before the polish spreads back together.
If you want to reset the polish, simply drag the toothpick through the center again to blend the colors back together before starting over.
Dip and Transfer the Design
Once your water marble design is complete, it’s time to transfer it onto your nail. This step requires a gentle touch.
Hold your finger about an inch above the surface of the water. Slowly lower your nail at an angle into the water, rolling your finger down until the entire nail surface makes contact with the water. Let your nail sit gently on the surface of the water for 5-10 seconds to allow the design to transfer.
Slowly roll your nail back up at an angle to lift it out of the water. This helps prevent smudging the design. Be patient during this step – rushing can ruin the whole look!
Let any excess water drip off the nail, then hold your hand still until the polish dries enough not to run or smear. This usually takes 30-60 seconds. Don’t move your hand too soon or you risk messing up the design!
According to beauty experts at Byrdie, waiting a few moments before gently dipping your nail allows the polish to set just enough to transfer cleanly to your nail.
Seal the Design
Once you have transferred the design onto your nails, it’s important to seal the design by applying a layer of top coat. This helps lock in the design and prevent smudging, denting or chipping of the polish. According to Cosmopolitan, “Once your nails are dry, seal the nail polish with a clear top coat to prevent chipping or denting, and give your water marble design longer wear” (1). The top coat creates a protective barrier over the nail art.
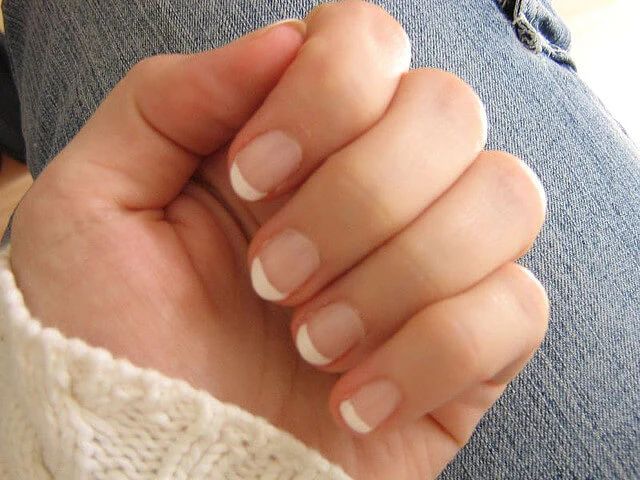
When applying the top coat, use long, even strokes to fully cover the nail from base to tip. Make sure you get a smooth, glossy layer over the entire marbled design. This completes the water marble nail art and helps it last. The top coat also adds an extra glossy finish to make the colors pop. After sealing the design with a thorough layer of top coat, you can enjoy your water marble nails for up to a week!
Troubleshooting Tips
One common issue with water marbling is getting bubbly or unclear designs. Here are some tips to fix this:
Make sure you are using distilled or filtered water. Tap water can contain minerals and chemicals that interfere with the marbling process, according to Indigo Craft Room (https://www.indigocraftroom.com/3-common-mistakes-when-marbling-and-how-to-fix-them/).
Avoid overmixing the paints, as advised by Nancy Langford (http://www.nancylangford.com/?p=2452). Stirring too vigorously introduces bubbles to the paint.
Make sure your water is at room temperature. Water that is too warm or cool can affect the marbling process and cause bubbling.
Use an appropriate paint medium like an extender or fabric medium. Some paints are too thick on their own and need to be thinned for marbling.
Gently blow on the surface of the water to pop any bubbles after dropping in the paints but before dipping your nails.
Inspiration and Ideas
Water marbling opens up an endless world of creativity when it comes to nail art. Once you get the basics down, you can create all kinds of unique designs. Check out these examples of creative water marbled nail art for inspiration:
Swirls and spirals: Create abstract circular designs by moving the toothpick in a swirling motion. See examples at https://www.pinterest.com/anneblithe/water-marble-nail-art/.
Geometric shapes: Make triangles, squares, or other shapes by running the toothpick through the polish at different angles.
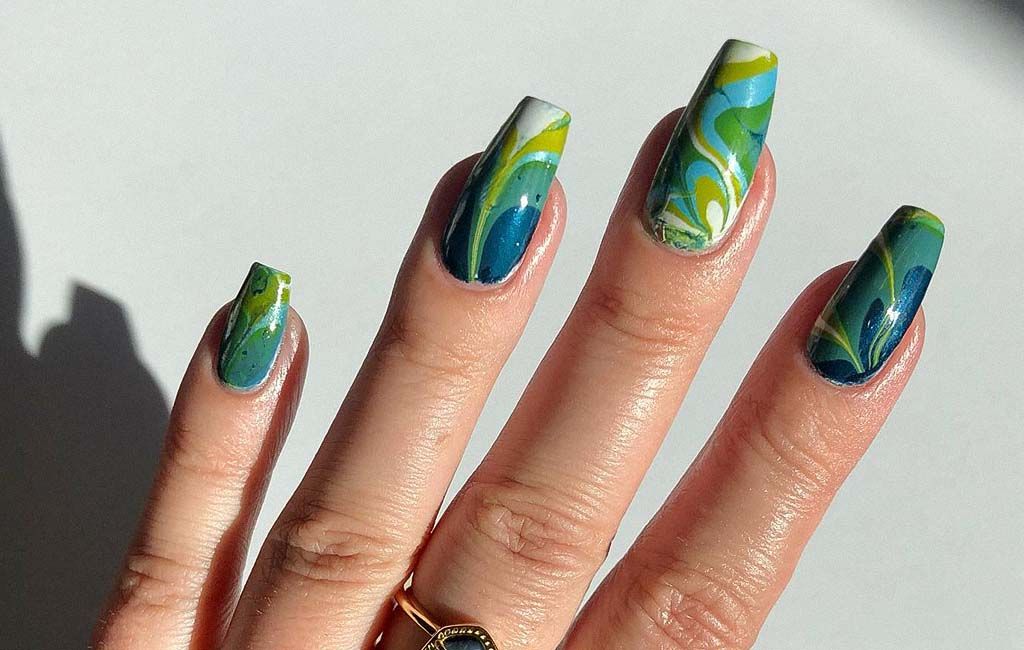
Marble or stone effects: Allow the polish to spread and blend together in the water for a natural marble look. This works great with earthy color palettes.
Ombre gradients: Carefully drag the toothpick through the edges of the polish for a subtle ombre effect.
Florals and nature motifs: Use various colors to create flower and leaf shapes in the design before dipping.
Dip just one nail: For fun accent nails, dip just one finger into the water to marble a single accent nail.
Mix glitters and shimmers: Incorporate different nail polish finishes, like adding a glitter polish to the cup for sparkly marbling.
The possibilities are endless when you experiment with water marbling! Look online or on social media for even more unique ideas and inspiration.